Create your WordPress site with AI in 60 seconds.
























You can perform many operations related to your Linux Hosting or WordPress Hosting service purchased from FastPanda through your Customer Panel. From the Customer Panel, you can create and manage email and FTP accounts, manage databases and domains, configure SSL and DNS settings, manage backups, and create Cron Jobs. This allows you to access frequently used hosting management tools from a single location.
The management tools available in the Customer Panel may vary depending on the hosting service and package features you use. Below, you can find detailed information on how to access the hosting management tools available through your Customer Panel and the operations you can perform with these tools.
How to Access Hosting Management Tools?
- Access the website www.fastpanda.co.uk
- Click on the “Sign In” button on the opened page, enter your customer panel information, and click the “Log in” button to log in to your account.


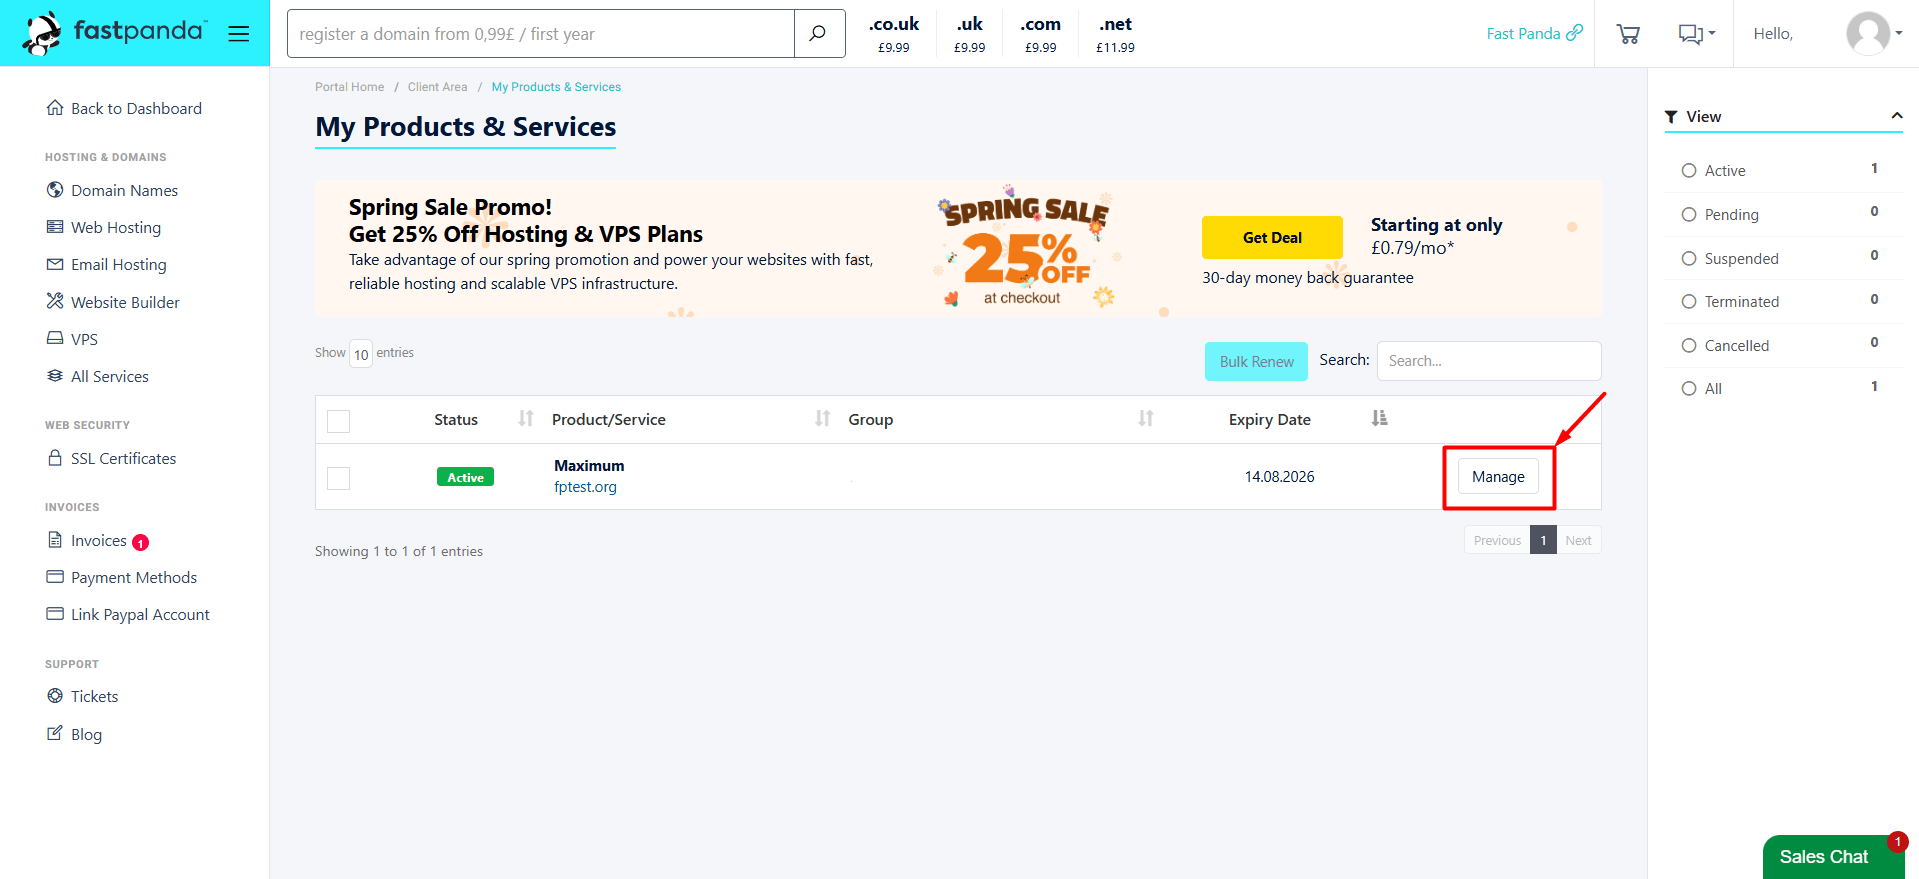
- Click on the “Web Hosting” option in the left menu.

- On the page that opens, you will see your existing web hosting packages. Click the Manage button for the service you want to access the cPanel management tools for.
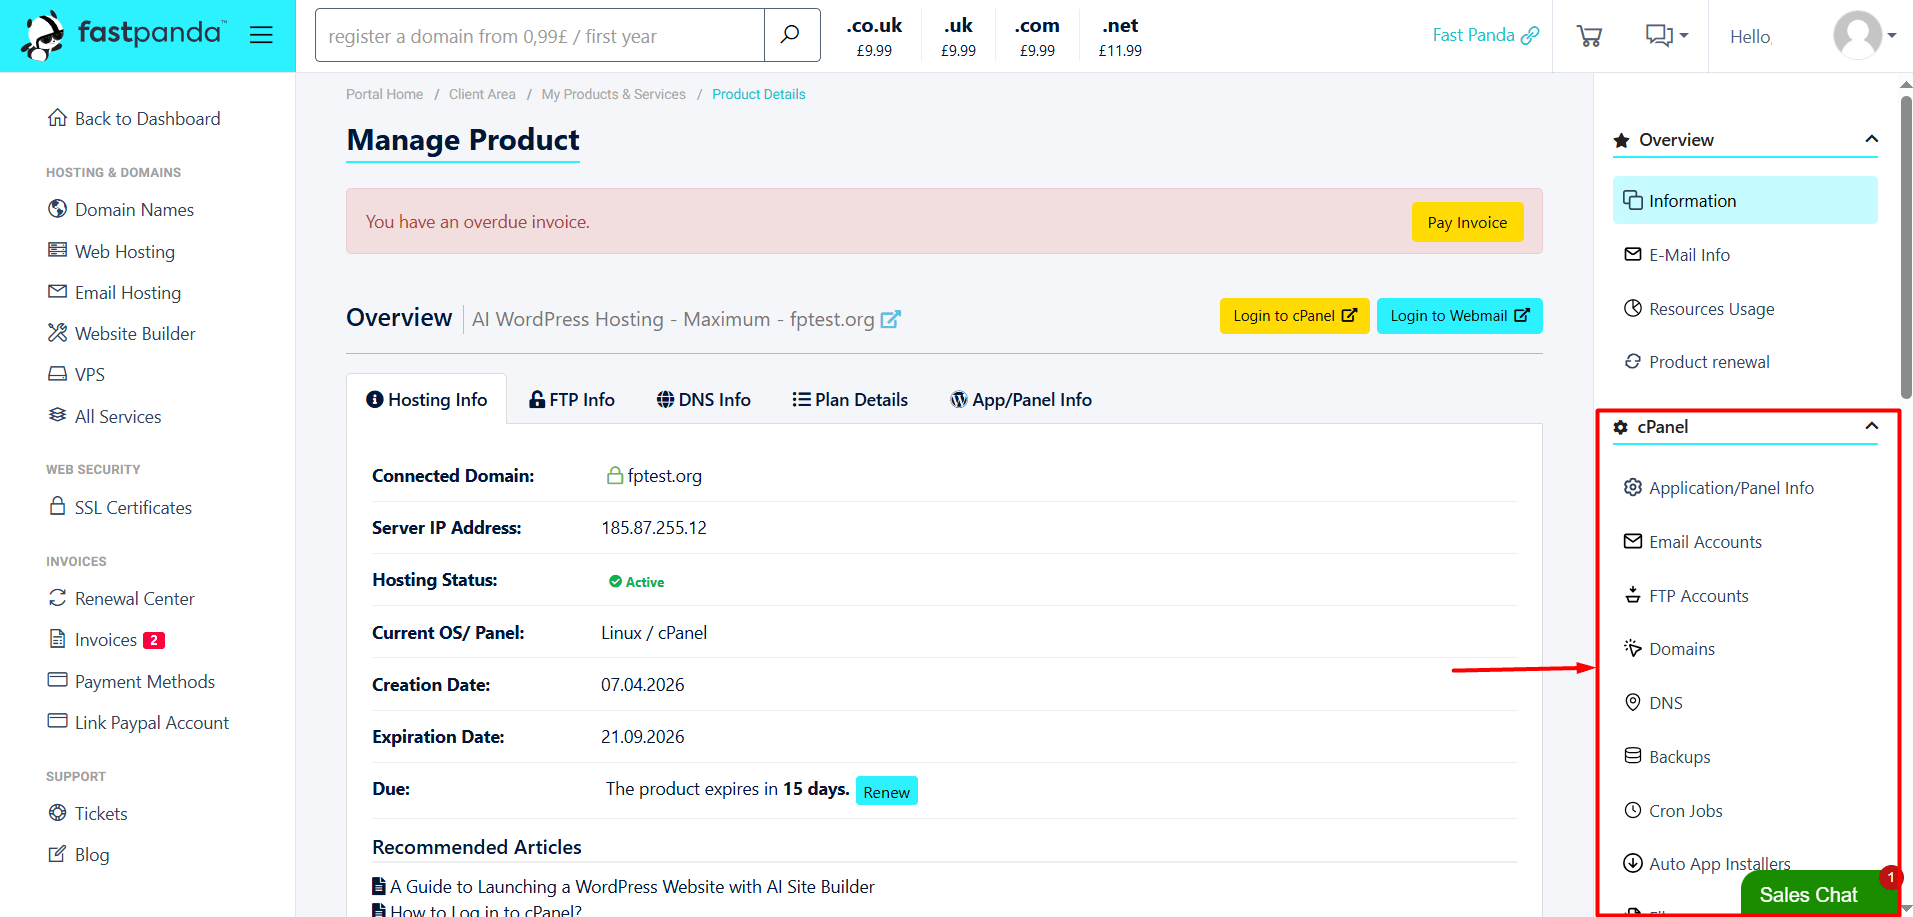
- In the hosting management screen that opens, review the menu on the right side. Here, you can find the cPanel section. The management tools available for your hosting package are listed under the cPanel section. Depending on the features supported by your package, you can access various hosting management tools, such as email, FTP, database, domain, SSL, DNS, and backup management, from this menu.
Features Available for Hosting Management
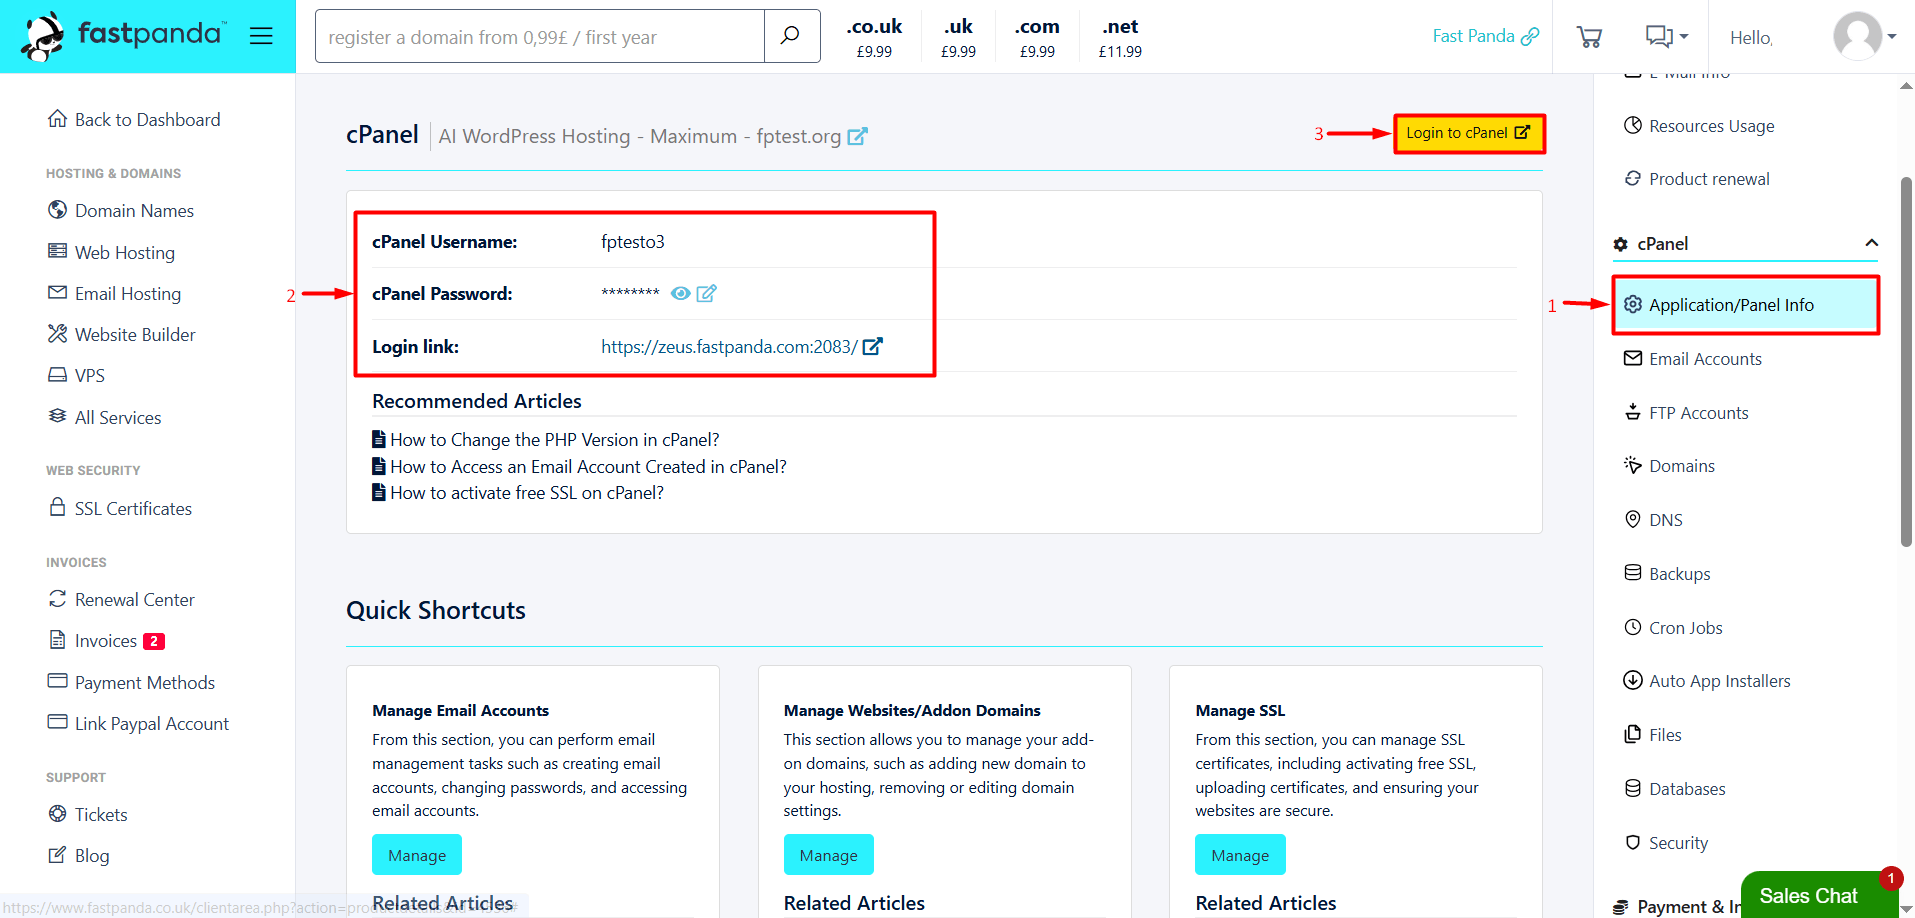
Application/Panel Info
From the Application/Panel Info section, you can view the following information related to your hosting service:
- cPanel username, password, and login link.
- Click the pencil icon next to Password to change your cPanel password.
- You can also click the Login to cPanel button on the same screen to log in to cPanel directly.
Email Accounts
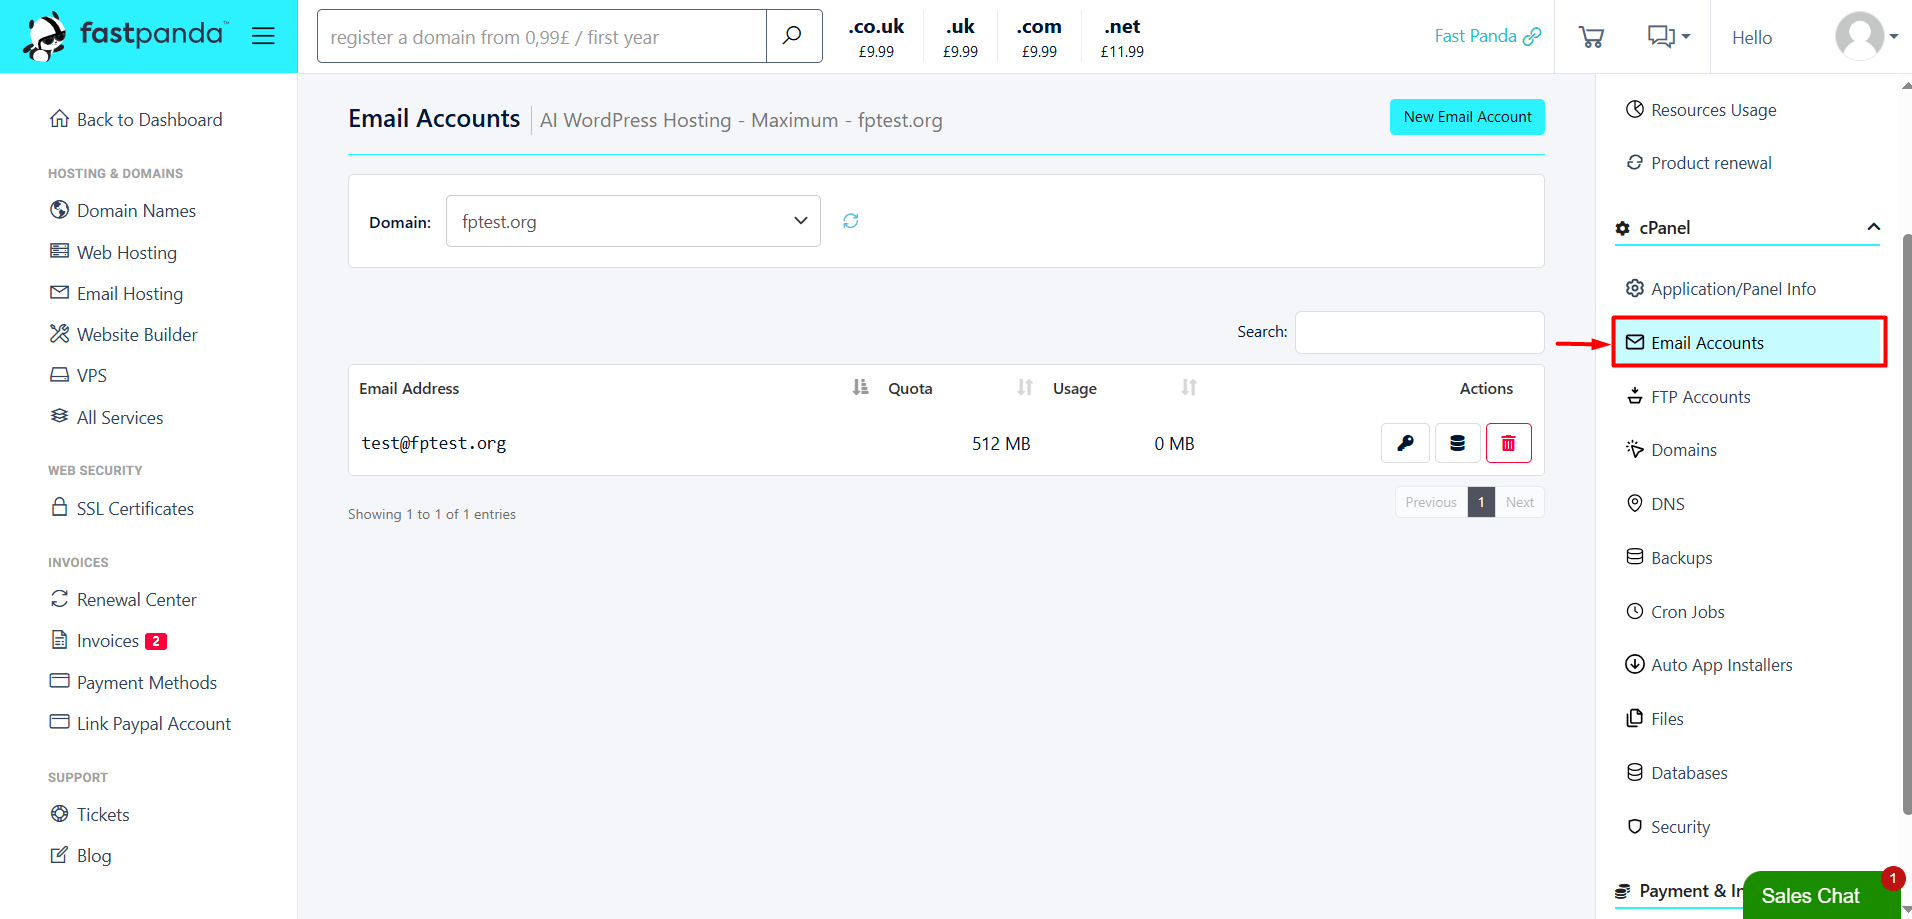
From the Email Accounts section, you can manage the email accounts associated with the domains connected to your hosting service. After selecting your domain, you can:
- Create a new email account, such as [email protected].
- Search for email accounts. If you have multiple email accounts, you can use the search feature to quickly find the account you are looking for.
- View existing email accounts, along with their quota and usage information.
- Change the password of an email account.
- Change the quota of an email account. The maximum available mailbox size may vary depending on the features of your hosting package.
- Delete email accounts that you no longer use.
Important: When you delete an email account, all emails stored in that account are permanently deleted and cannot be recovered. Therefore, we recommend backing up any important emails before deleting an email account. - Navigate between pages if you have a large number of email accounts.
FTP Accounts
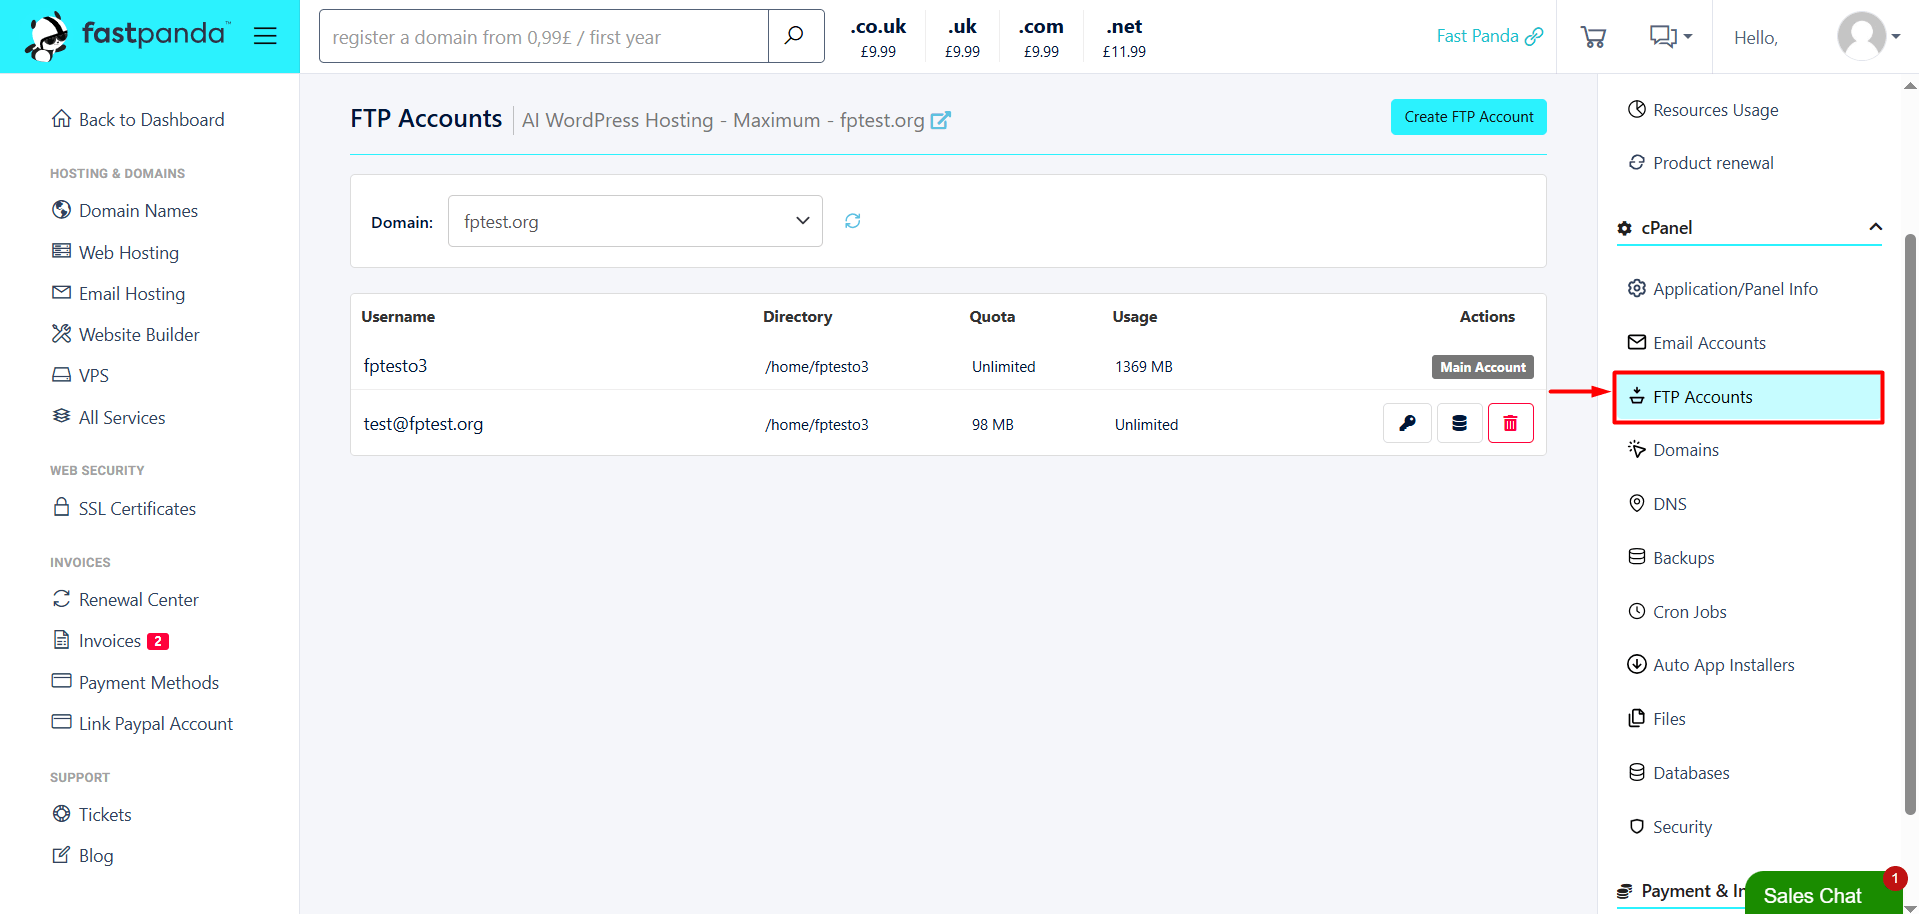
From the FTP Accounts section, you can manage the FTP accounts you use to access your website files. After selecting your domain, you can:
- Create a new FTP account and specify the directory the account can access.
- View existing FTP accounts, along with their directory, quota, and usage information.
- Change the password of an FTP account.
- Change the quota of an FTP account.
- Delete FTP accounts that you no longer use.
Important: The main FTP accounts cannot be modified.
Domains
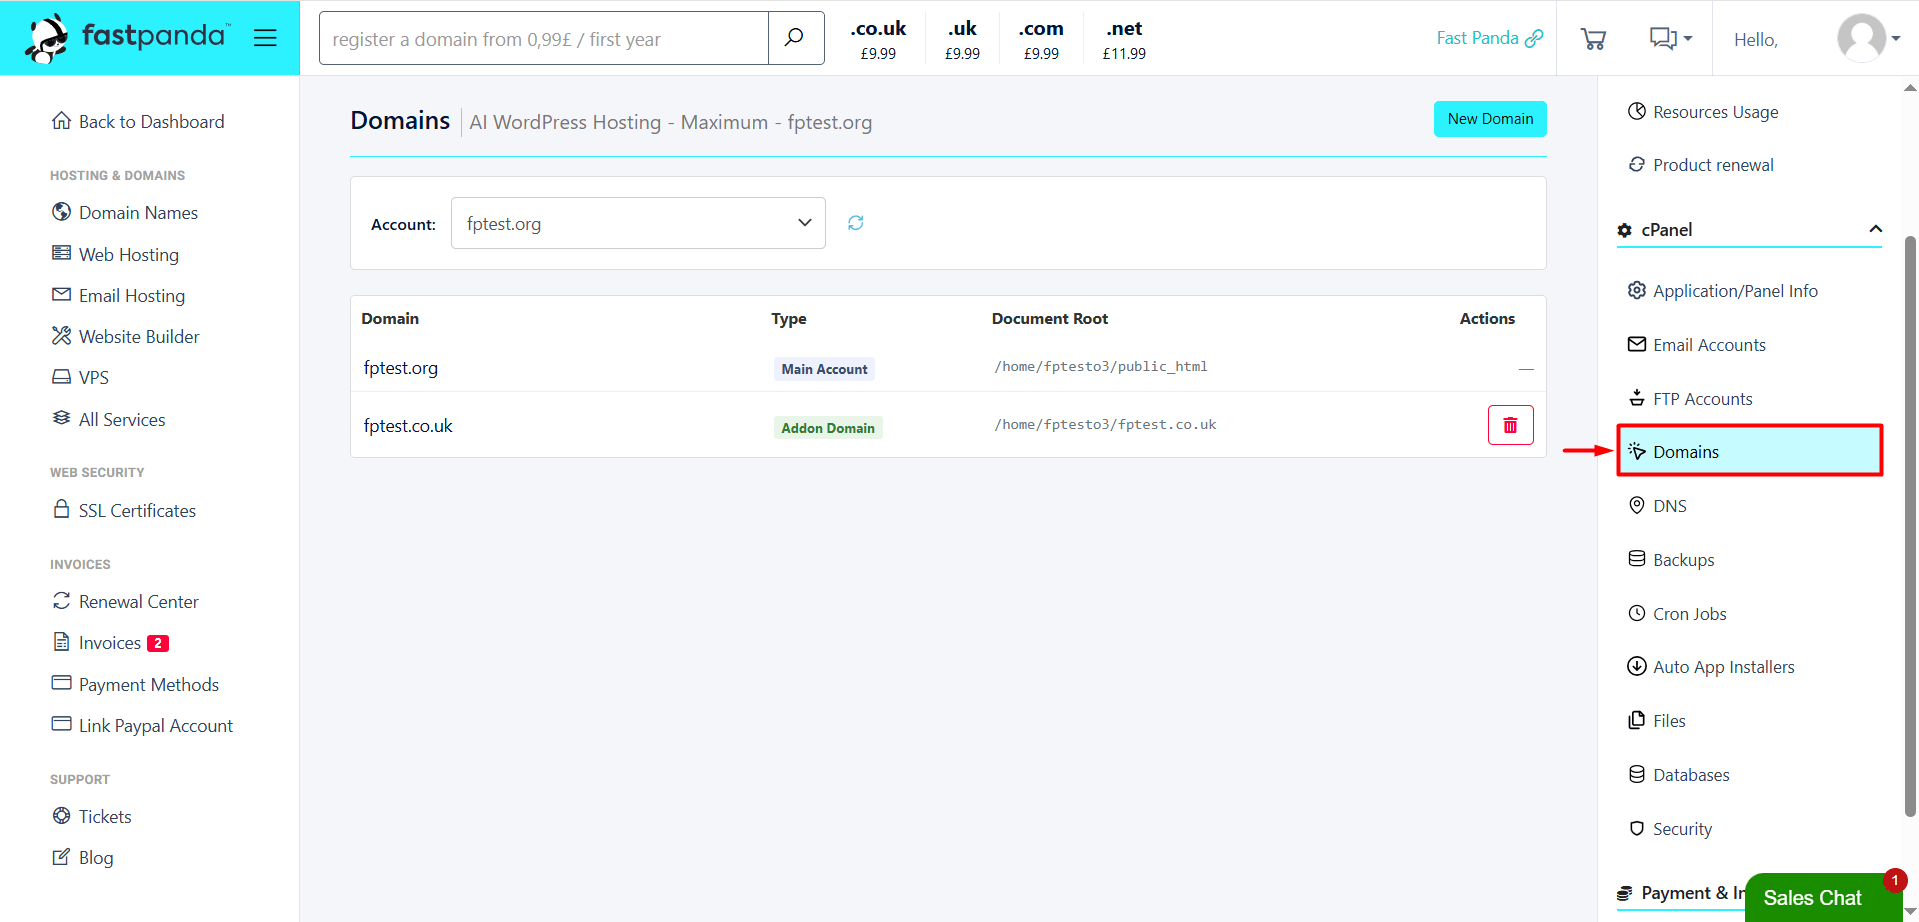
From the Domains section, you can manage the domains, additional domains, and subdomains associated with your hosting account. You can perform the following operations from this section:
- Click the “+ New Domain” button to use one of the following options:
- New Website (Addon Domain): Add another domain to your hosting account and create an independent website that runs from a separate directory.
- Show the Same Site on Another Domain (Alias): Configure another domain to display the same content as your main website.
- Create Subdomain: Create a subdomain such as blog.yourdomain.com and specify a directory for it.
- View existing domains associated with your hosting account, along with their type and document root information.
- Delete aliases, addon domains, and subdomains that you have created and no longer need by clicking the trash icon.
Important: The main account cannot be deleted.
DNS
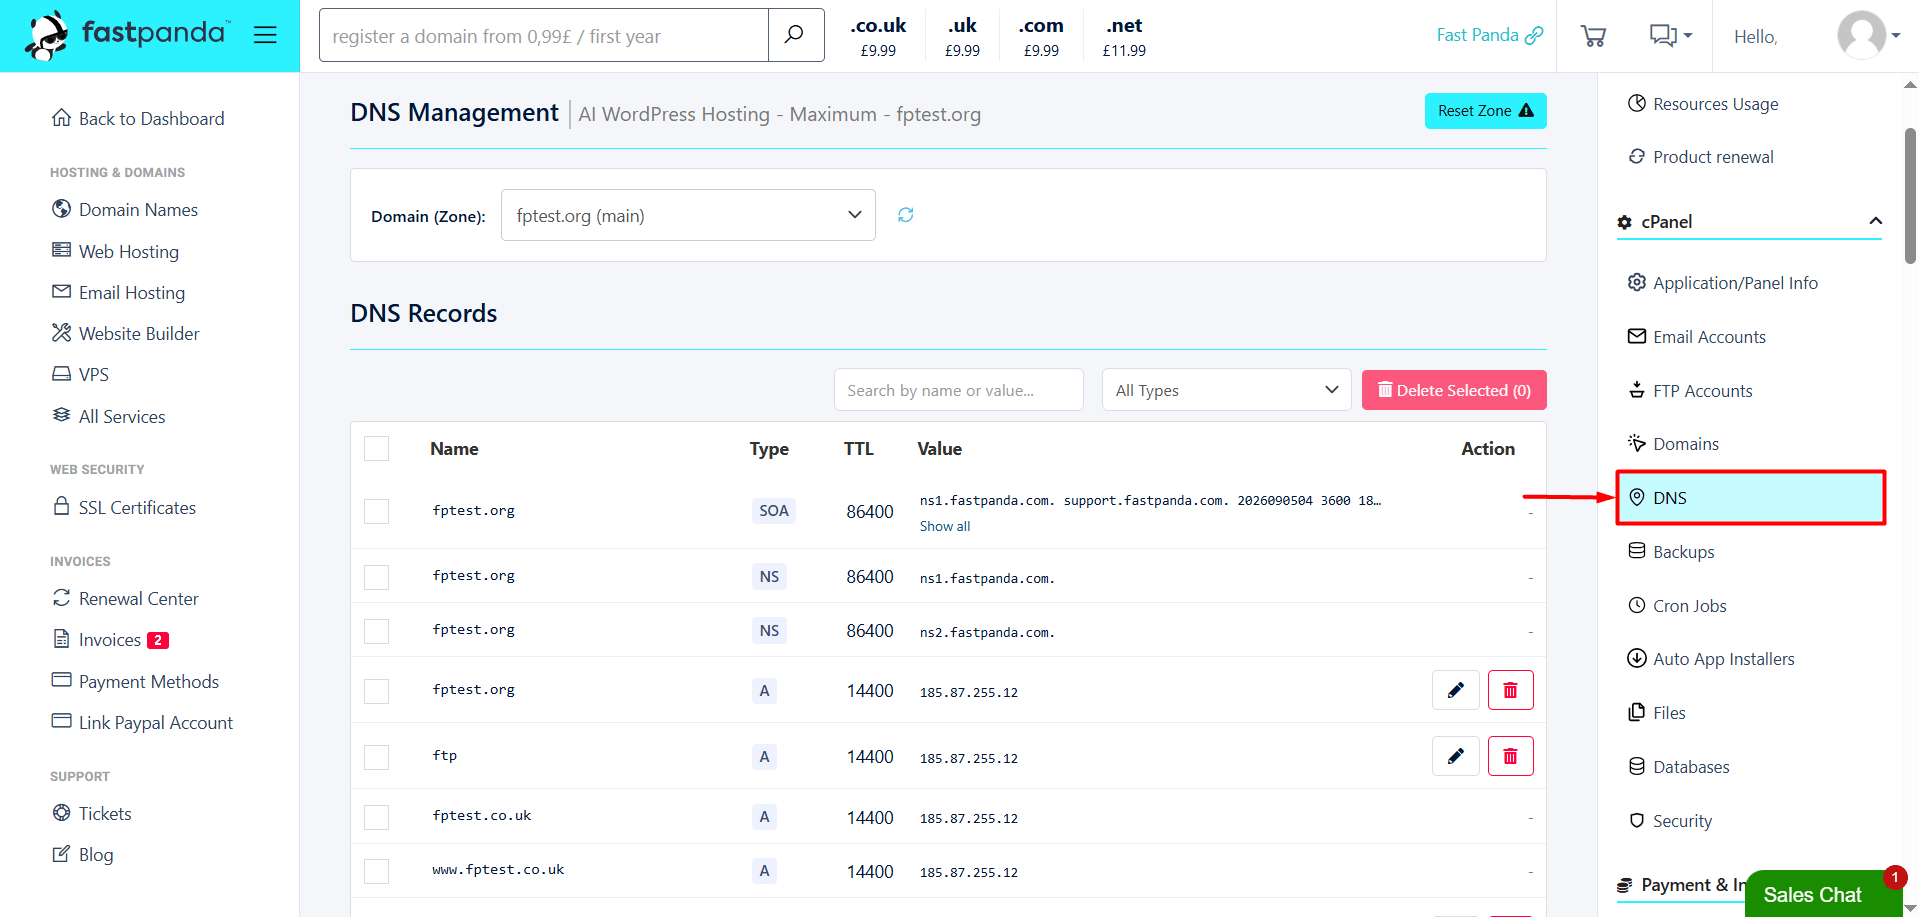
From the DNS section, you can manage the DNS records associated with your domains. After selecting your domain, you can:
- View DNS records such as A, MX, TXT, CNAME, and other record types.
- Search for DNS records.
- Add new DNS records.
- Edit existing DNS records.
- Delete DNS records.
- Reset DNS records to their default configuration.
Important: Incorrect changes to DNS records may cause your website or email services to stop working. We recommend checking your existing DNS configuration before modifying any records you are unsure about.
In addition, if your domain’s NS records are not pointing to the authoritative DNS servers of your hosting package, DNS changes made through the Customer Panel will not take effect.
Backups
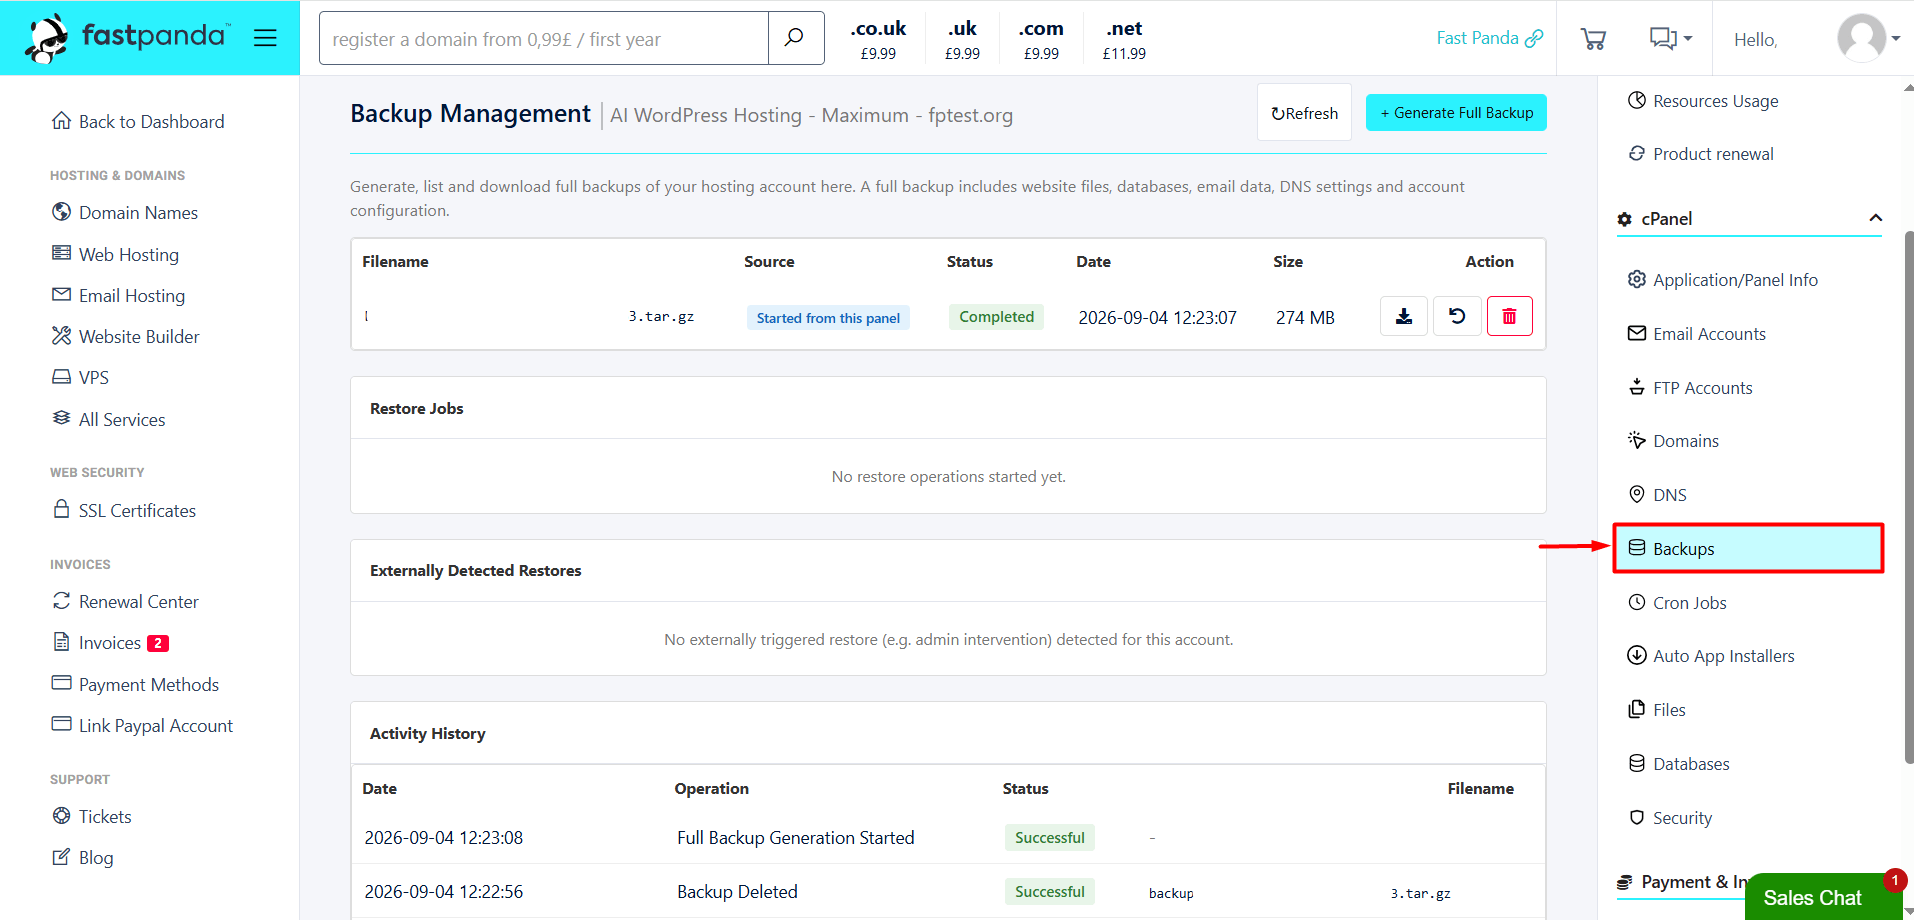
From the Backups section, you can manage backups for your hosting account. From this section, you can:
- Create a backup.
- View existing backups along with their details, and download, restore, or delete them.
- View restoration tasks.
- View externally detected restorations, if any.
- View the activity history of completed operations.
Cron Jobs
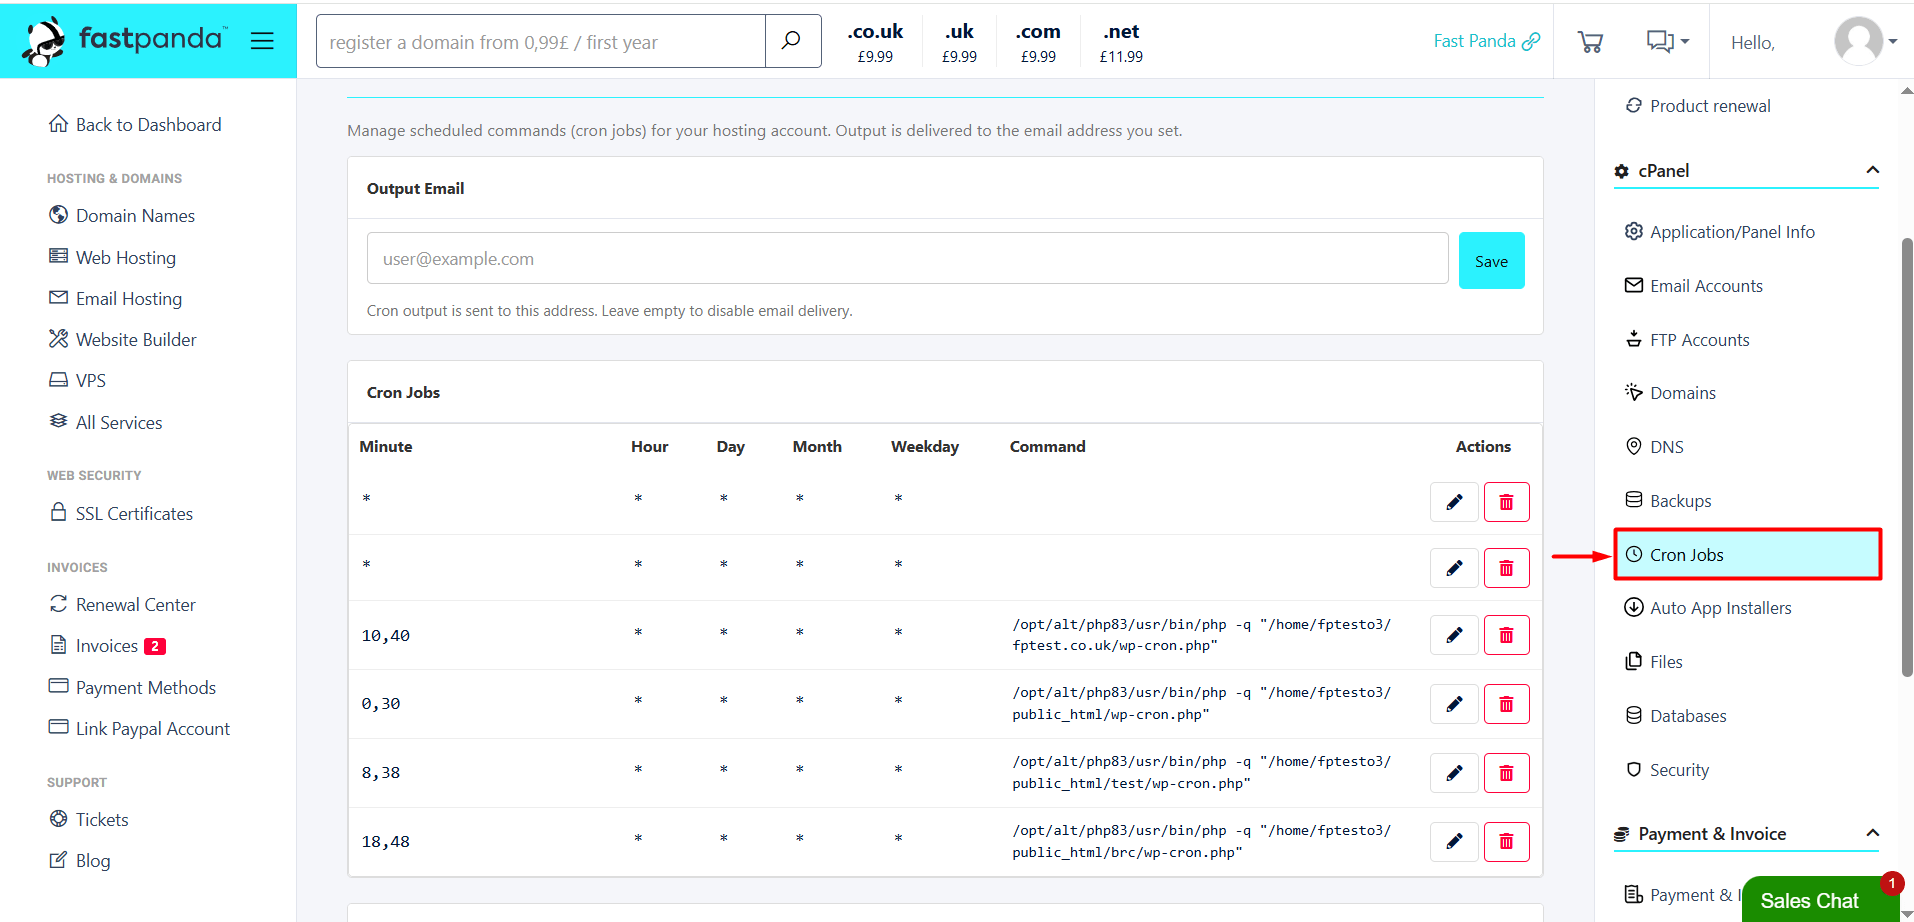
From the Cron Jobs section, you can create and manage tasks that are automatically executed on the server at specified times. From this section, you can:
- Send Cron Job output to a specified email address if you have added a Cron Job.
- Add a new Cron Job.
- View existing Cron Jobs.Edit Cron Jobs you have previously added.
- Delete Cron Jobs that you no longer need.
Auto App Installers
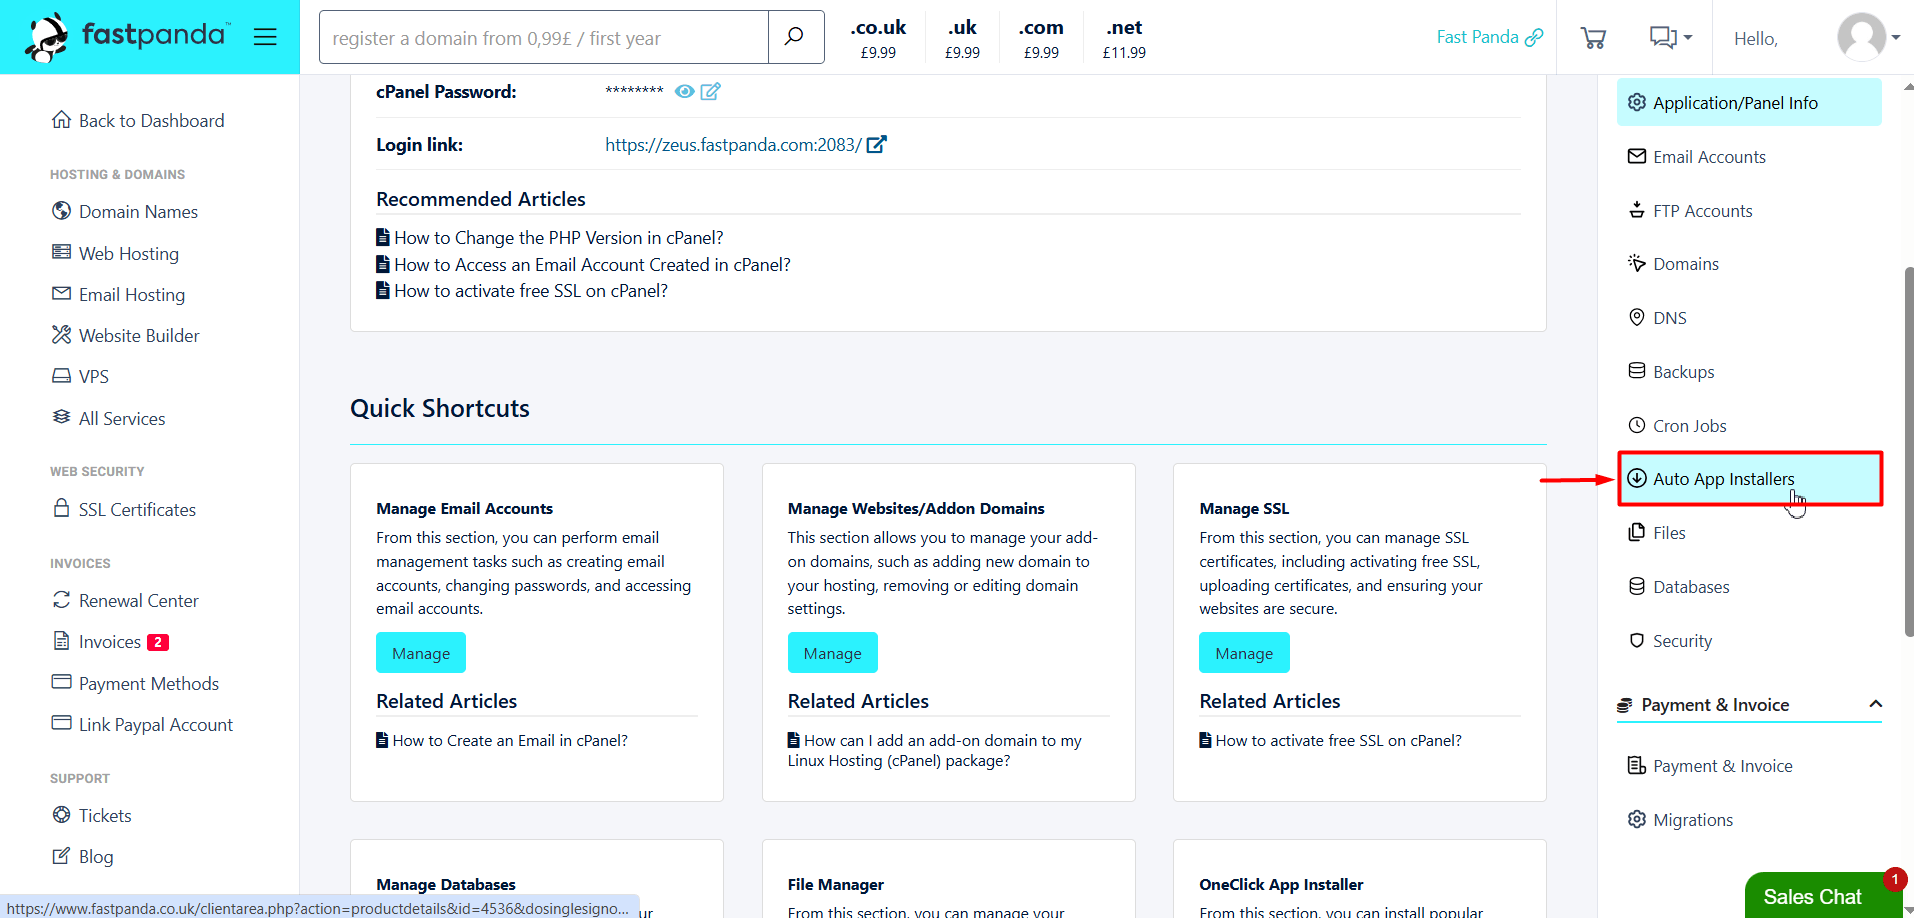
When you click the Auto App Installers button, you will be automatically redirected to cPanel. From the Softaculous Apps Installer in cPanel, you can select and automatically install supported applications, such as WordPress.
Files
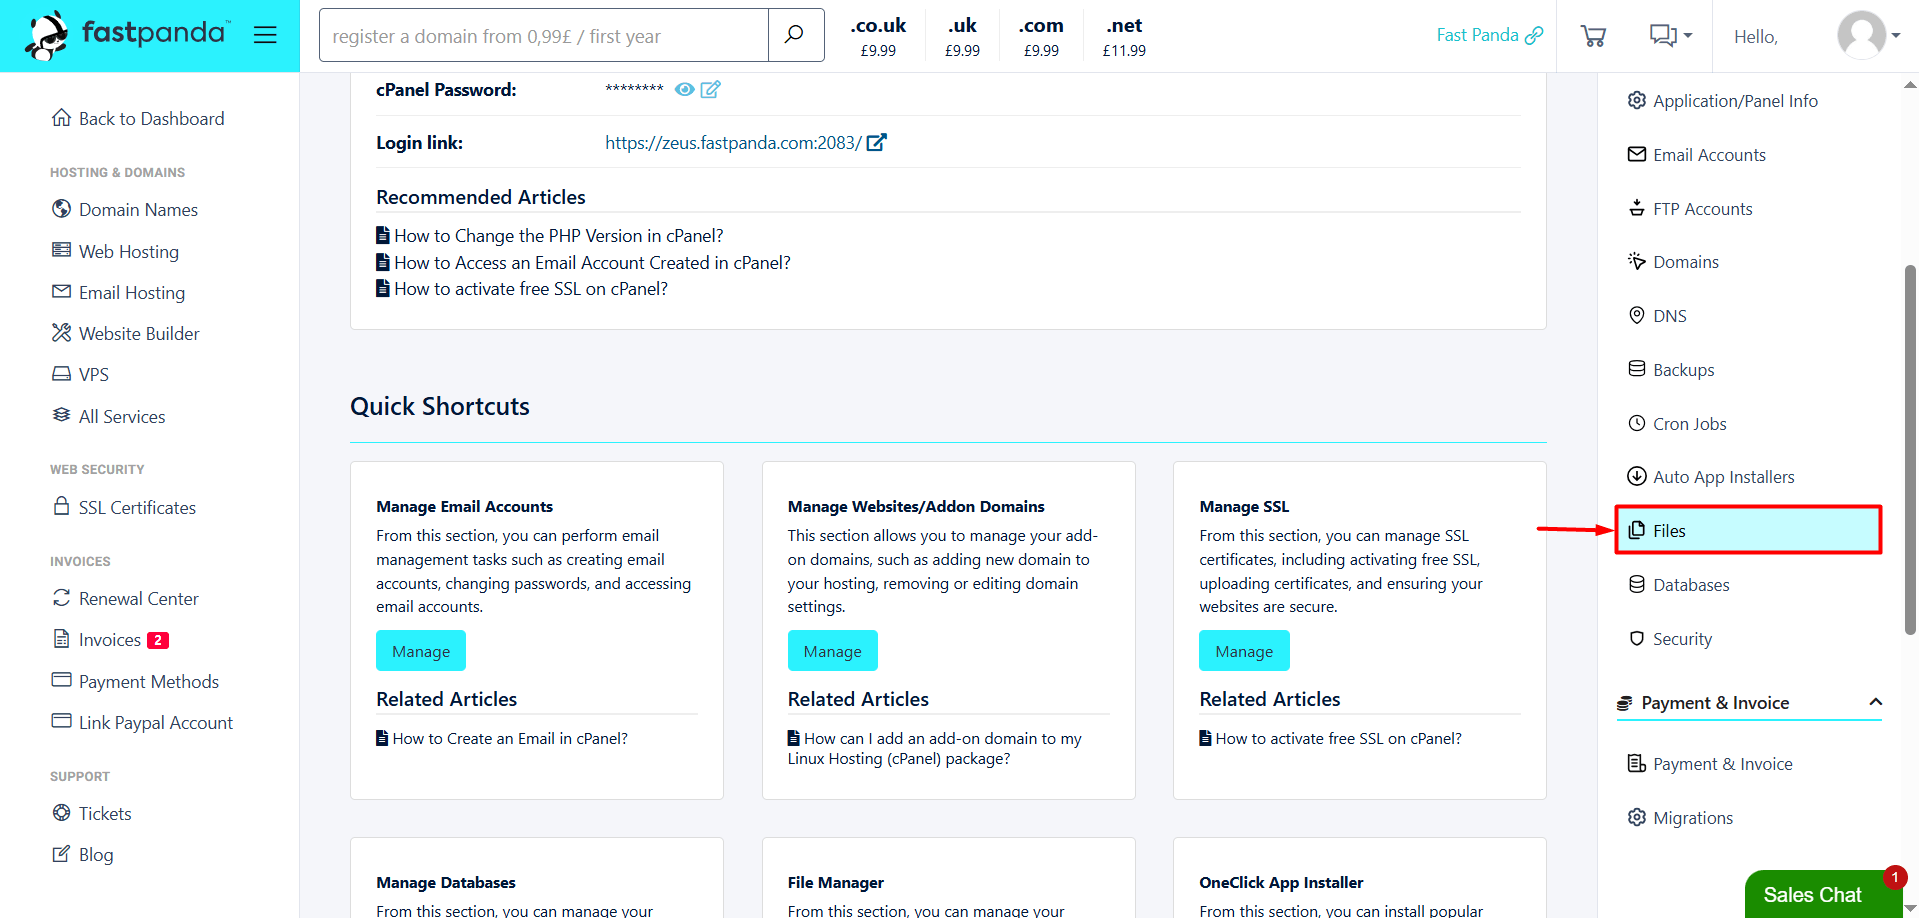
From the Files section, you can access cPanel. Using the File Manager in cPanel, you can:
- View your website files.
- Upload new files.
- Edit and manage existing files.
Databases
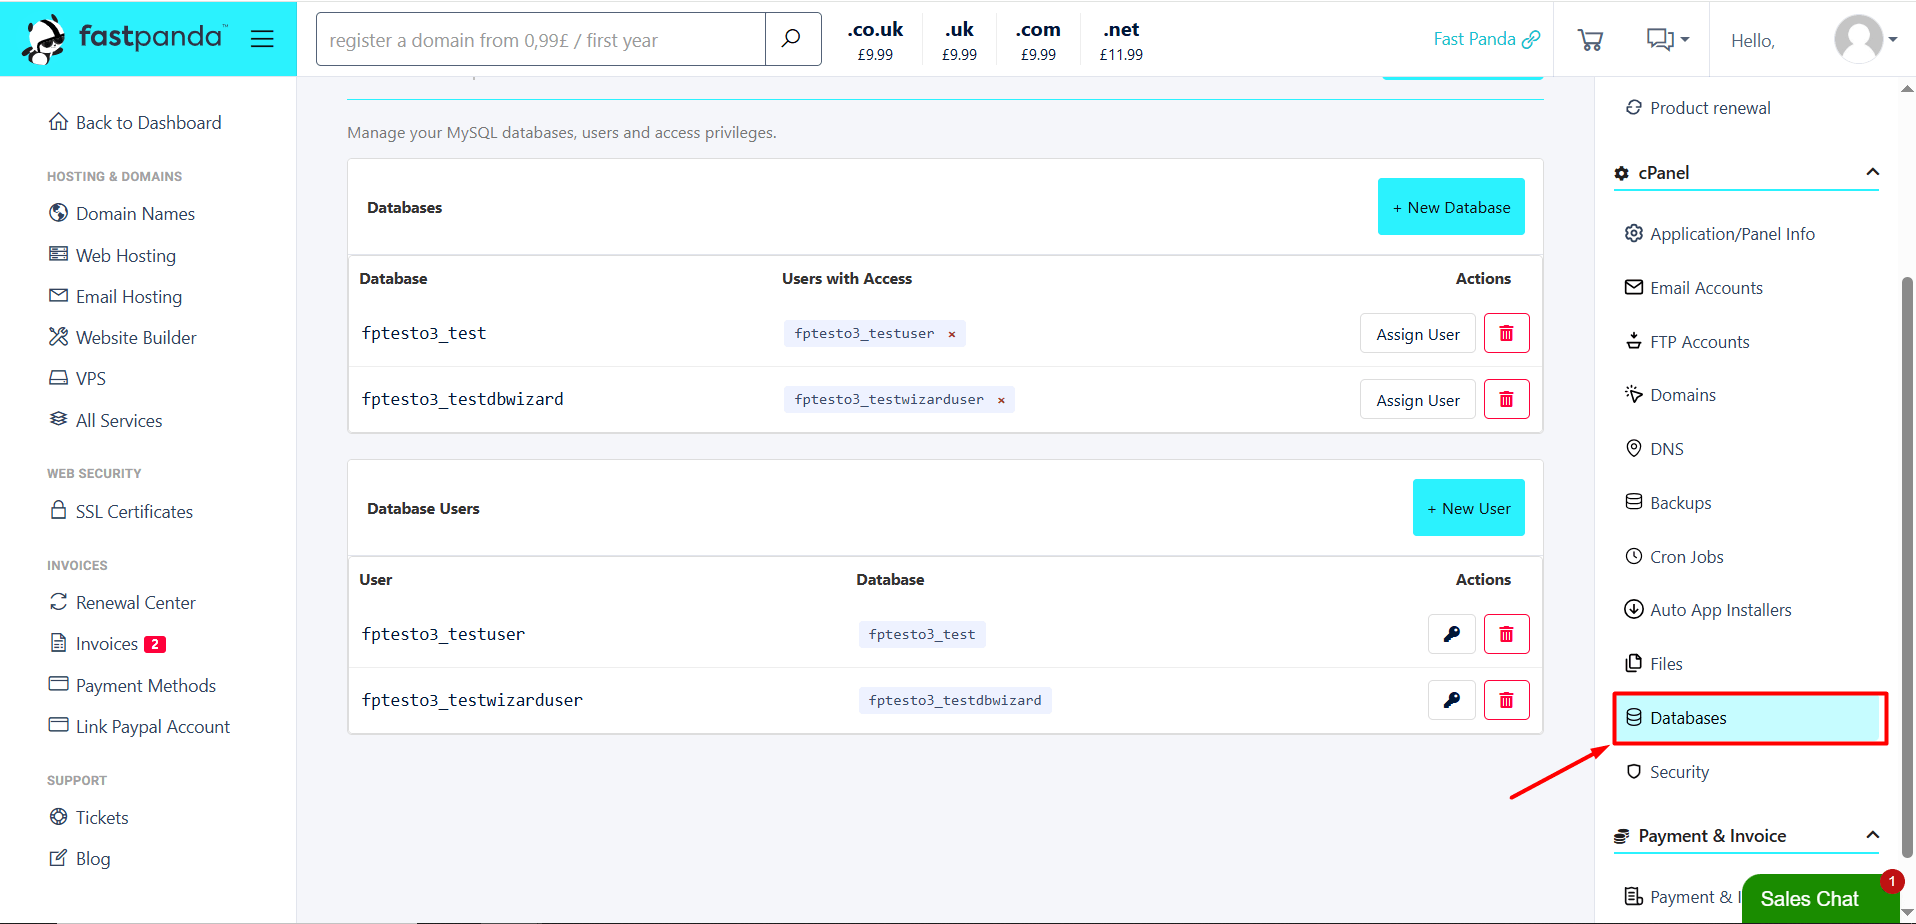
From the Databases section, you can manage the MySQL databases and database users used by your websites. After selecting your domain, you can manage your databases and database users as follows:
- Database Management
- Click the + New Database button to create a new database.
- View existing databases.
- View the user assigned to a database. You can click the X icon next to the assigned user to remove the user’s access to the database.
- Click the Assign User button to assign a user to a database and update the database privileges of an existing user.
- Delete databases you no longer use by clicking the trash icon.
Important: When you delete a database, the database and all data it contains are permanently deleted and cannot be recovered.
- Database User Management
- Click the + New User button to create a new database user.
- View existing database users.
- View the database associated with each user.
- Click the Change Password button to change the database user’s password.
- Delete database users you no longer use by clicking the trash icon.
Important: When you delete a database user, their access to all databases they are assigned to is removed.
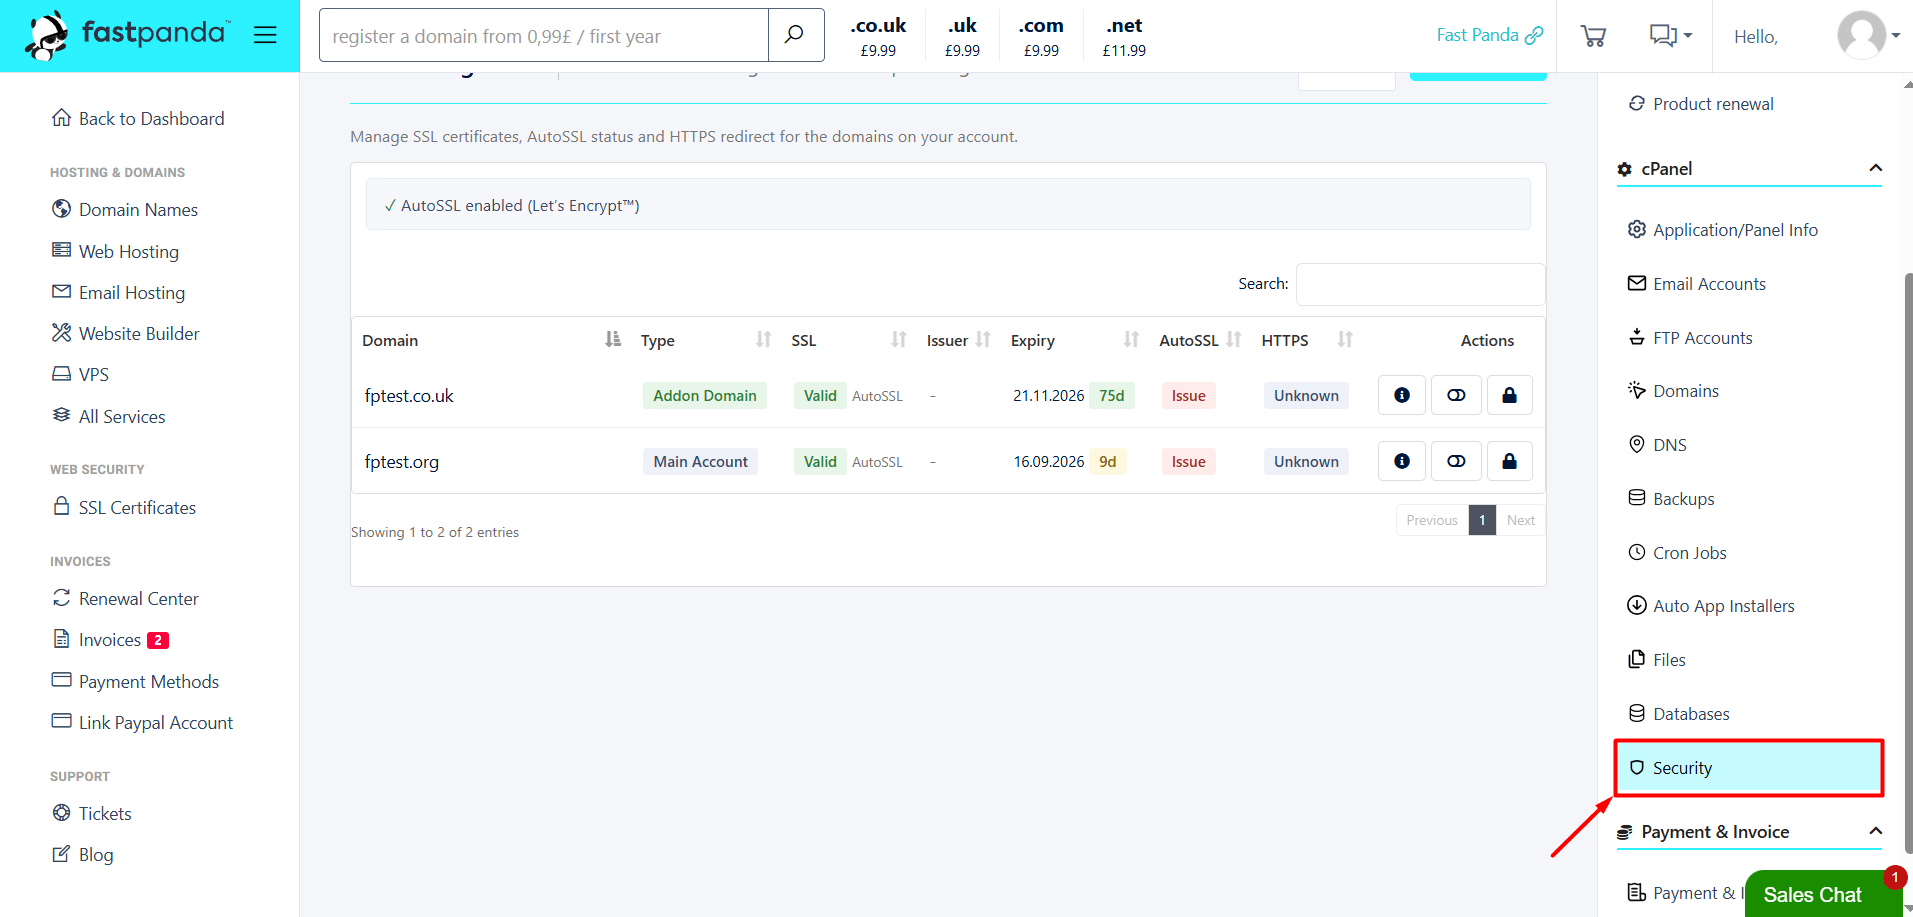
Security
From the Security section, you can check the AutoSSL status of your domains. On the page that opens, you can:
- View your domains associated with your hosting account, along with their type, expiration date, AutoSSL, and HTTPS information.
- Search for domains.
- Navigate between pages if you have a large number of domains or SSL records.
- Click the Run AutoSSL button to restart the SSL activation process.
- View SSL details.
- Disable the active AutoSSL feature.