Create your WordPress site with AI in 60 seconds.




























To create your own email server on Windows Server, you can install MailEnable. MailEnable is a mail server software that supports email services such as SMTP, POP3, and IMAP.
To install MailEnable, first connect to your Windows Server. For more information about connecting to a Windows Server, you can refer to our article “How to Connect to a Windows Server?“.
After connecting to the server, open Server Manager. Once you have opened it, follow the steps below.
- If IIS is not installed, install it first. For more information about installing IIS, you can refer to our article “How to Install IIS on a Windows Server?“
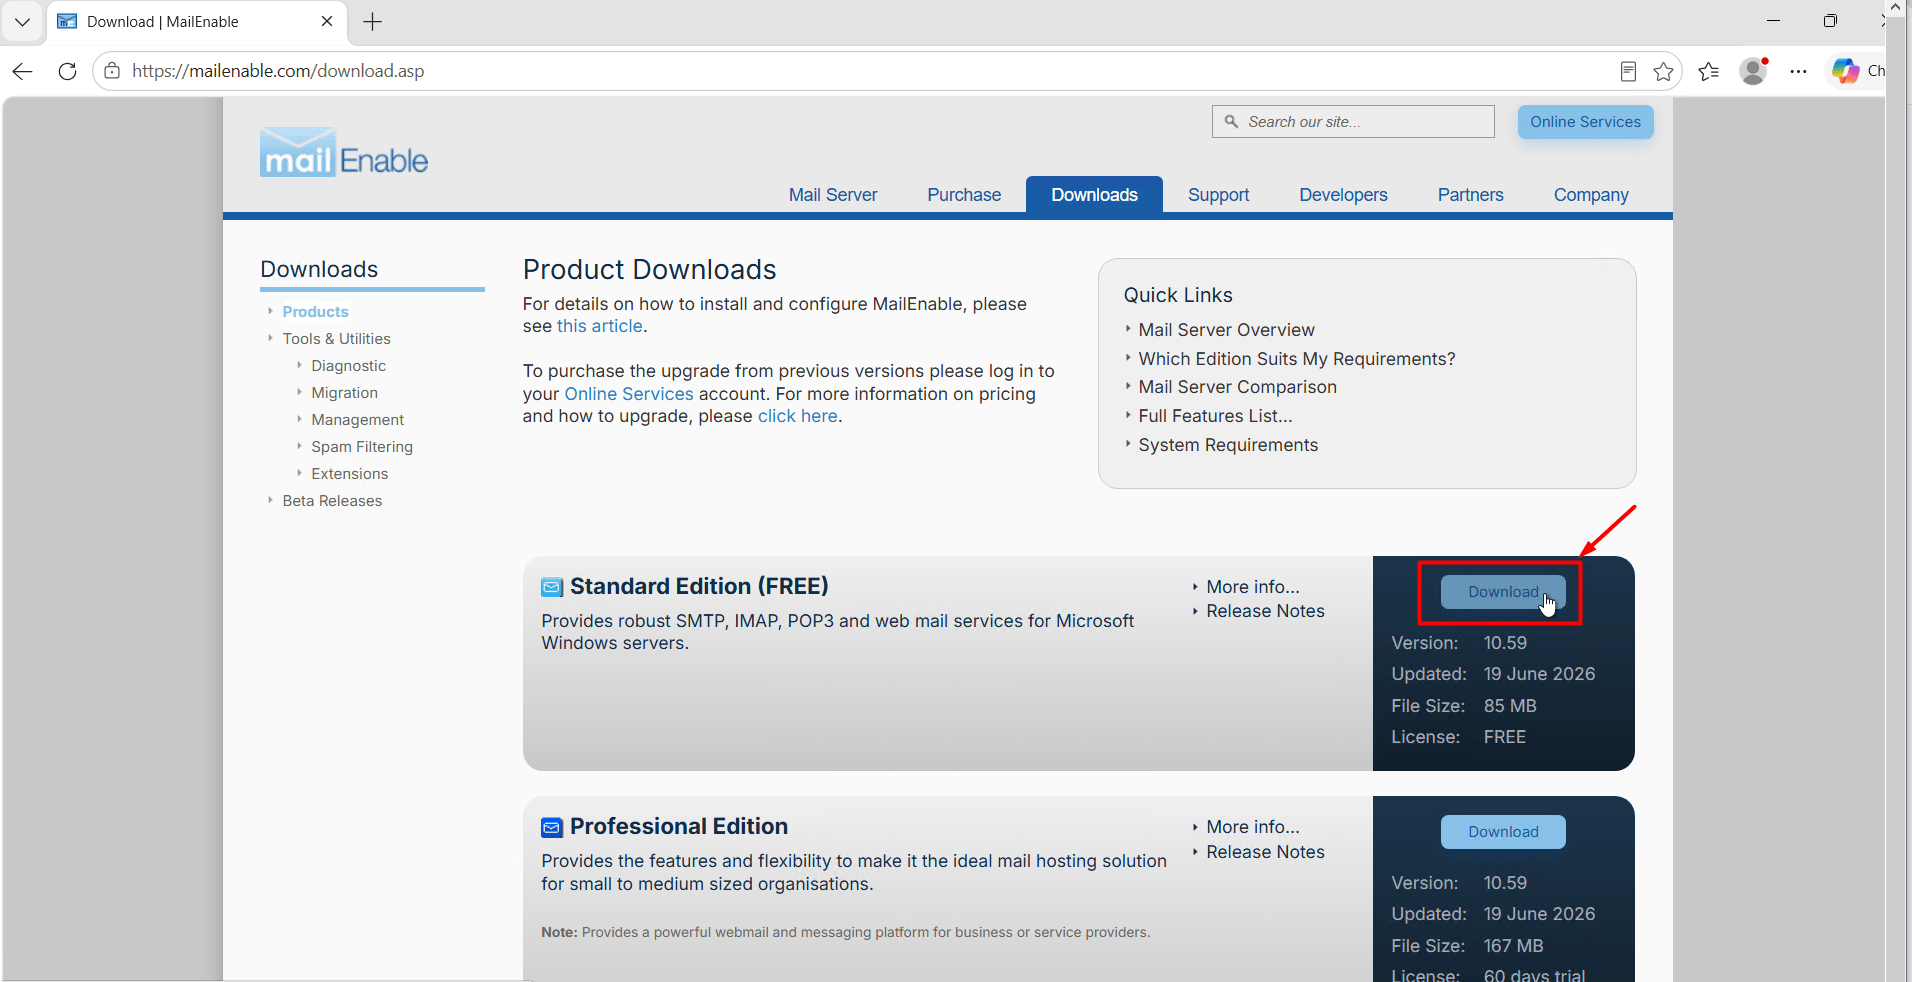
- Access the official MailEnable website through your browser and download the installation files. (MailEnable Standard Edition is currently free, so you can download the free edition.)
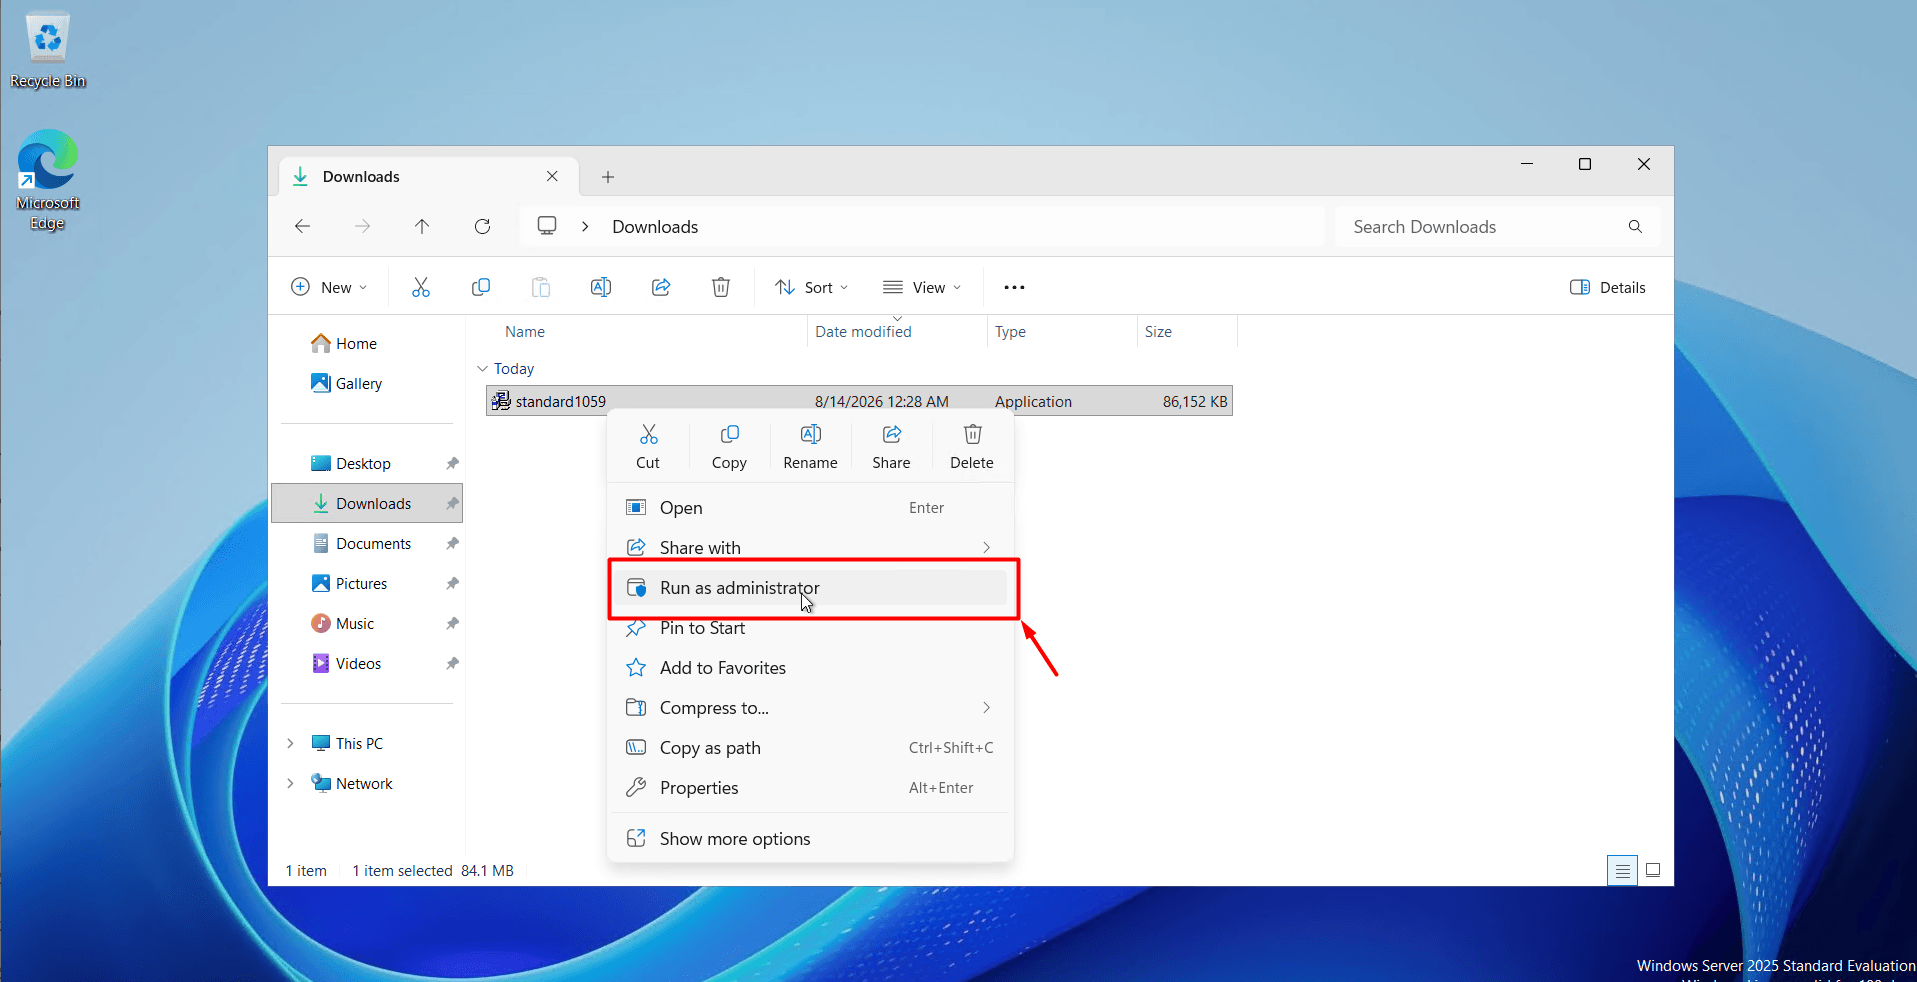
- After downloading the installation file to your server, right-click the file and select “Run as administrator” to launch it with administrator privileges.
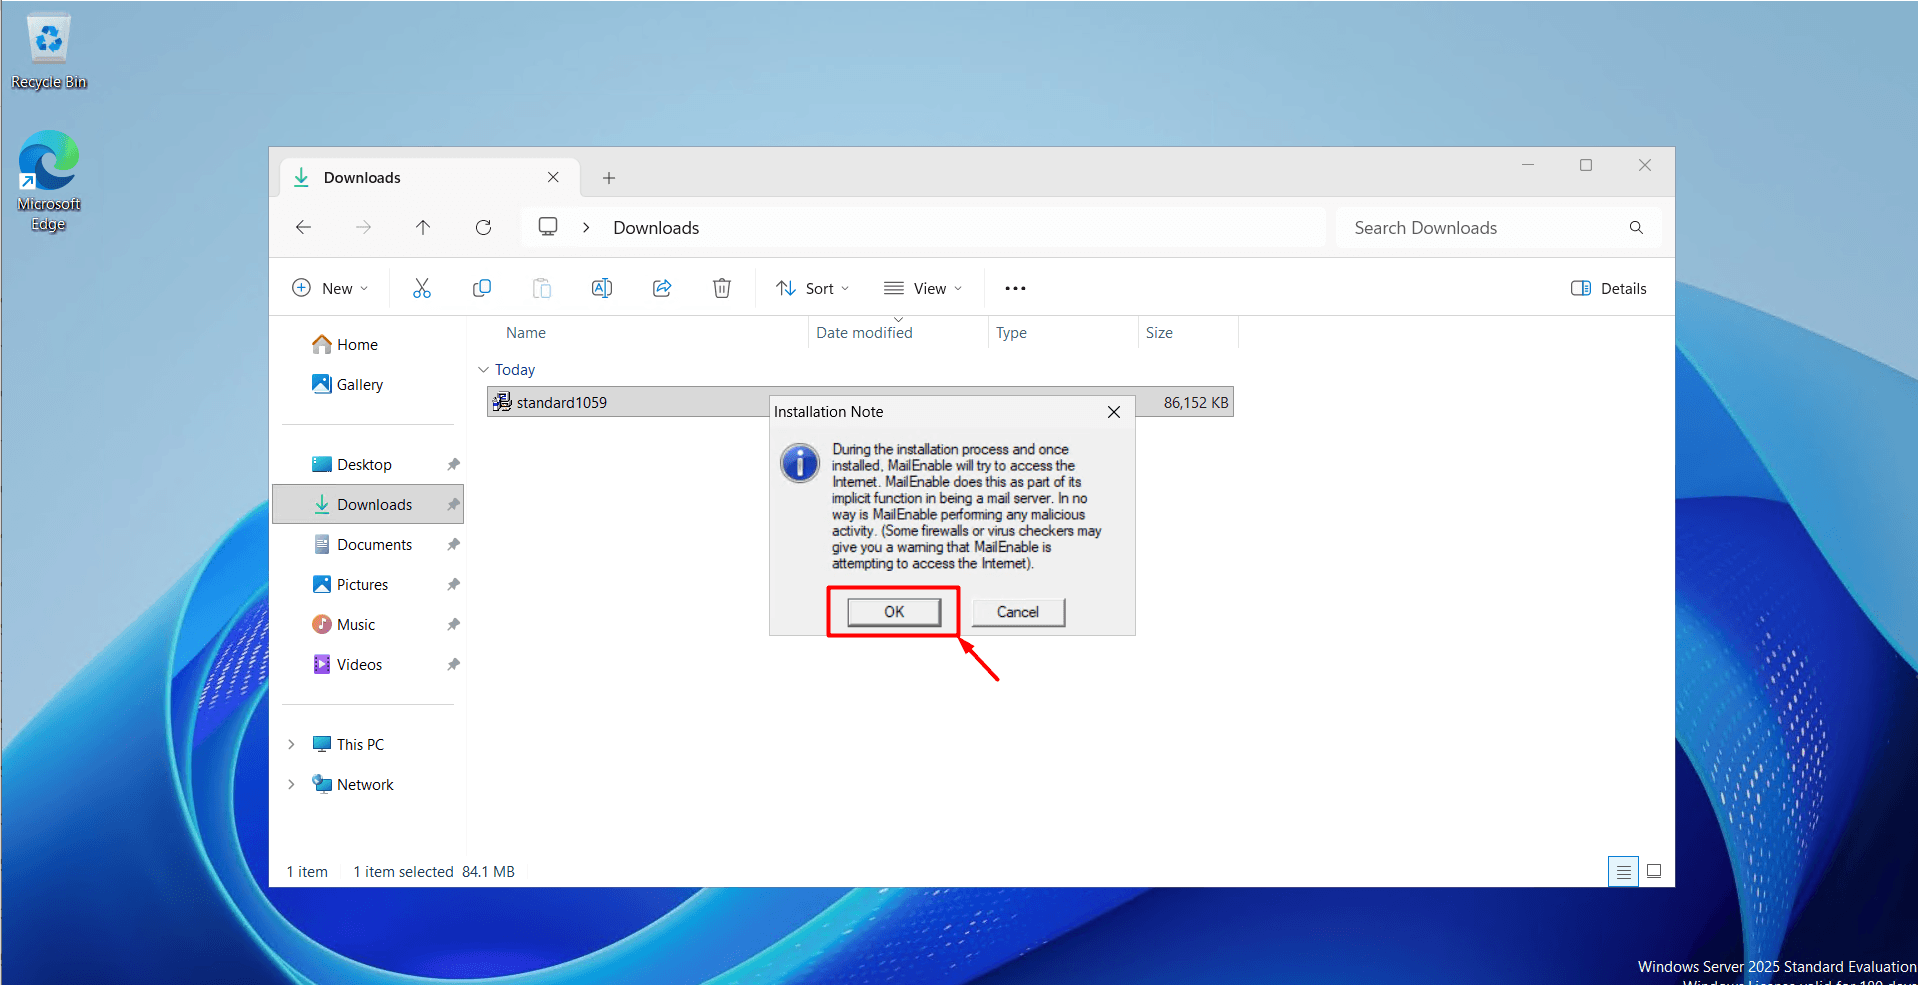
- Click “OK” on the information prompt. The installation will begin after this step.
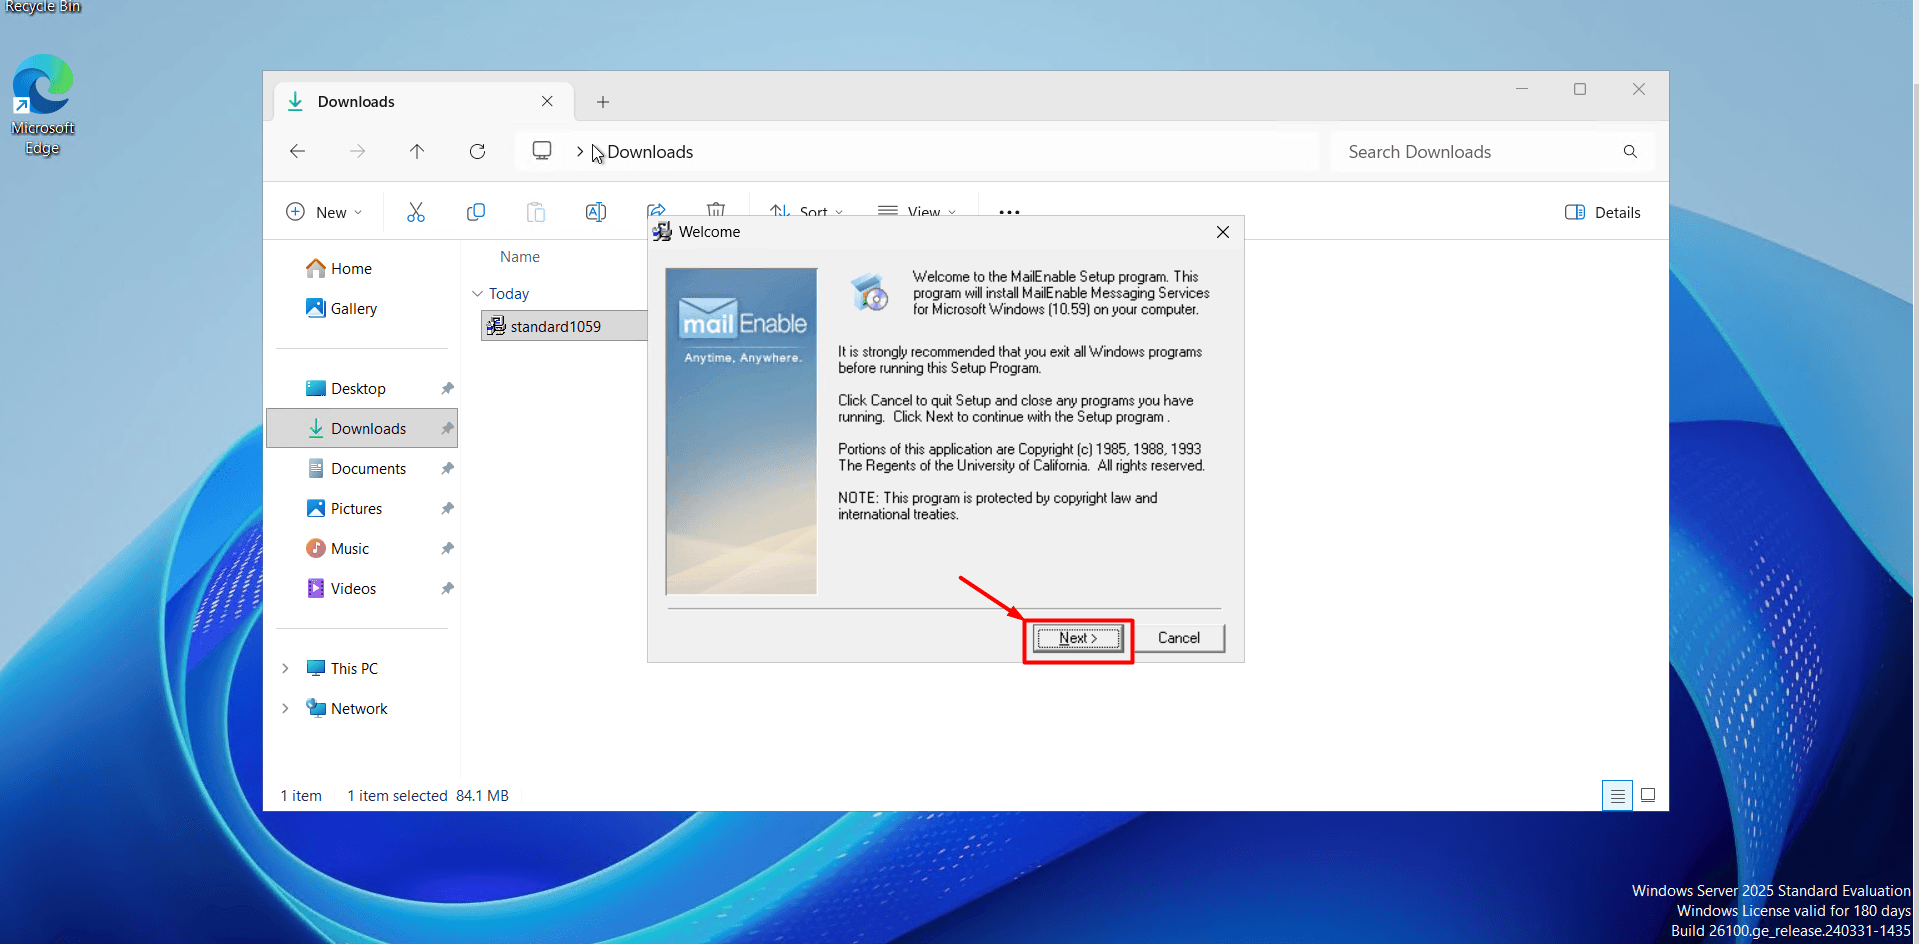
- Click “Next” to continue with the installation.
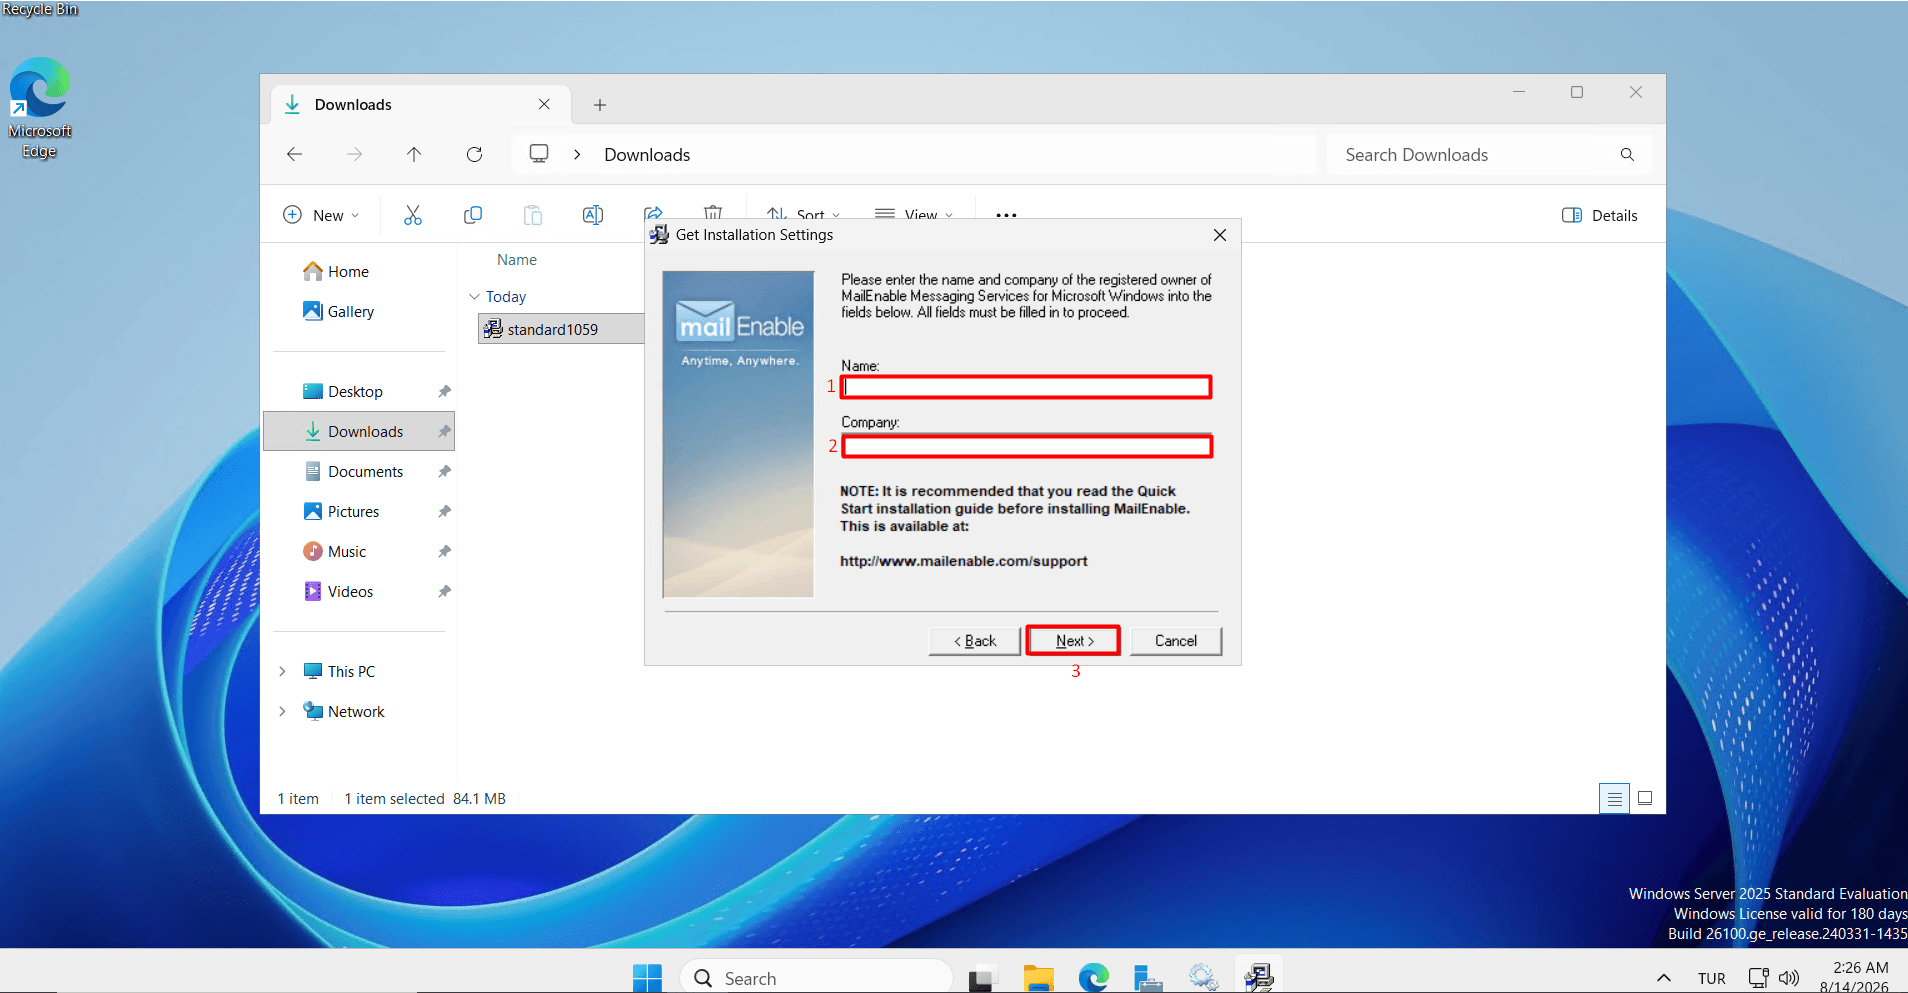
- In the window that opens, you will be asked to enter your “Name“ and “Company” information. Enter the name of the person performing the installation and the company name, then click “Next“.
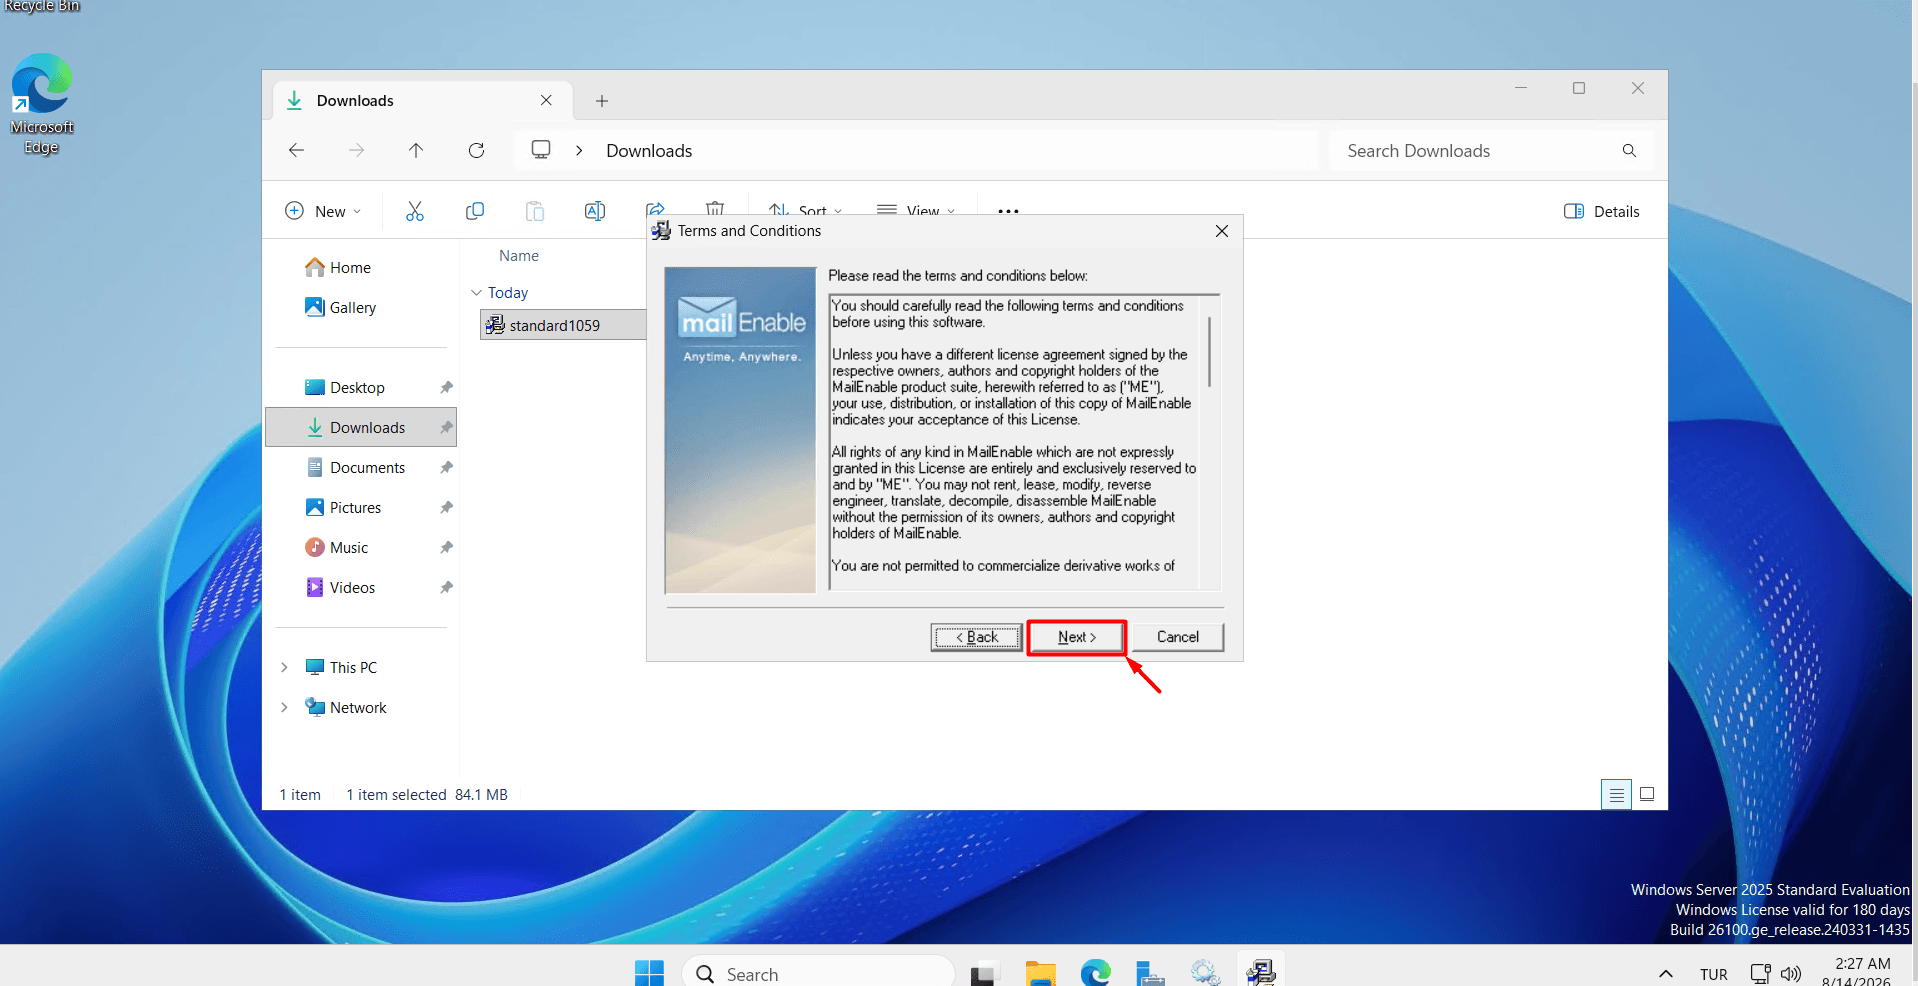
- Continue by clicking the “Next” button until you reach the Post Office screen.
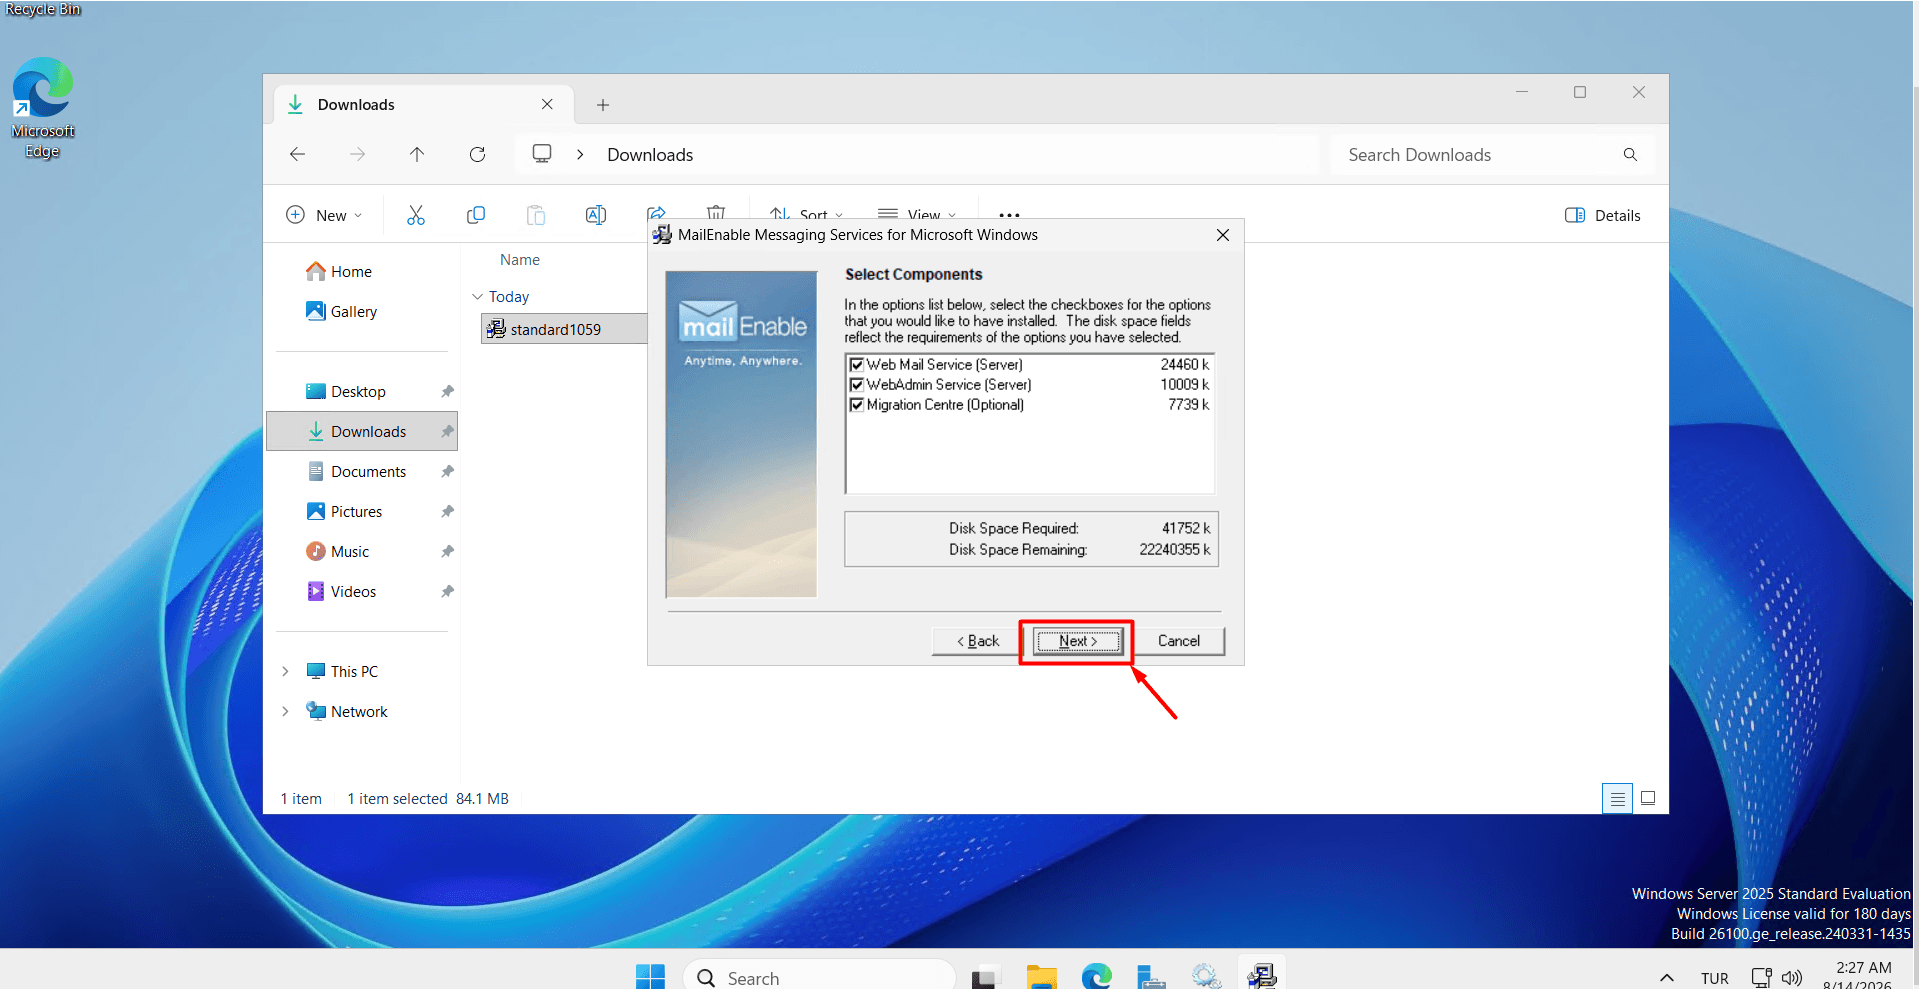
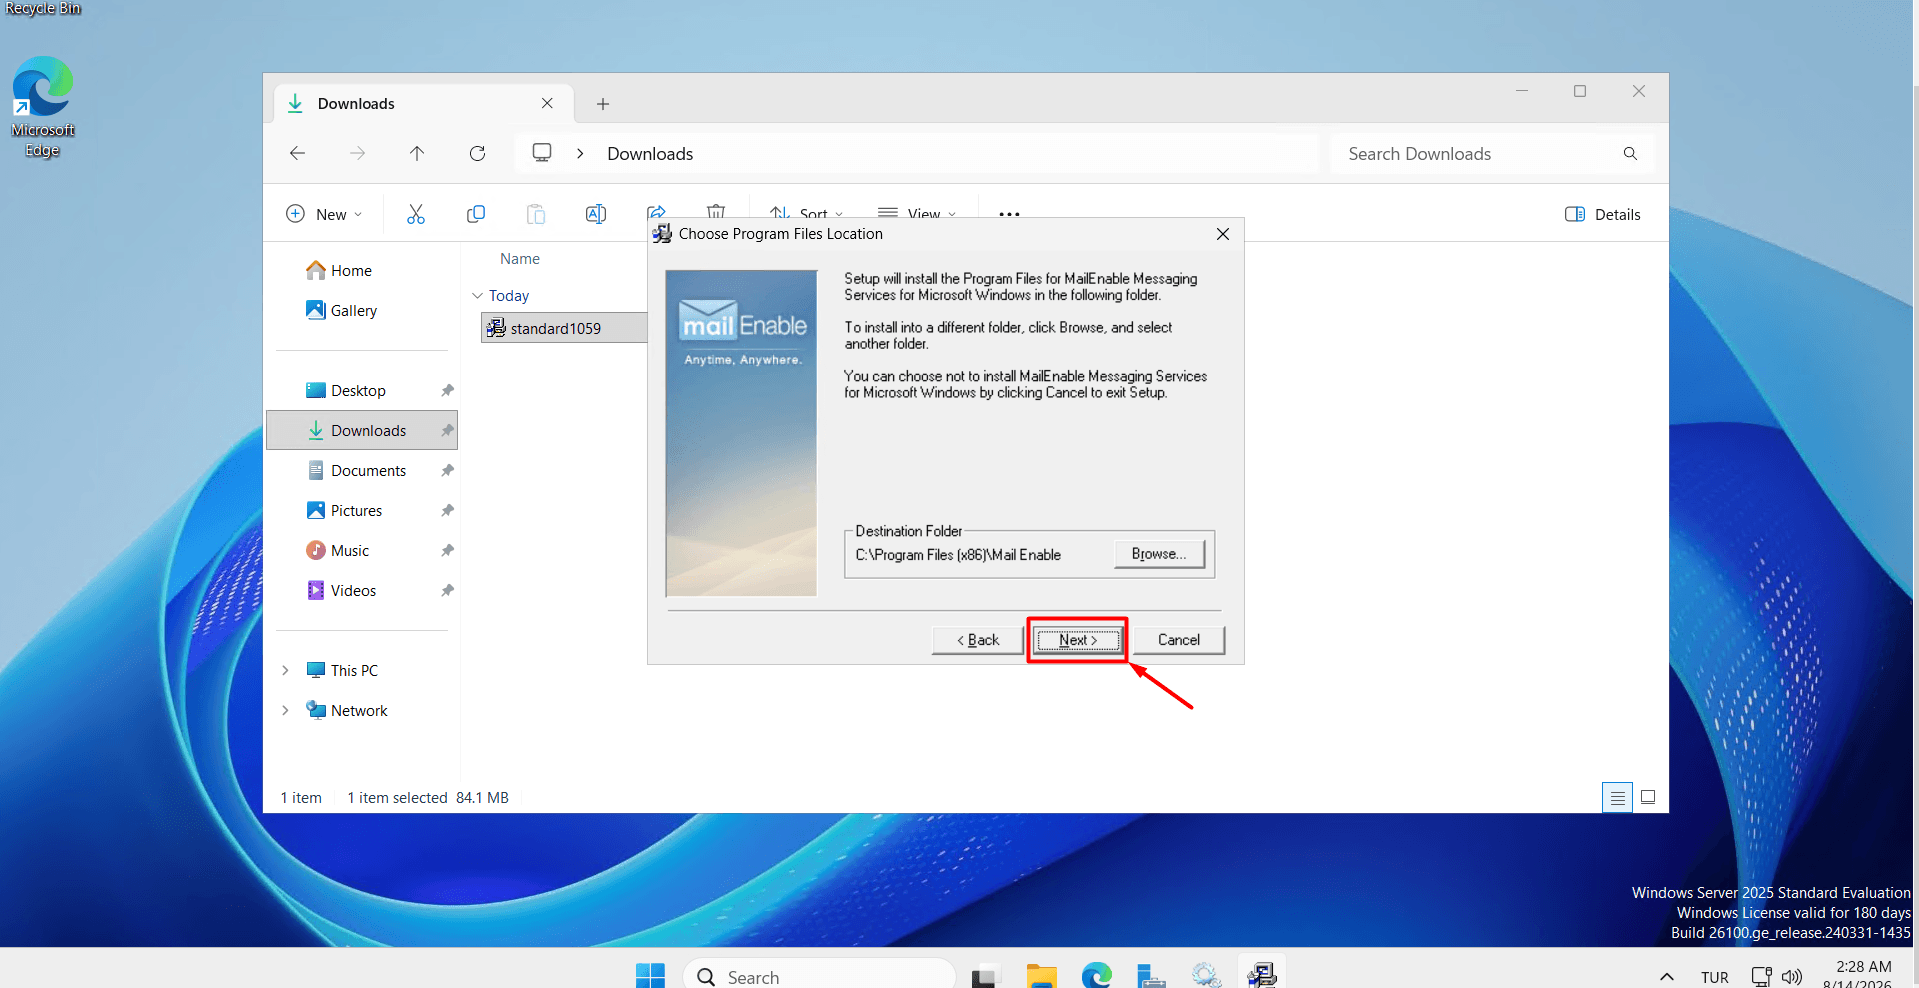
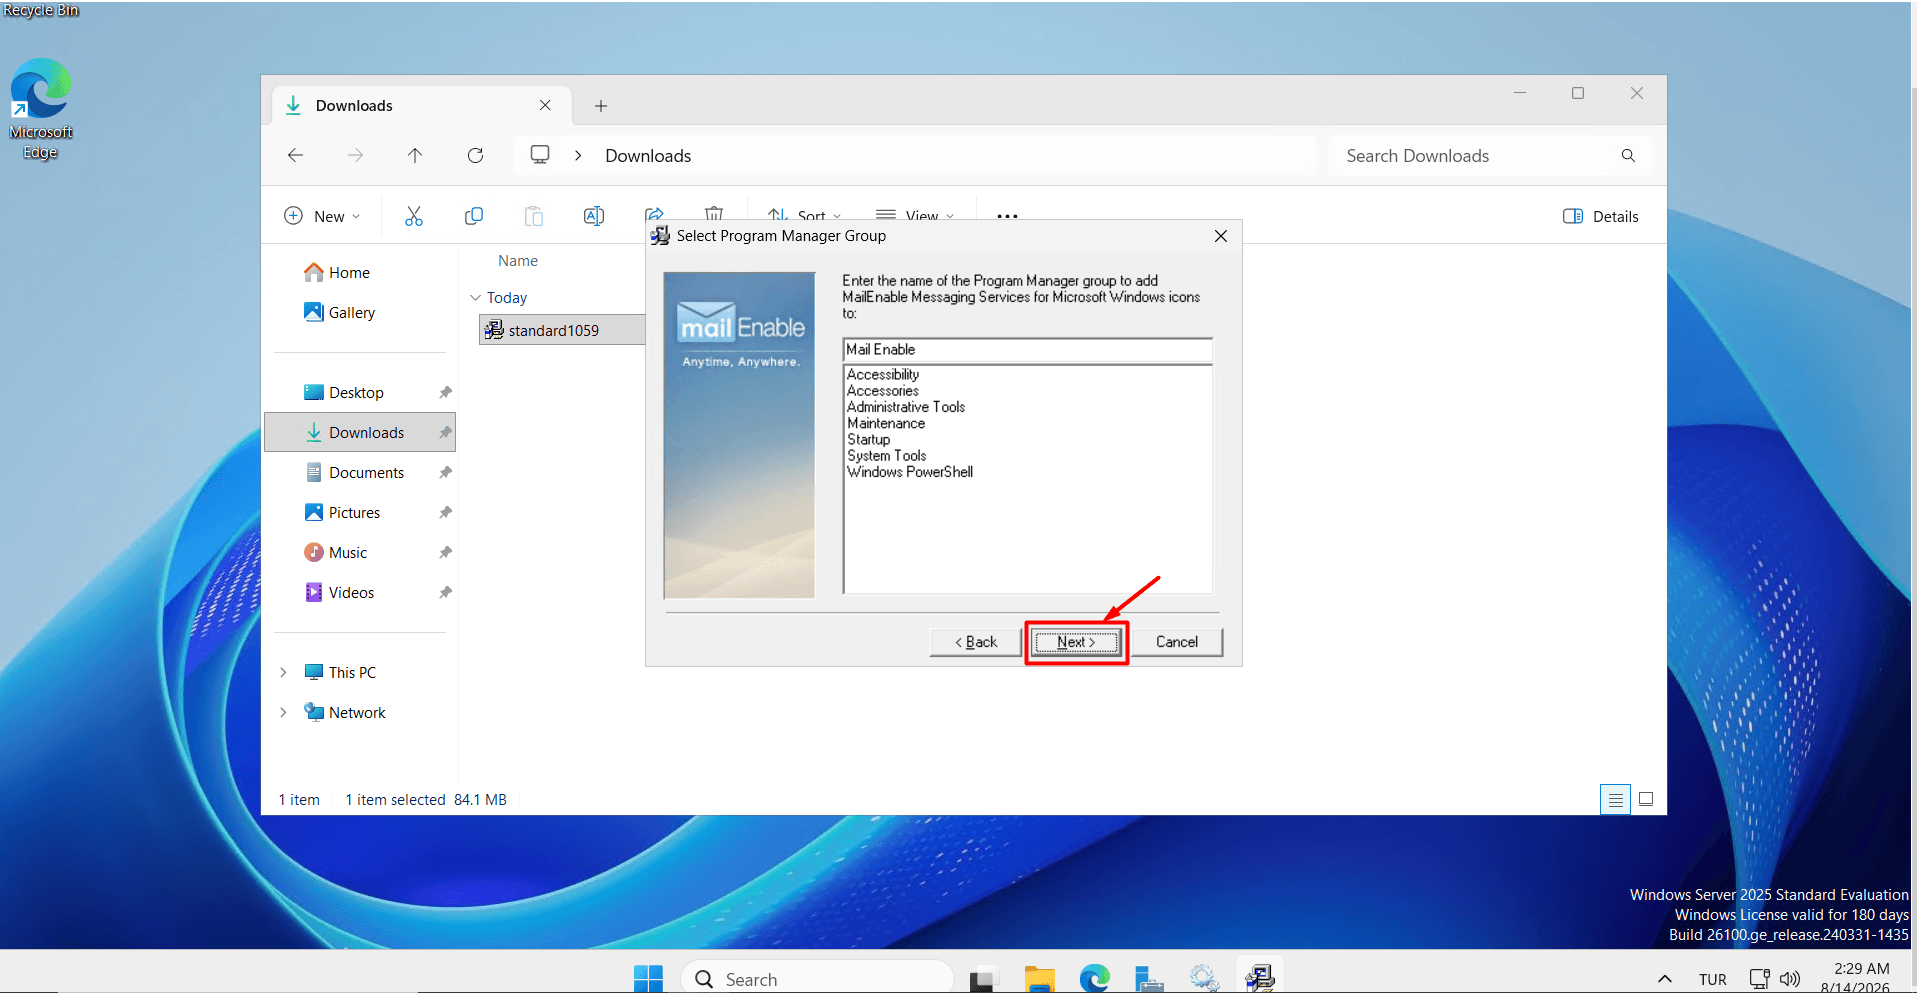
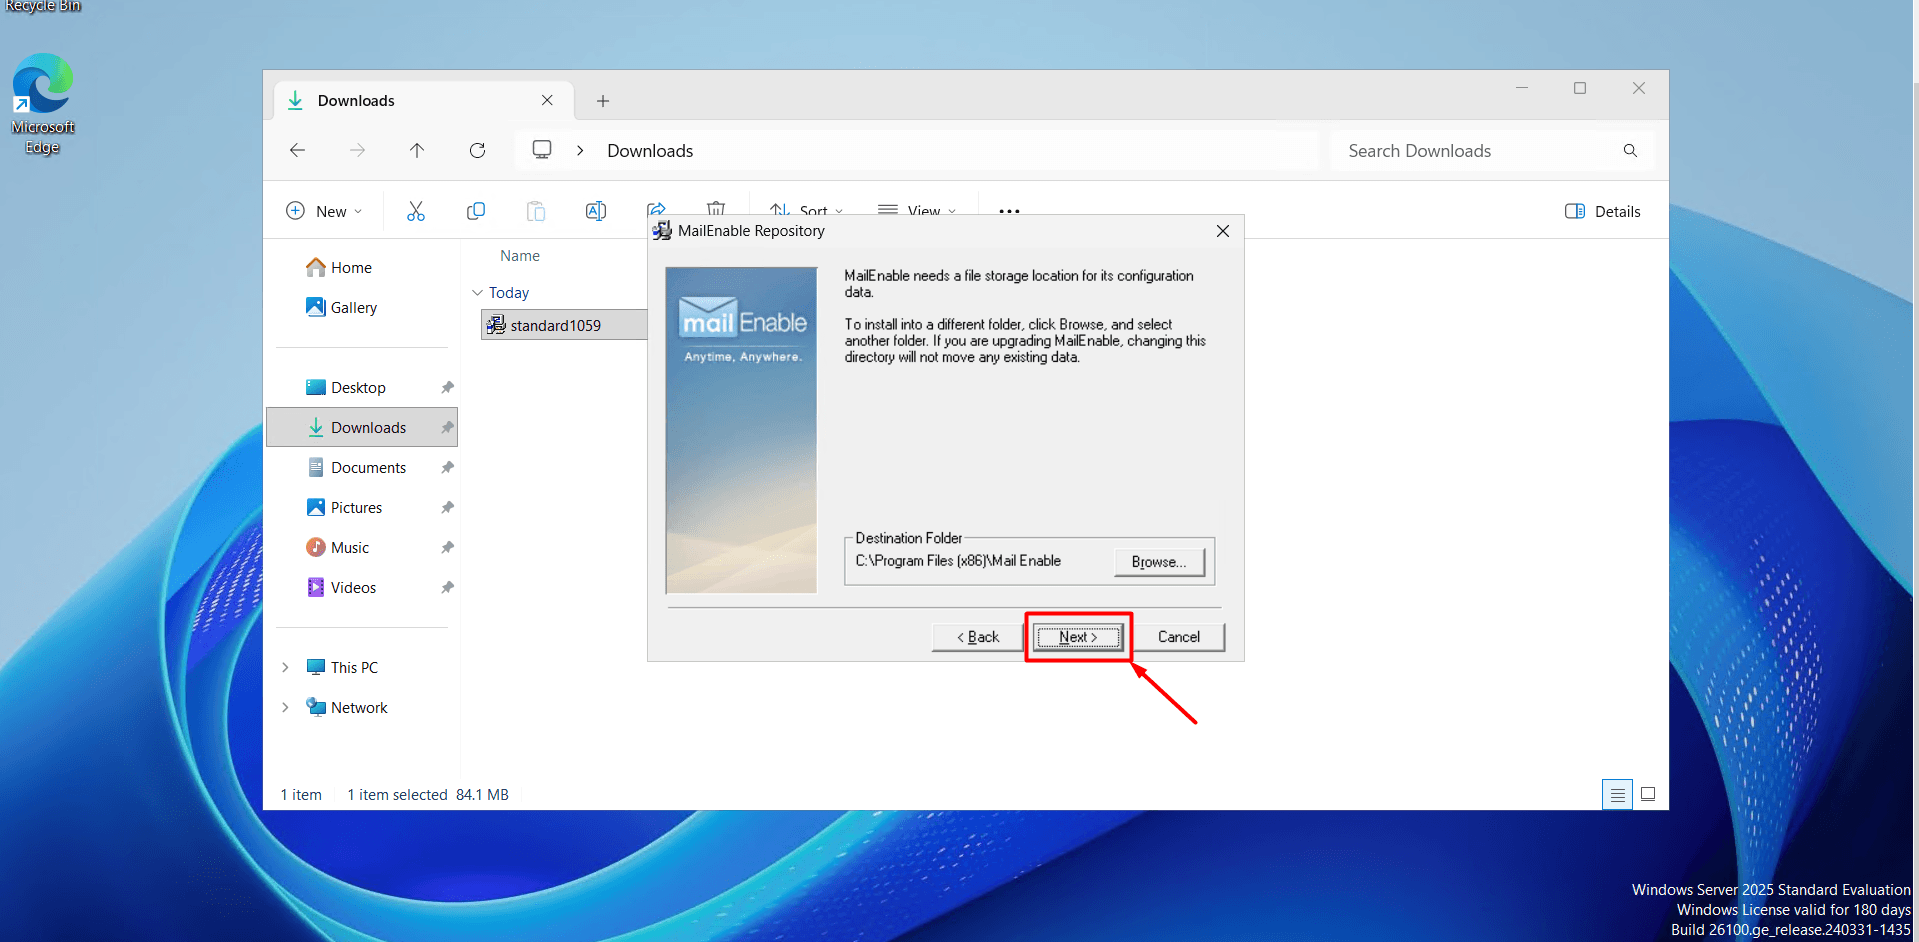
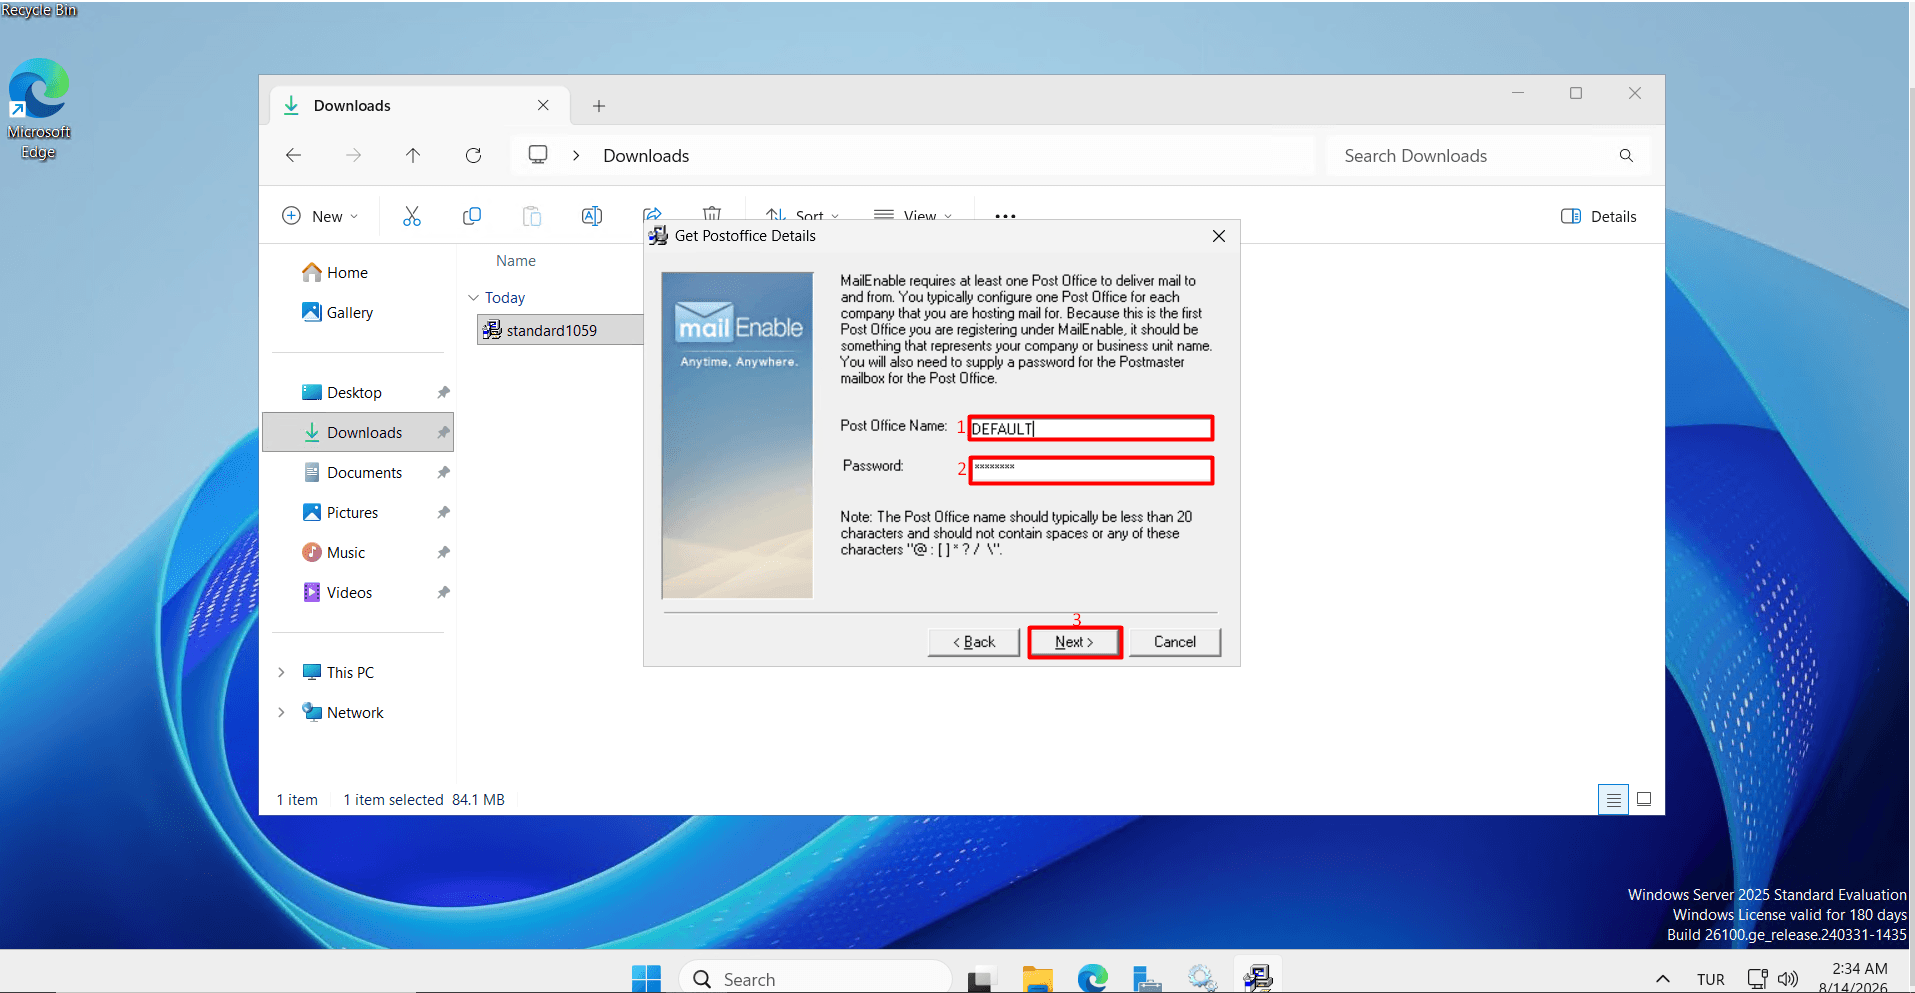
- When you reach the screen where Post Office information is requested, you will be asked to enter the Post Office Name and Password. For Post Office Name, it is generally easiest to enter the domain you will be providing email services for. For Password, set a strong administrator password. The Password entered here is not the password for email accounts such as [email protected] that you will create later. It is the administrative password for the Post Office. After entering the required information, click “Next”.
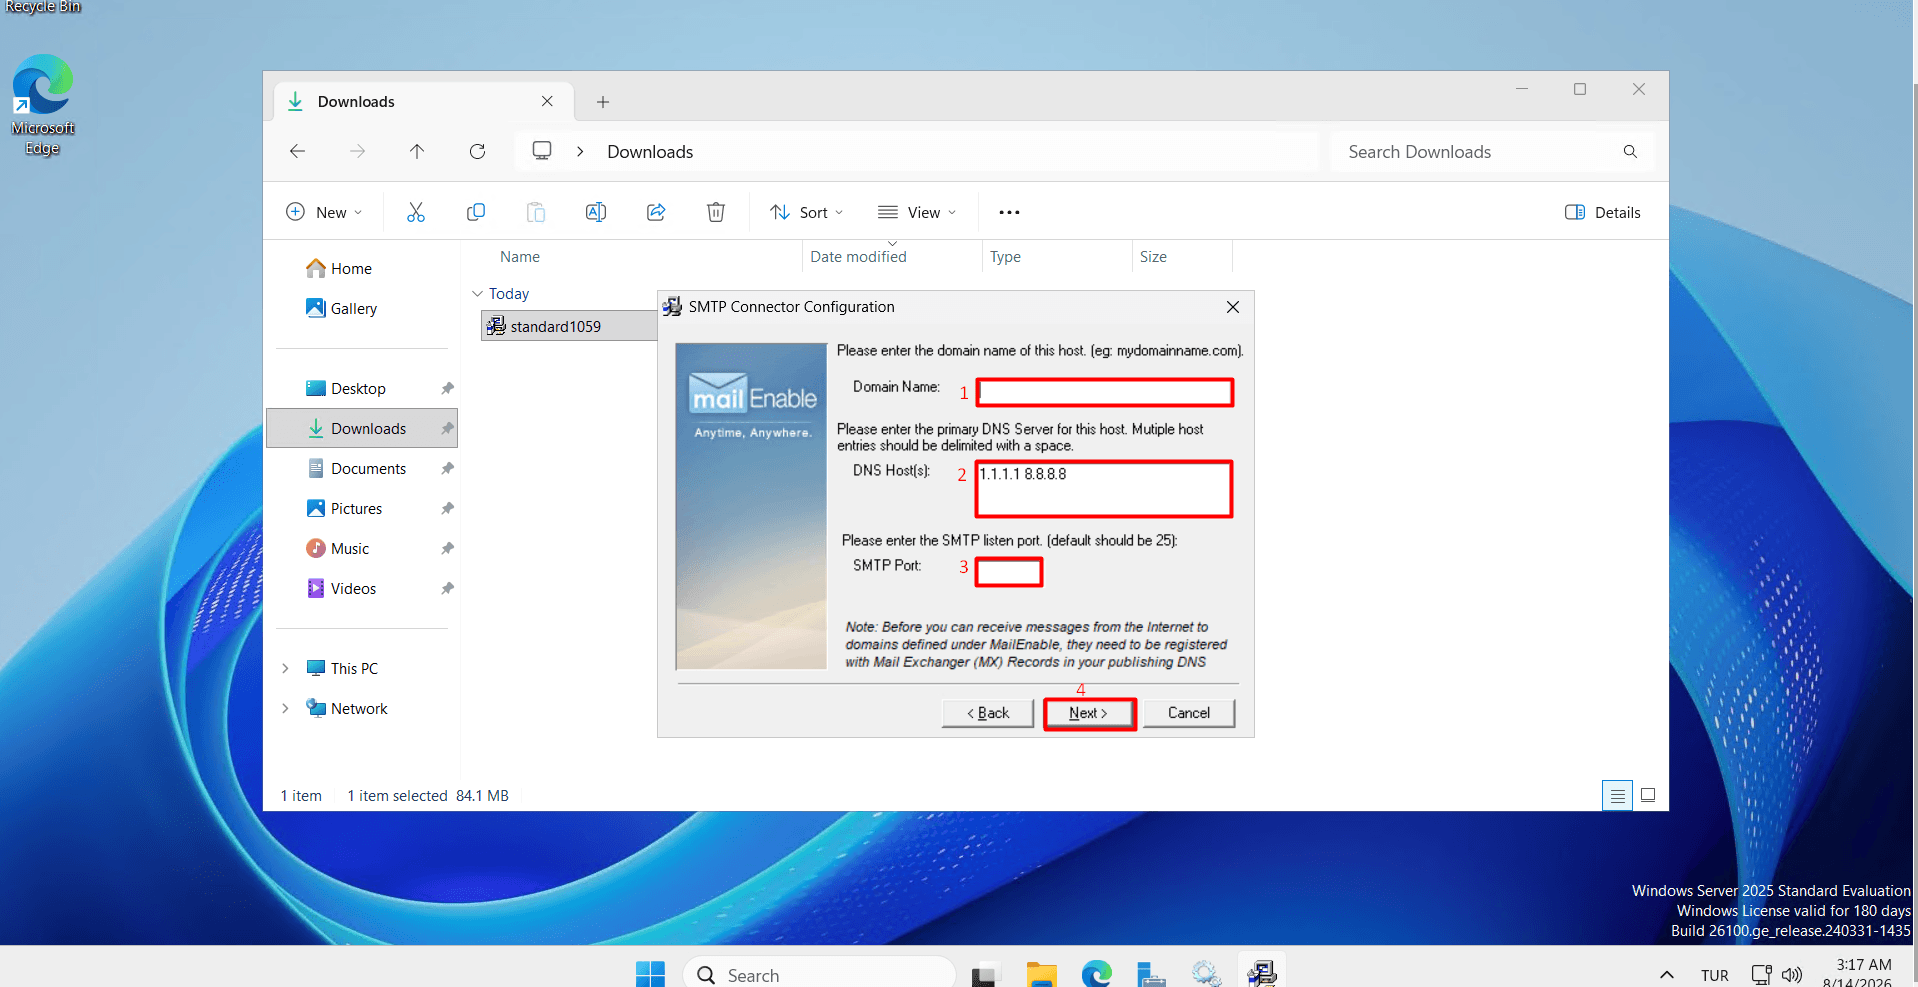
- On the new page, you will be asked to enter the following information:
- Domain Name: Enter the domain name for which you will provide email services.
- Mail Server Hostname: You can leave the mail server hostname as it is.
- SMTP Port: You can use ports 587 or 465. However, port 25 is usually blocked on servers for security reasons. You can use the other available ports instead. If these ports are also blocked, you can contact the support team and request that the required port be opened.
- After entering the required information, click “Next”.
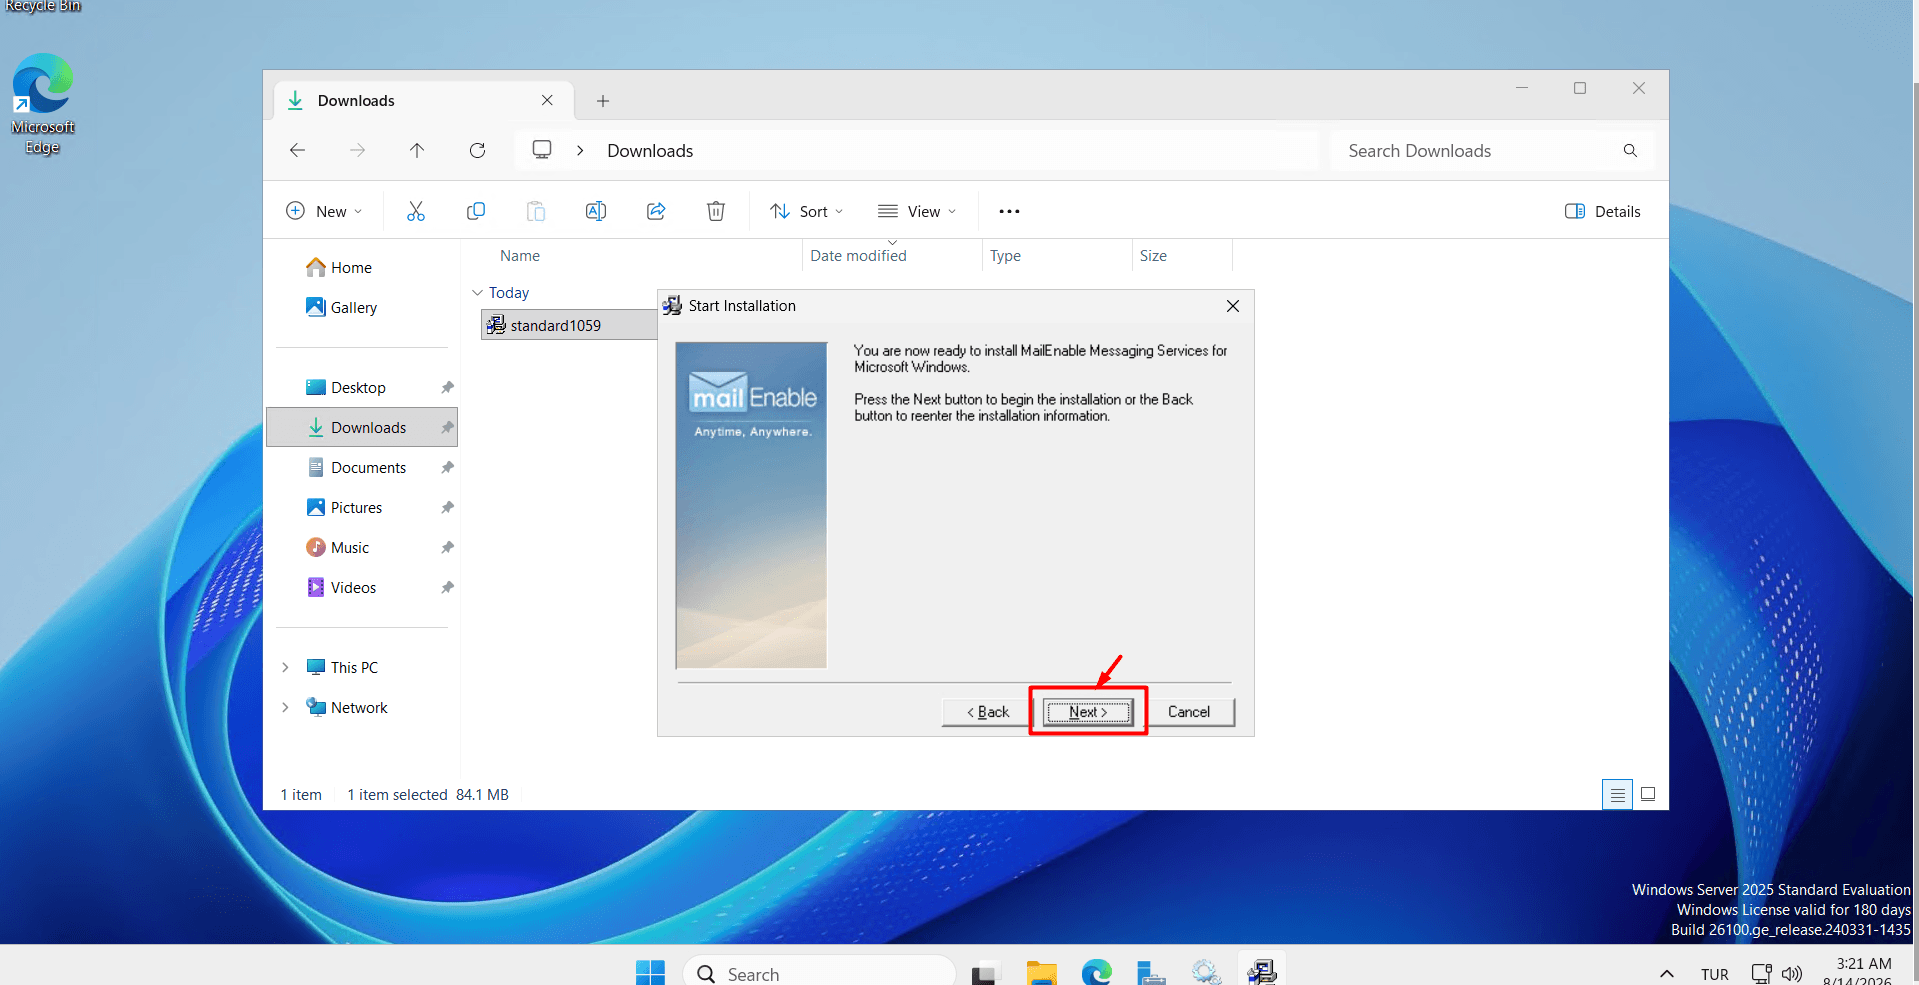
- Click the “Next” button again. Additional confirmation prompts may appear during the installation. Continue clicking “Next” until the installation is complete. This will complete the MailEnable installation. Click “Finish” to exit the installation wizard.
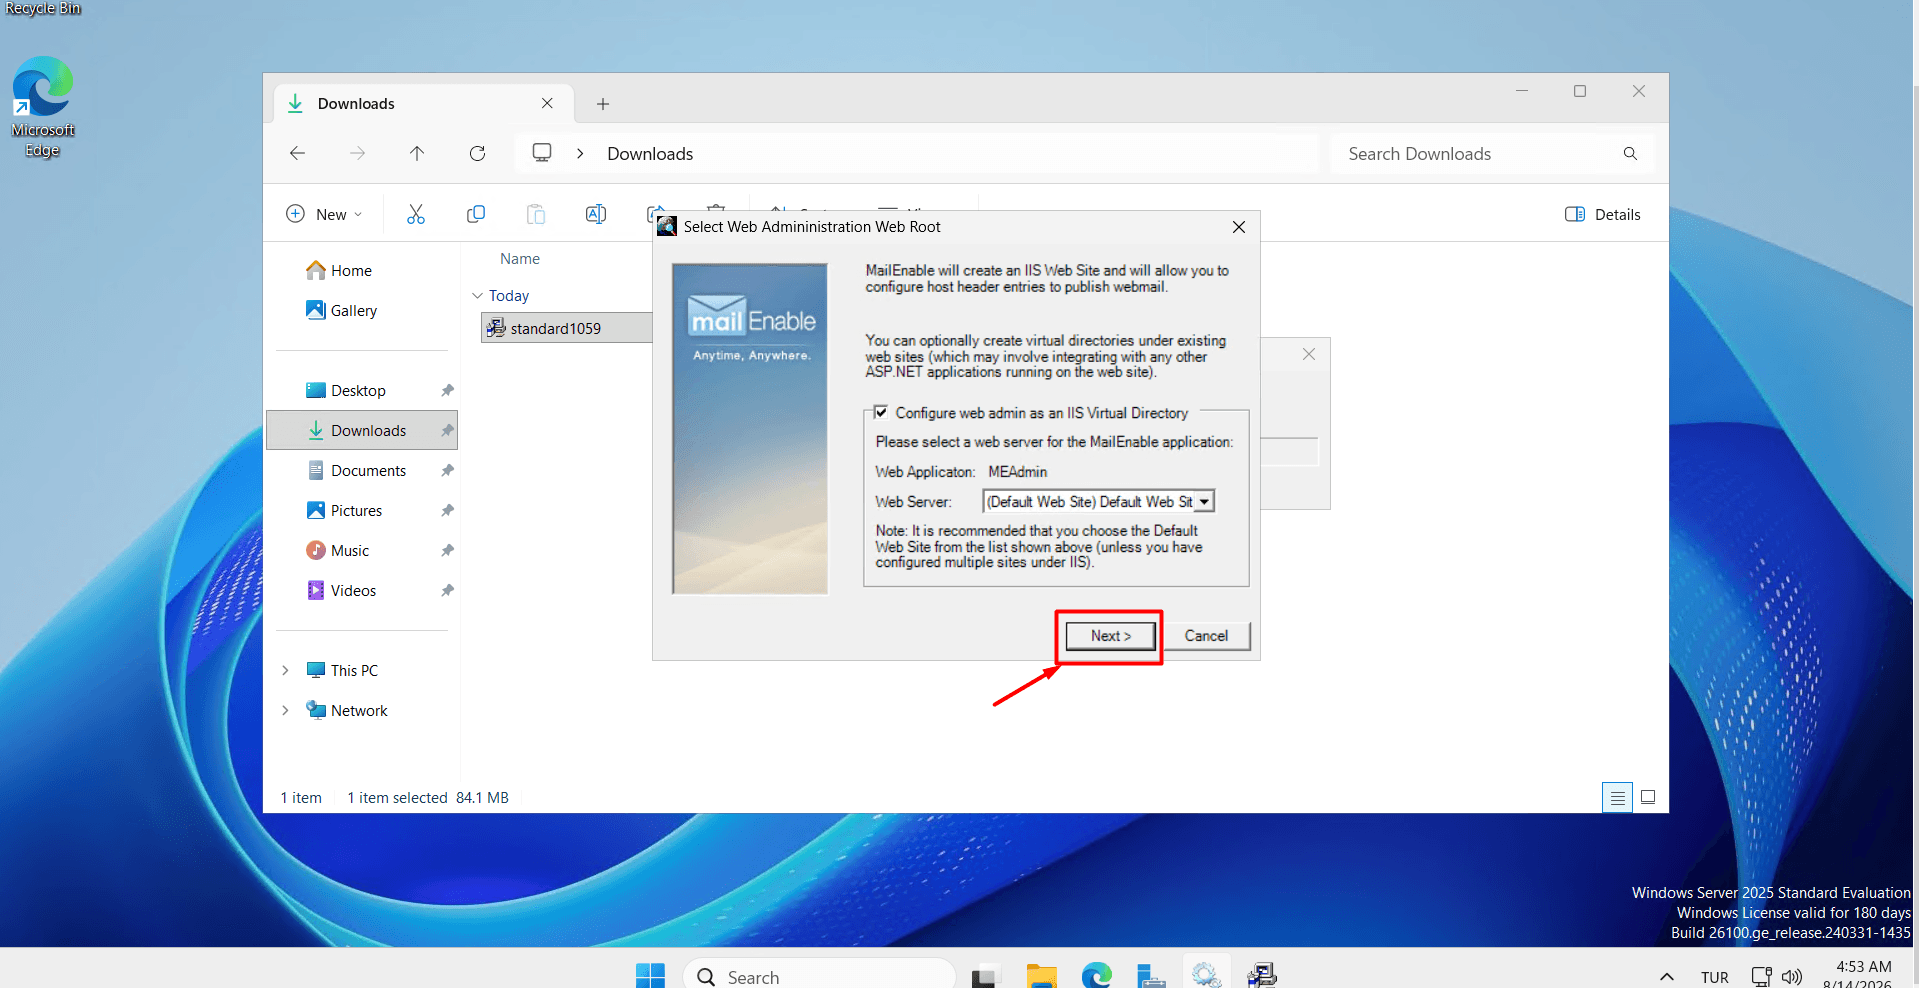
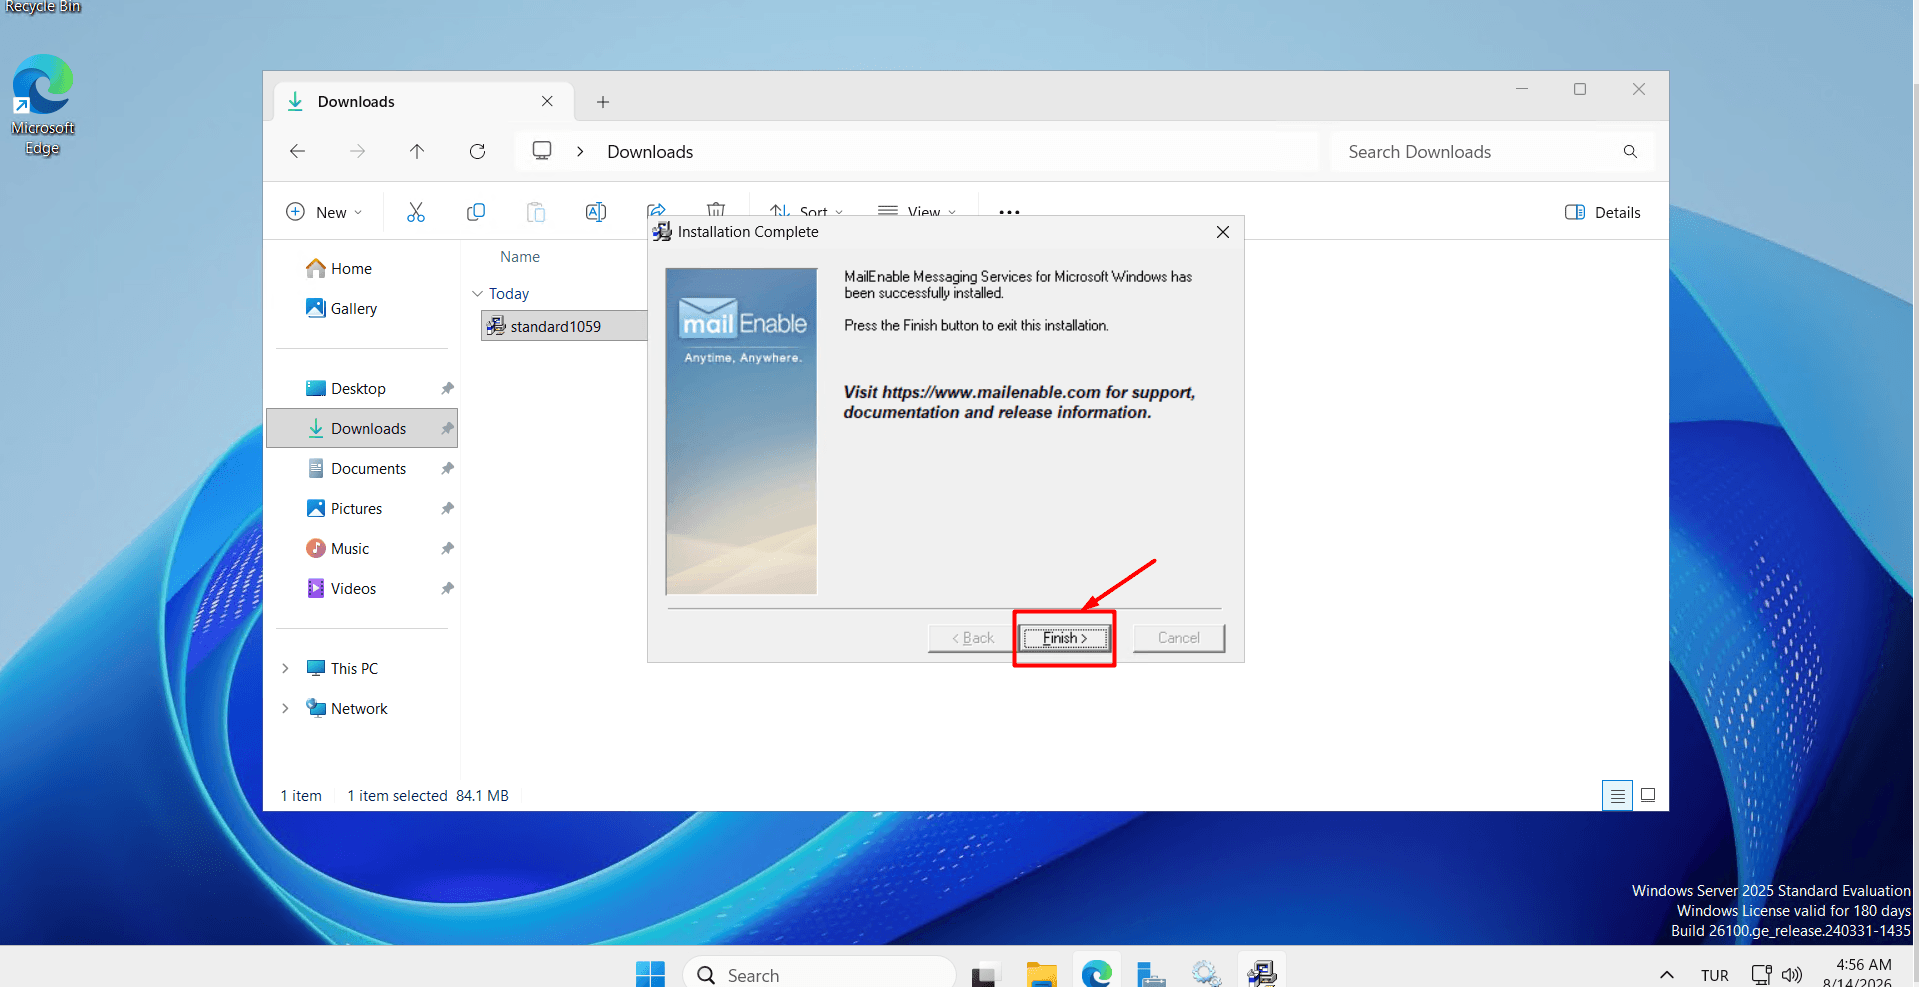
- After completing the installation, you can open the MailEnable Administration application on your Windows Server to:
-
- Create Post Offices
- Add and manage domains
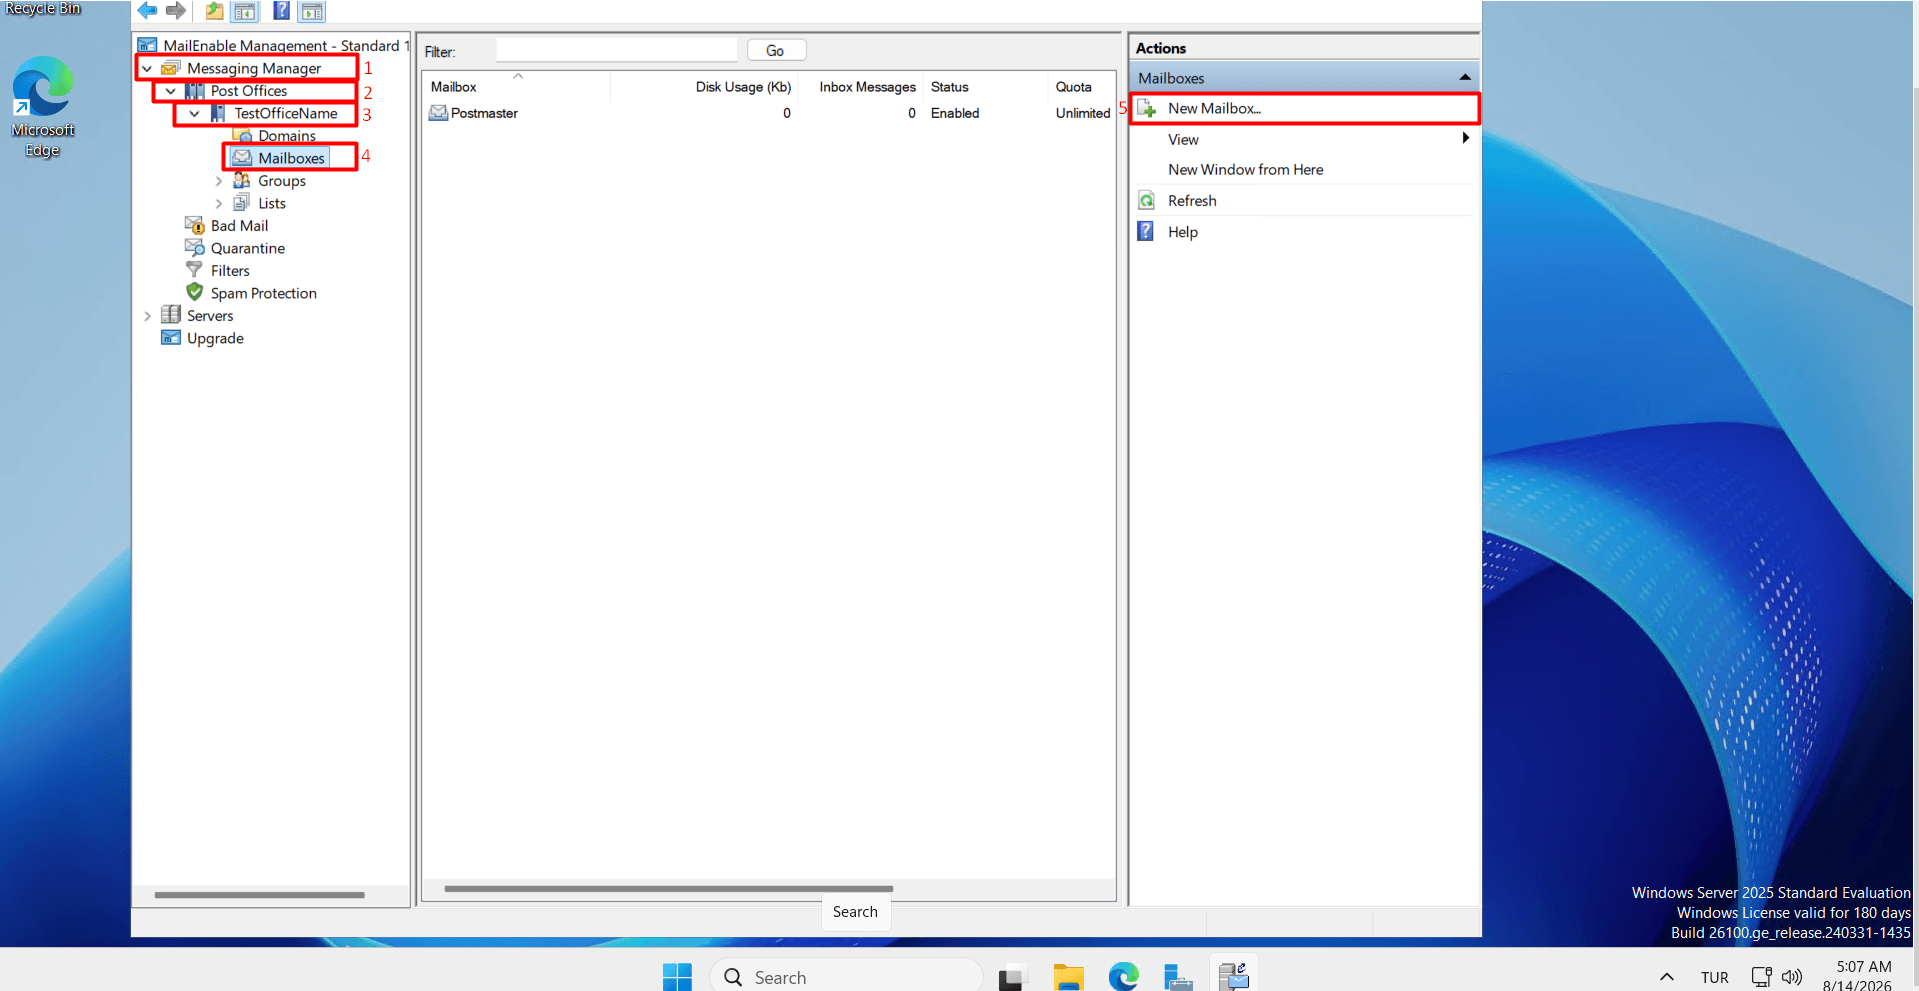
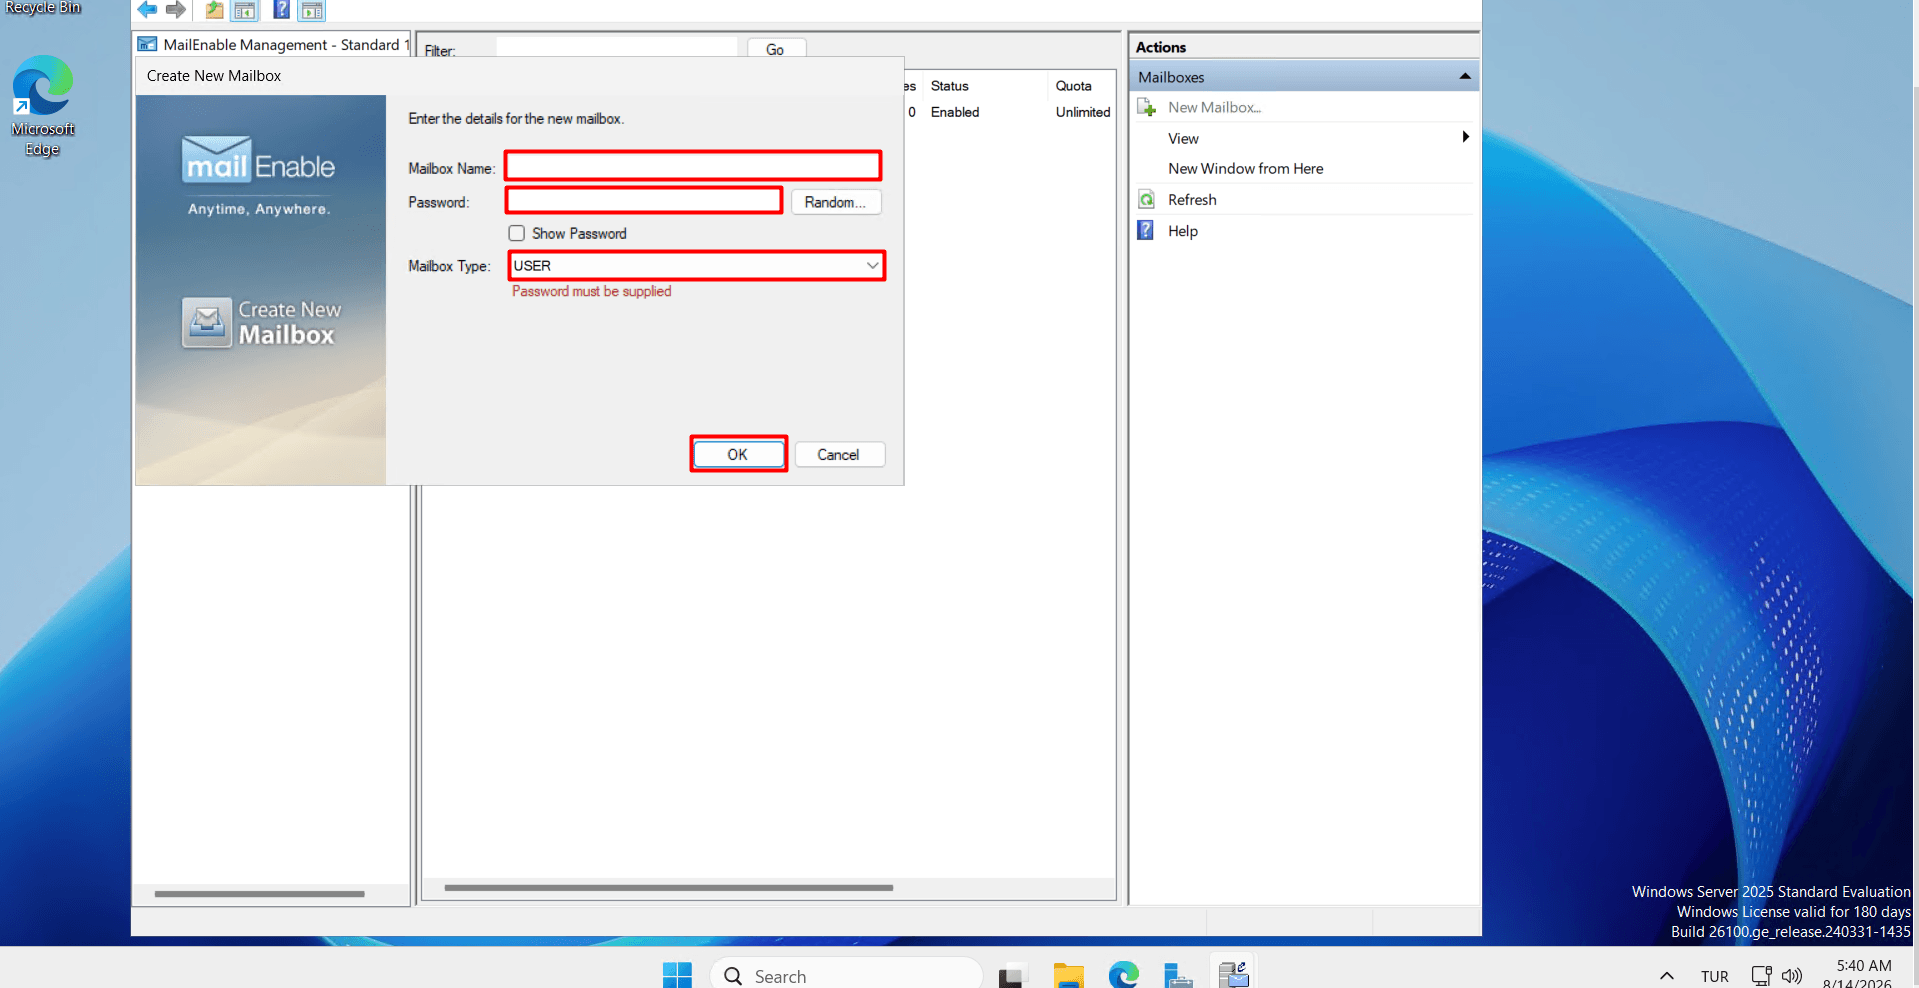
- Create email accounts
- Configure SMTP services
- Manage POP3 and IMAP services
- Set email quotas and limits.