

Understanding DNS (Domain Name System) settings and staying updated with the latest practices is crucial for website owners, IT professionals, and businesses. The blog post “Updating DNS Settings in 2024: A Comprehensive Guide and Current DNS List,” crafted by Fast Panda experts, offers valuable insights into managing DNS settings effectively. Every website has a server with its IP address. Instead of typing these IP addresses every time we visit a site, we use the site’s name. This convenience is thanks to the DNS, which we’ll discuss in this article. DNS makes browsing easier and saves us a lot of trouble. While many users commonly adjust DNS settings to overcome access barriers and reach desired websites, there are numerous other reasons for making such changes. We trust that you’ll find this information both informative and beneficial.
What is DNS?
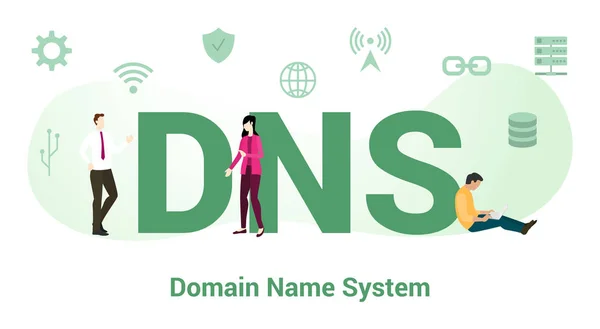
DNS stands for Domain Name System, a vital part of computer networking and the Internet. It’s a naming system used within computers, services, and networks, both public and private, to organize communication between different parts of the Internet effectively. Explore this subject more in “What is DNS and How Does it Work? Part 1.” Essentially, every website on the Internet has a unique numerical address called an IP (Internet Protocol) address. But remembering these numbers for every site is impractical. DNS servers come into play here: they translate the domain names you type into web browsers into corresponding IP addresses, making it easy for users to access websites. For example, Google’s IP address is 74.125.224.83. Imagine having to enter these numbers each time you want to visit Google. To simplify this process, DNS servers automatically convert domain names like Google.com into their corresponding IP addresses, so you don’t have to memorize complicated numerical sequences. Simply typing “Google.com” in your browser directs you to the desired website without any hassle.
Why change DNS settings?

There are several reasons why users might want to change their DNS settings. You don’t have to be a tech expert to do so. While everyone’s motivations may vary, there are generally four main reasons for tinkering with DNS settings:
- Bypassing DNS-based Blocks: Sometimes, users encounter restrictions accessing certain websites due to DNS-based blocks. Changing DNS settings can help circumvent these restrictions.
- Enhancing Data Privacy: Users may opt for DNS structures that don’t keep records of the websites they visit. This choice bolsters their data privacy.
- Utilizing Encrypted DNS for Internet Privacy: Encrypted DNS offers a layer of privacy on the internet. It shields users’ browsing activities from prying eyes.
- Improving Internet Speed: By switching to a faster DNS server, users can potentially experience quicker internet connections.
Regardless of your motive for adjusting DNS settings, it’s crucial to note that altering these settings can leave your computer vulnerable. If your aim is to access blocked websites, ensure that your firewall or antivirus software is up and running to maintain security.
How to change DNS settings on Windows 10?
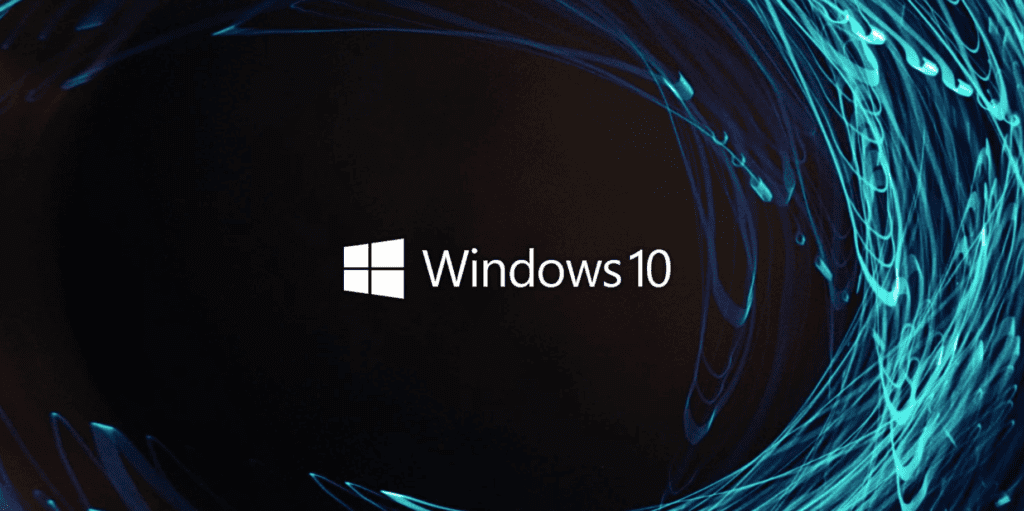
For Windows 10 users looking to adjust their DNS settings, follow these steps:
- Open “Network and Internet Settings” by right-clicking on the network icon located at the bottom right corner of your computer screen.
- Next, select the “Change adapter options” menu from the subsequent screen.
- In the “Network Connections” tab on the next screen, locate your network, right-click on it, and select “Properties.”
- Click on “Internet Protocol Version 4 (TCP/IPv4)” and then click on “Properties.”
- If you’re manually inputting new DNS numbers, tick the box labeled “Use the following server DNS addresses” within the same window.
- Enter the desired DNS numbers. For example, you can use 8.8.8.8 or 8.8.4.4.
- Finally, click “OK” to apply the changes. This will update the DNS settings for your Windows 10 operating system.
How to change DNS settings on macOS?

Changing DNS settings on computers running macOS involves several steps:
- First, navigate to “System Preferences.”
- You can access this by double-clicking on the “Network” option within the window that appears.
- Within the network window, you’ll find the active internet connection you’re using. Click on this connection.
- Next, click on the “How to change DNS settings on Advanced” button located at the bottom right corner of the window.
- This action will bring up a new screen where you can adjust DNS settings.
- In this screen, you have the option to input DNS addresses such as 8.8.8.8 or 8.8.4.4, or any other DNS values you prefer.
- Once you’ve entered the desired DNS address, click the “OK” button located at the bottom right corner of the window.
- Your DNS settings will now be updated accordingly.
- If you find that the changes haven’t taken effect immediately, consider restarting your computer to ensure the new DNS settings are active.
How to change DNS settings on Android?
To change DNS settings on Android devices, the process can vary depending on the specific device. Here’s a general guide:
- Navigate to the “Wireless Connection” or “Wi-Fi” menu in your device’s “Settings” menu.
- Locate the network you’re currently connected to and tap on it. You may need to tap a gear icon next to the network name.
- On some devices, you might have to press and hold the network name and then select the “Change Network” option from the menu that appears.
- Look for the “Advanced” option, which may be listed within the network settings.
- Within the advanced settings, you’ll find spaces provided for DNS1 and DNS2.
- Input your preferred DNS server addresses into these spaces.
- After entering the DNS server addresses, save your changes by selecting “Save” or a similar option.
- Your DNS settings on your Android device are now updated.
How to change DNS settings on iOS?
Changing DNS settings on iOS devices is a straightforward process. Here’s what you need to do:
- Access the “Settings” section.
- Navigate to the Wi-Fi settings menu.
- Tap on the “i” icon located next to the Wi-Fi network you’re currently connected to.
- Scroll down and select “Set DNS” at the bottom of the page.
- Choose the “Manual” option from the available choices, which include “Automatic” and “Manual”.
- Manually input the DNS servers you wish to use.
Internet DNS Settings
As of 2024, the current DNS addresses are as follows:
| DNS Provider | 1st DNS Server | 2nd DNS Server |
| Cloudflare DNS1 | 1.1.1.1 | 1.0.0.1 |
| Open DNS | 209.244.0.3 | 209.244.0.4 |
| 8.8.8.8 | 8.8.4.4 | |
| SafeDNS | 195.46.39.39 | 195.46.39.40 |
| Verisign | 64.6.64.6 | 64.6.65.6 |
| DNS.WATCH | 84.200.69.80 | 84.200.70.40 |
| Comodo Secure DNS | 8.26.56.26 | 8.20.247.20 |
| DNS Advantage | 156.154.70.1 | 156.154.71.1 |
| DynDNS | 216.146.35.35 | 216.146.36.36 |
| Alternate DNS | 198.101.242.72 | 23.253.163.53 |
| Yandex.DNS | 77.88.8.8 | 77.88.8.1 |
| TTnet DNS | 195.175.39.49 | 195.175.39.50 |
This table lists various DNS providers along with their primary and secondary DNS server addresses.
Why Choose Fast Panda Domain Services?


Fast Panda’s suite of domain management solutions, is conveniently available all for free and all in one place! Here’s why you should consider Fast Panda for all your domain needs:
- Easy DNS Management: Take control of your domain with just a few clicks using our user-friendly DNS management service.
- Park Your Domain Anytime: Reserve your domain for future projects and park it for free, giving you flexibility and peace of mind.
- Simplified Domain Forwarding: Redirect your domain to your preferred nameservers effortlessly and at no extra cost.
- Complete Privacy Protection: Rest assured that your Whois information is safe with Fast Panda; we prioritize your privacy and never disclose your details to anyone.
- Quick Domain Transfer: Say goodbye to waiting for days and paying additional fees to transfer your domain. Fast Panda ensures swift and hassle-free transfers.
- Lock Your Domain: Keep your domain secure by locking it with Fast Panda, preventing unauthorized transfers.
Let us know what else we can do for you!
Conclusion
In wrapping up, we aimed to make the DNS concept clear and explain why it’s changed over time. We walked you through the simple steps for adjusting DNS settings on various devices: Android, iOS, Windows, and MacOS. We hope this guide has been helpful to you!