When you’re on leave, on vacation, traveling, or busy with meetings, you may not be able to respond to emails immediately. In such cases, you can use the Autoresponder feature in cPanel to inform your clients or colleagues. The autoresponder automatically sends a reply to emails received at a specific address, letting senders know you’re unavailable or that your response may be delayed.
To enable an autoresponder in cPanel, you can follow the steps below.
- First, log in to your customer panel and then access cPanel. Click here to learn how to log in to cPanel.
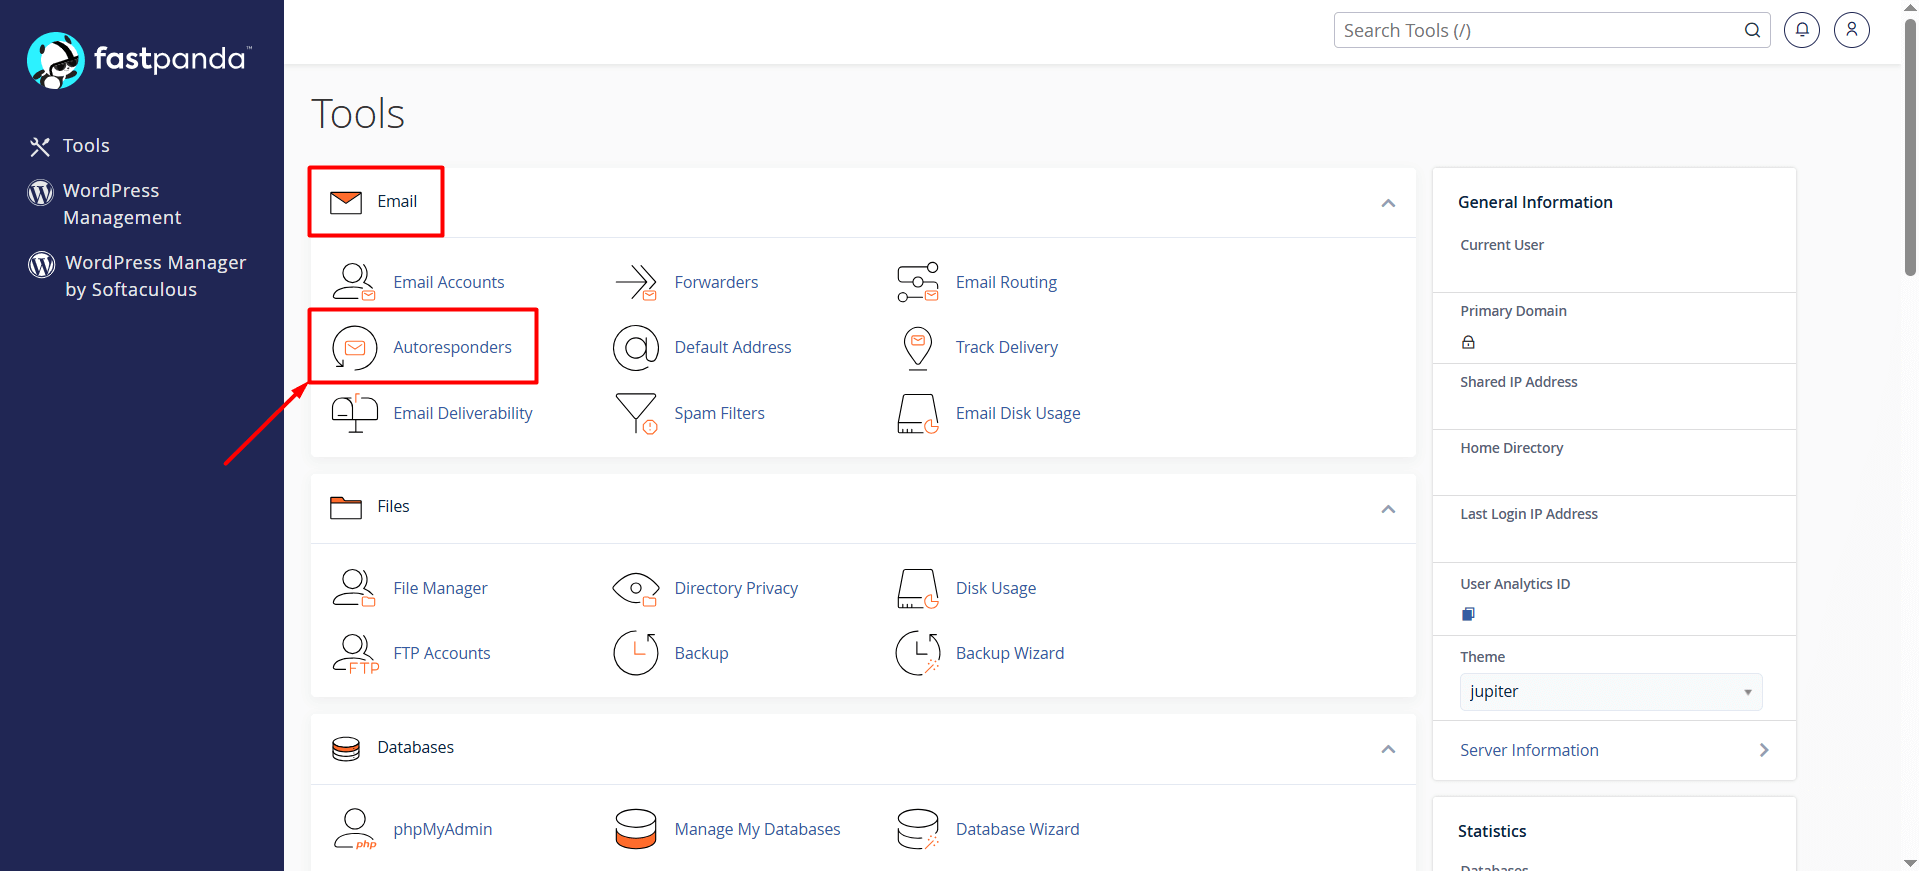
- When you log in to cPanel, click the Autoresponders button located under the Email section.
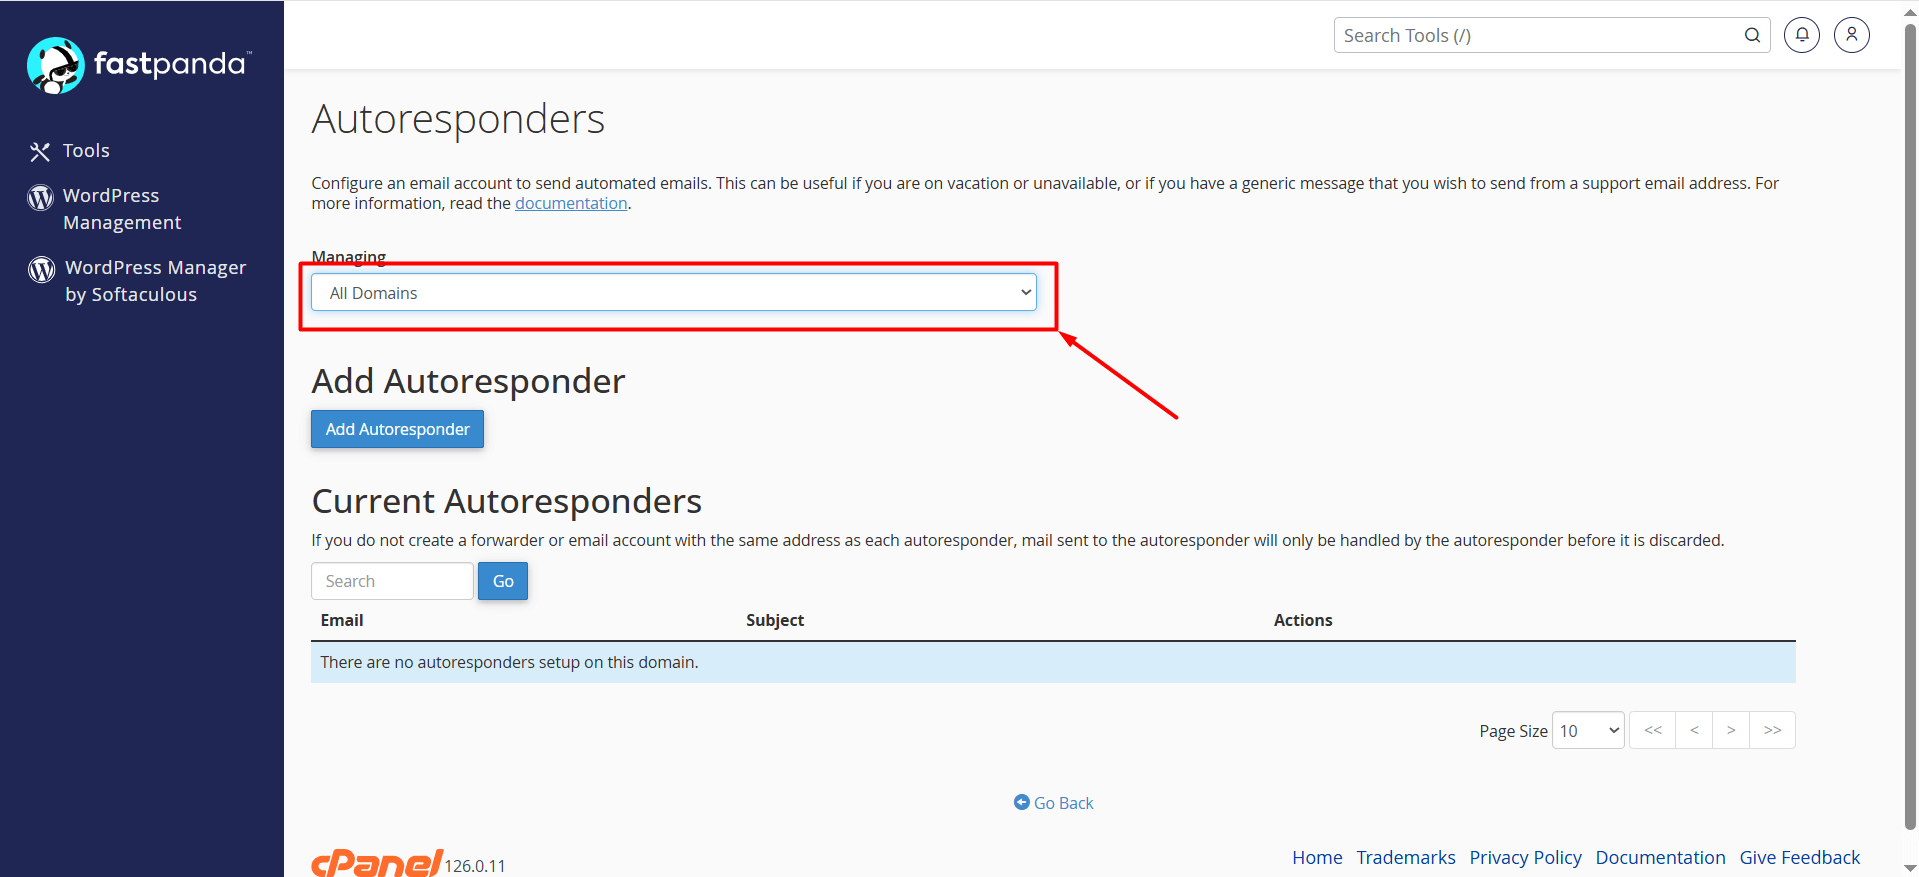
- If you have multiple domain names, you can select your domain from the “Managing” section.
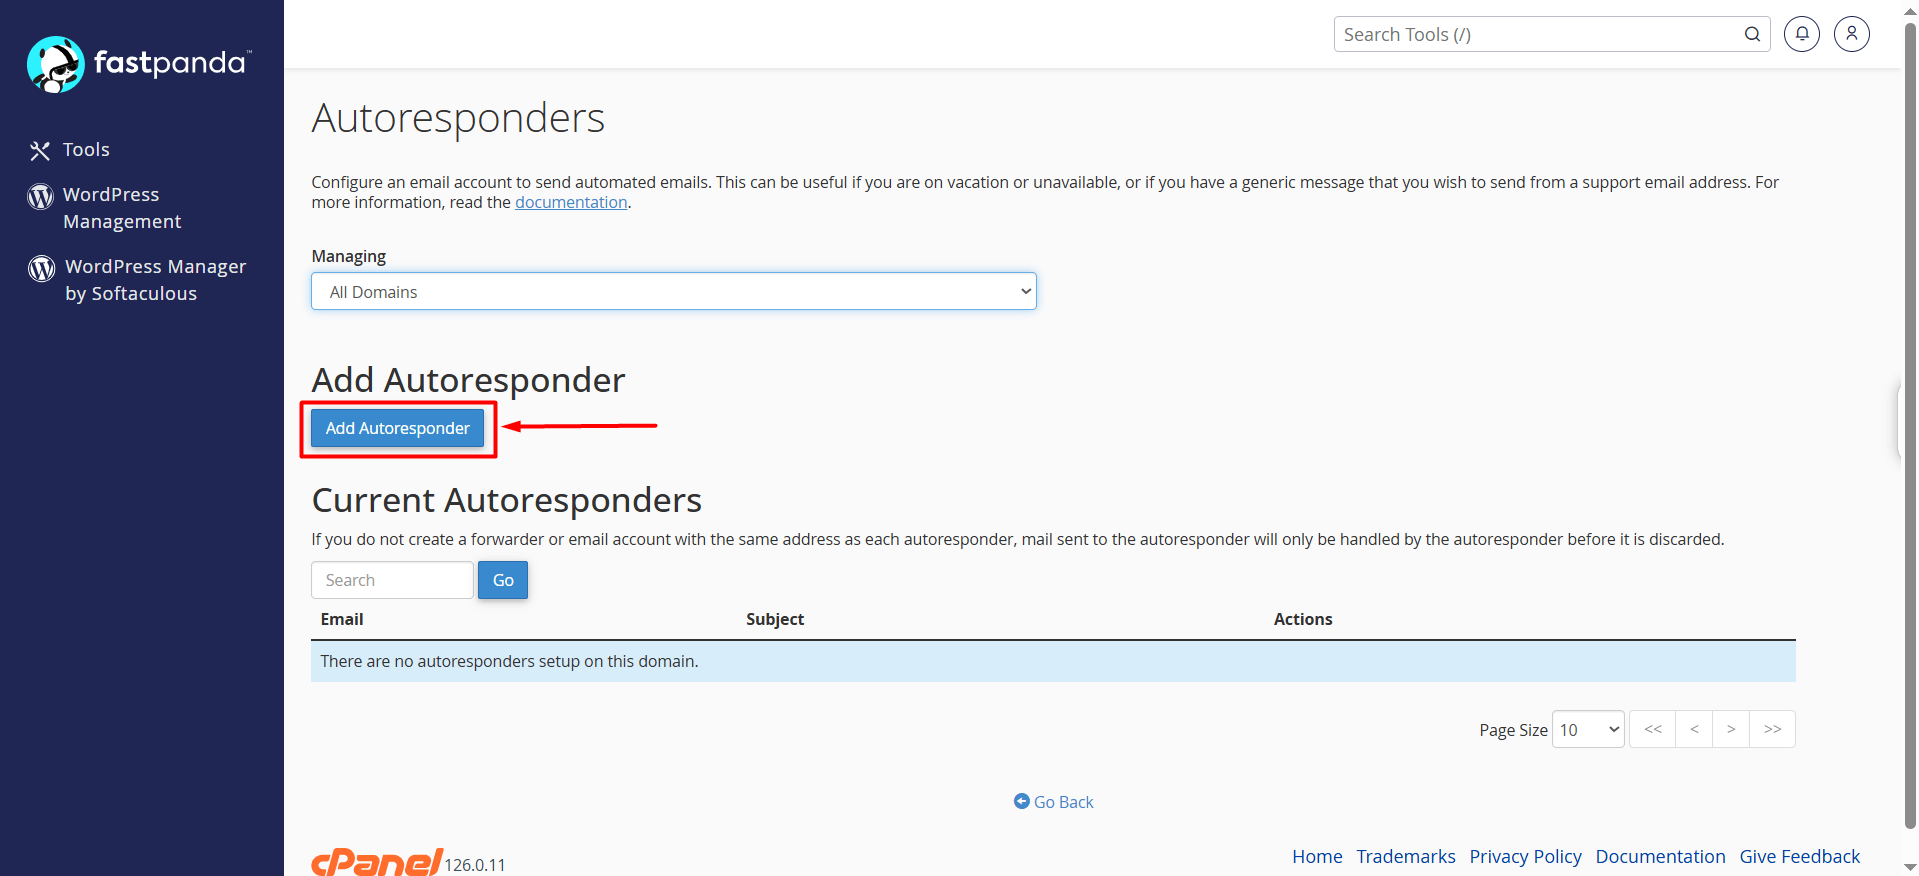
- Click the “Add Autoresponder” button.
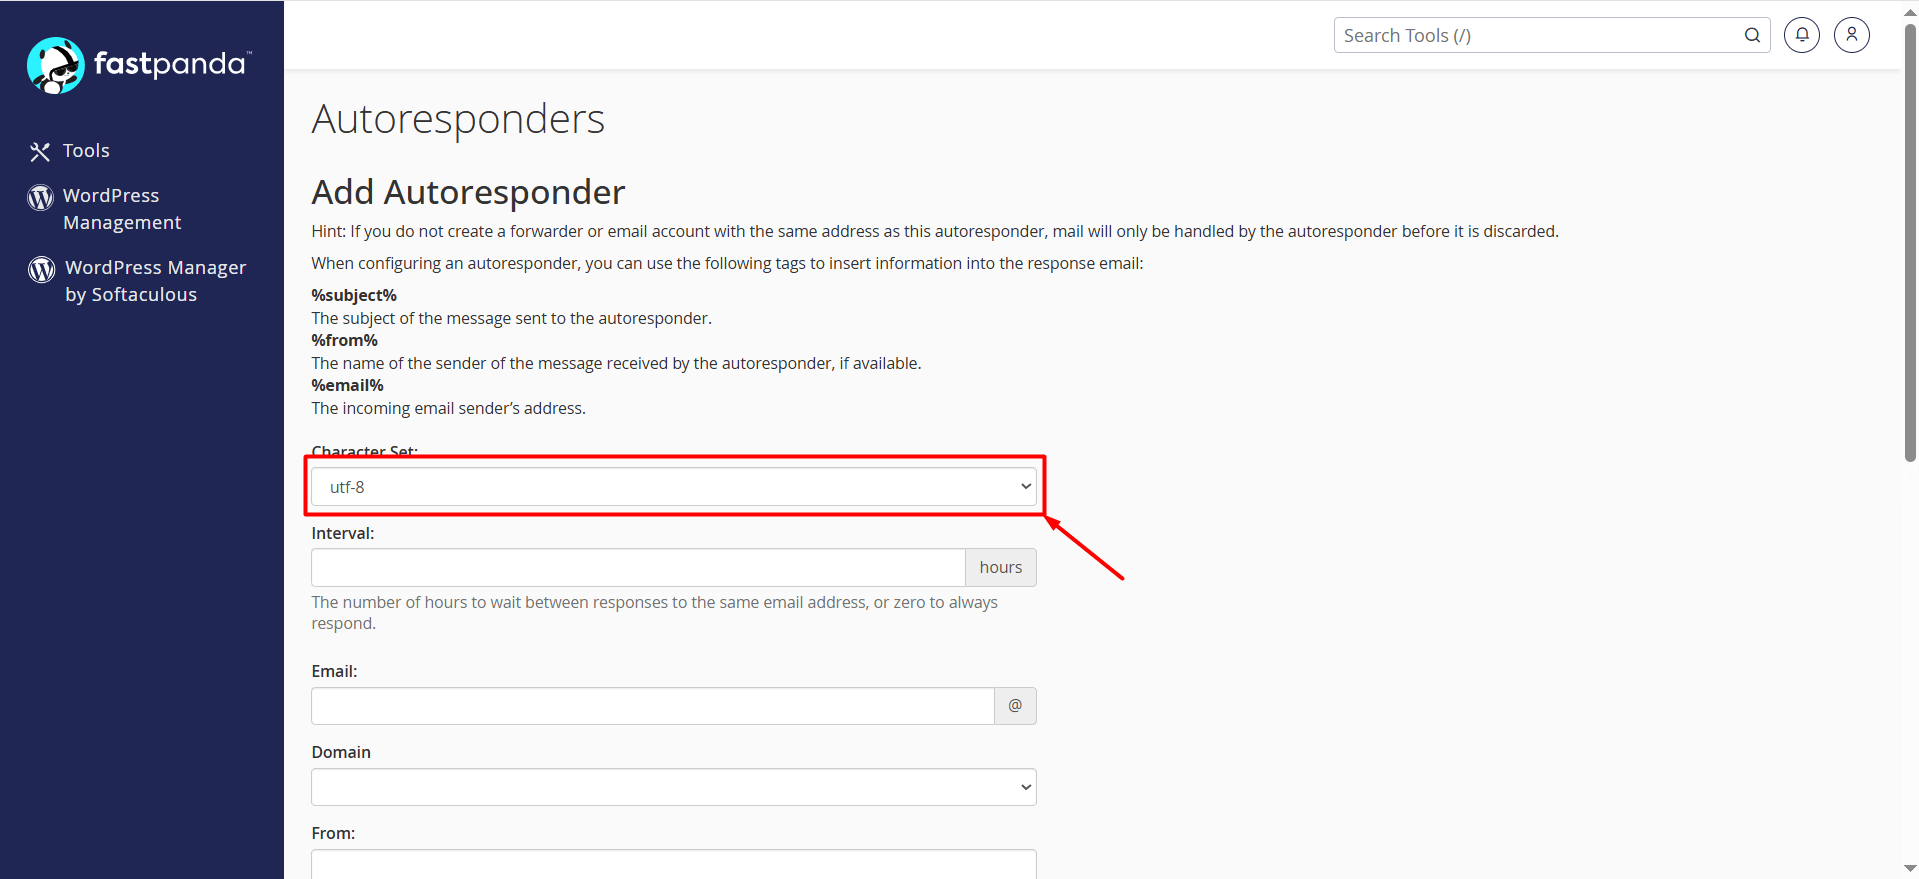
- Character Set: It appears as utf-8 by default. Usually, there is no need to change it.
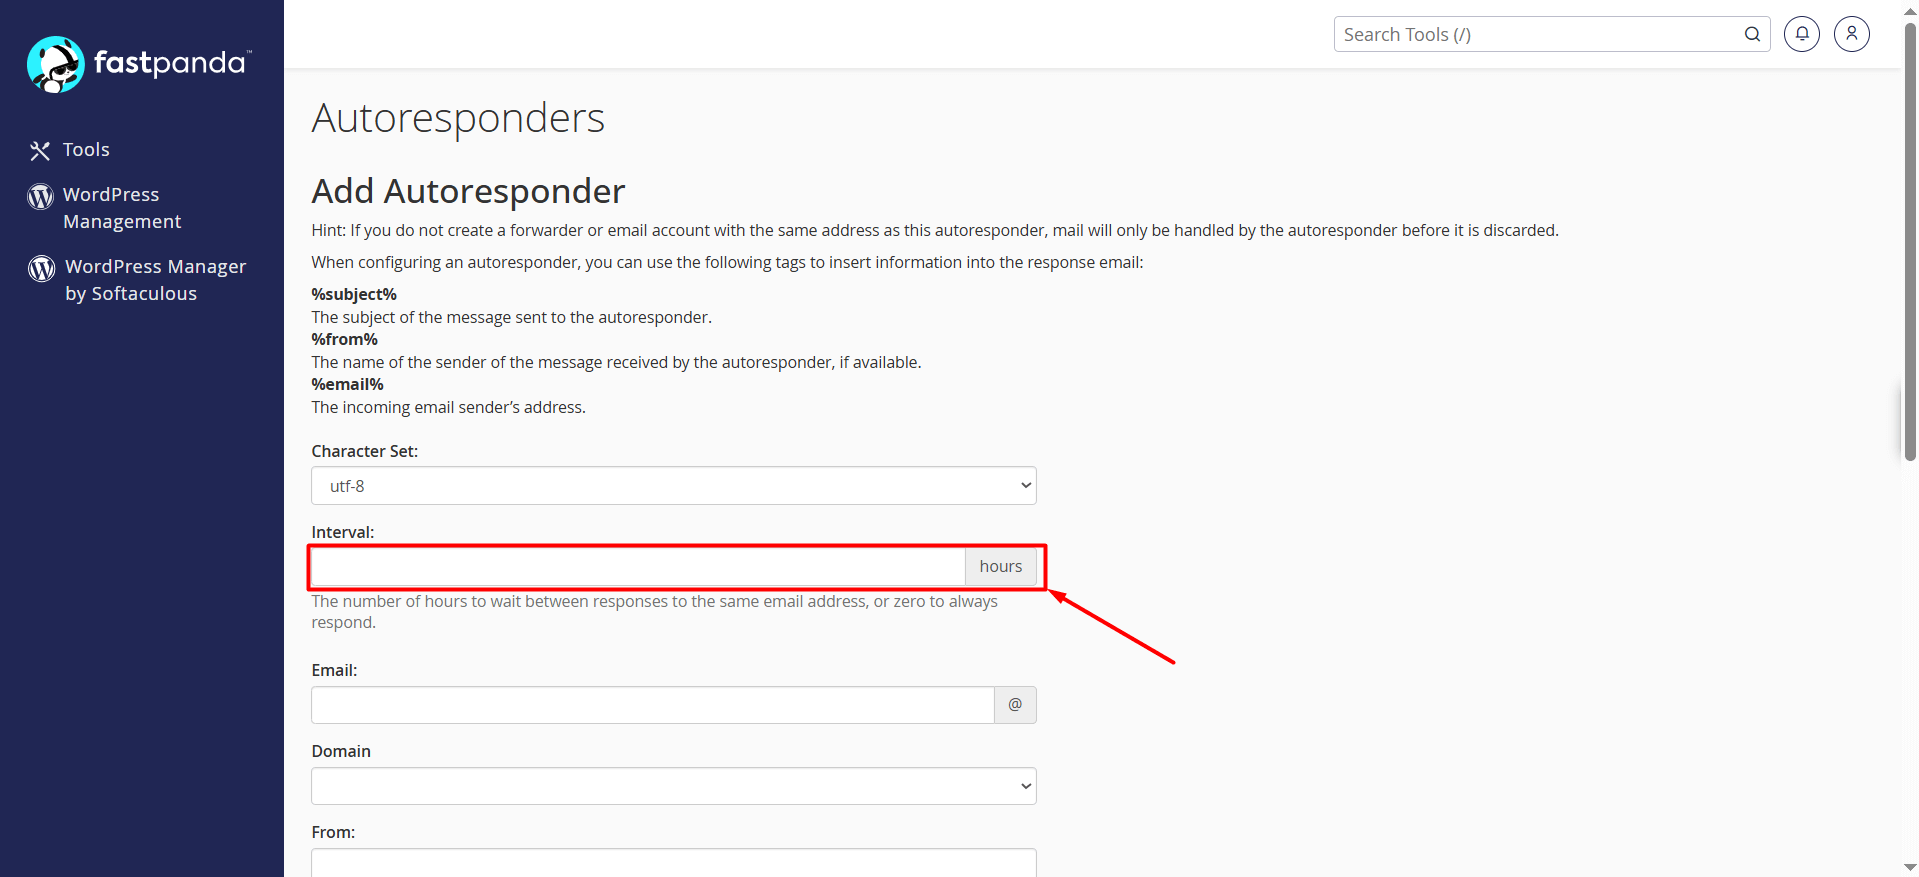
- Interval: This setting determines how many hours must pass before an automatic reply is sent again to the same person.
For example, if you enter 24, the system will send one auto-reply per day. If you enter 7, the system will send an auto-reply to the first email but will wait 7 hours before replying again to another email from the same sender. If you want the system to respond to every message from the same person, enter 0.
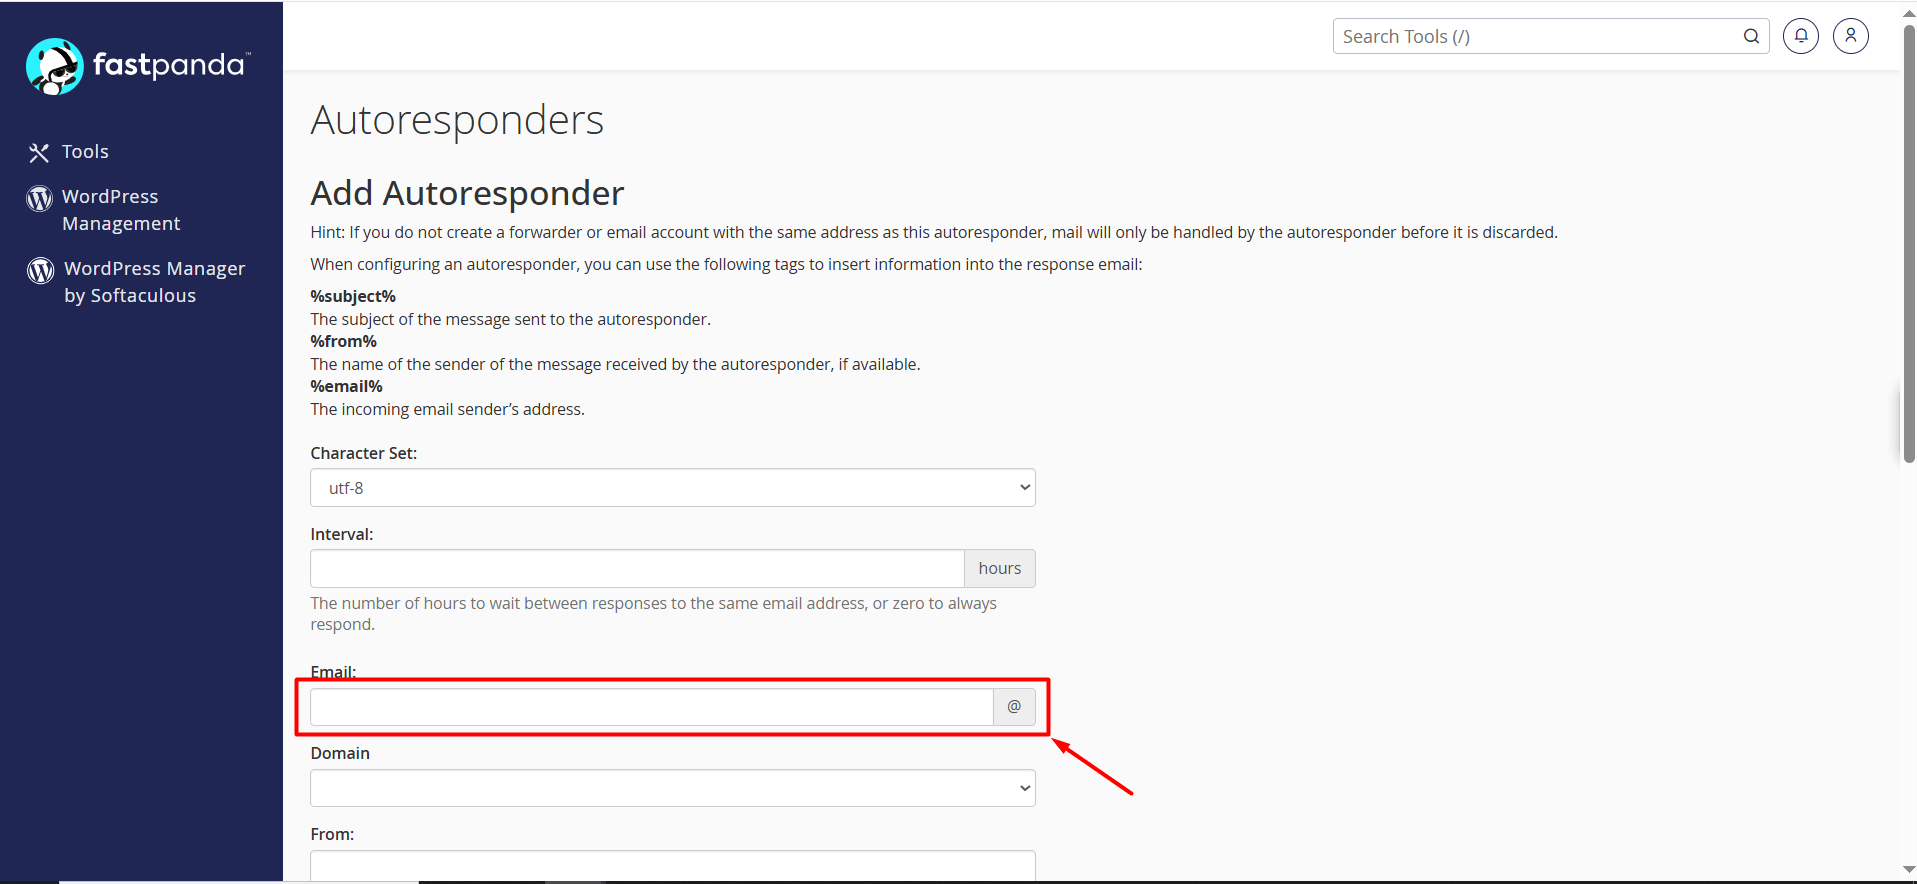
- Email: In the Email field, enter only the username for the email address you want to set up (e.g., info).
Important: If you want to set up autoresponders for multiple email accounts, you need to configure each one separately.
You cannot enter multiple email addresses at once.
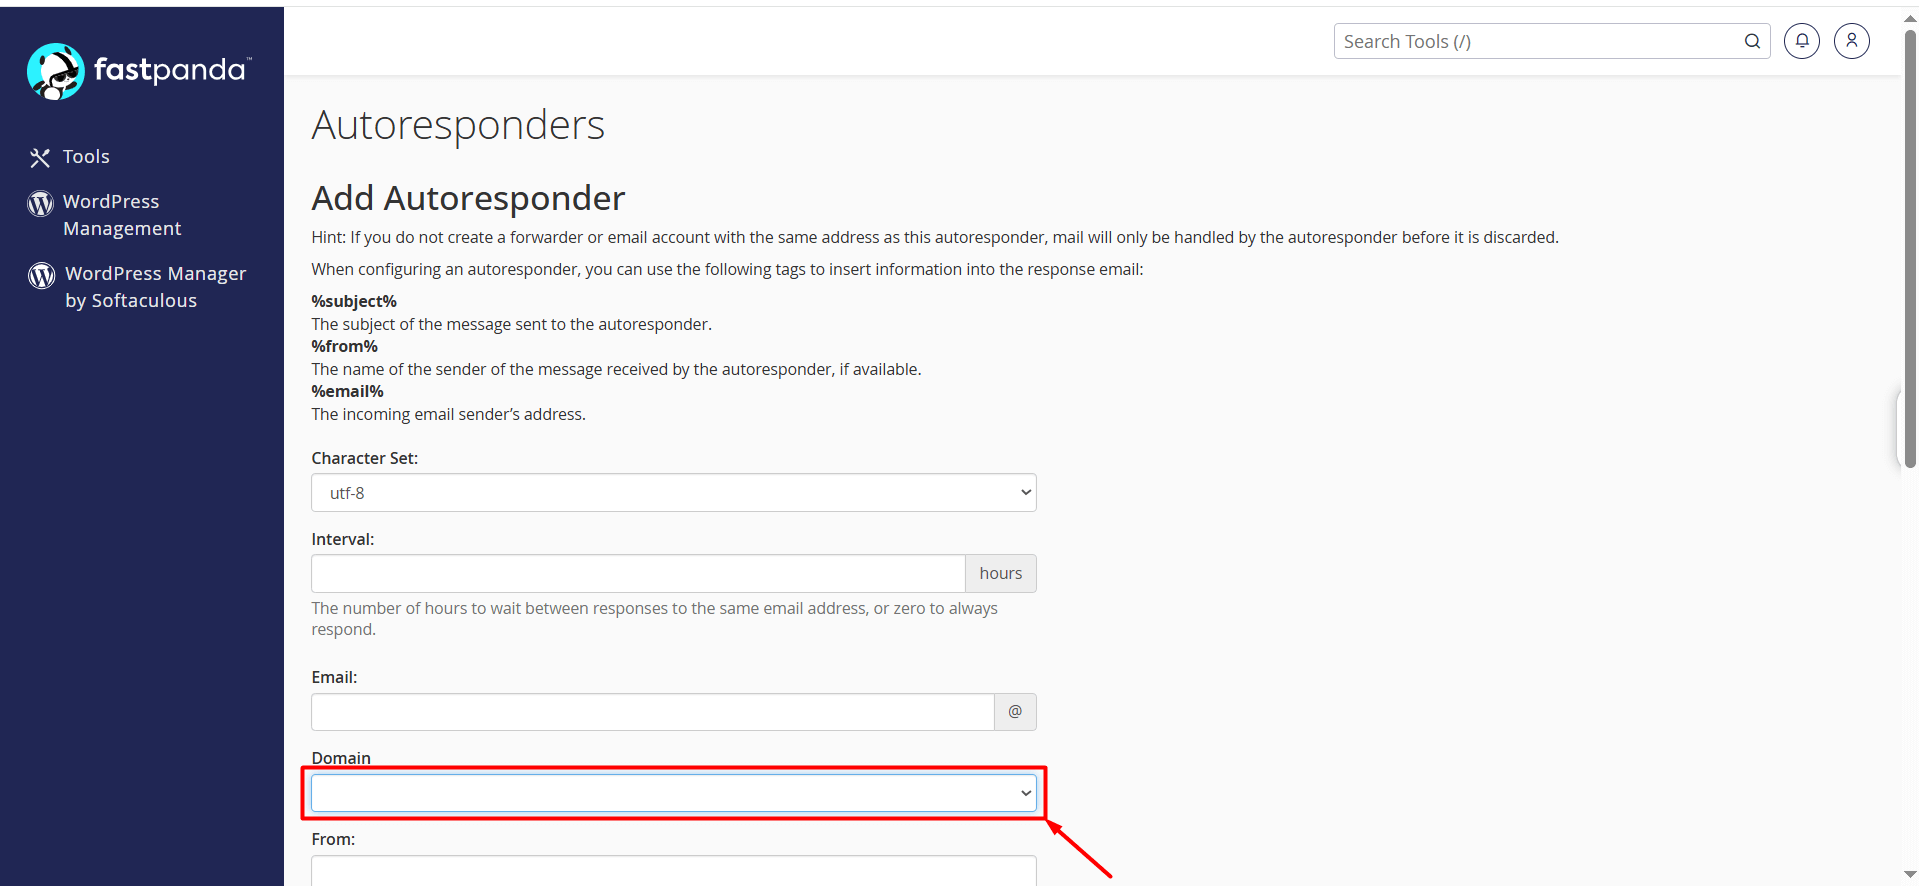
- Domain: Select the domain associated with your email address from this section.
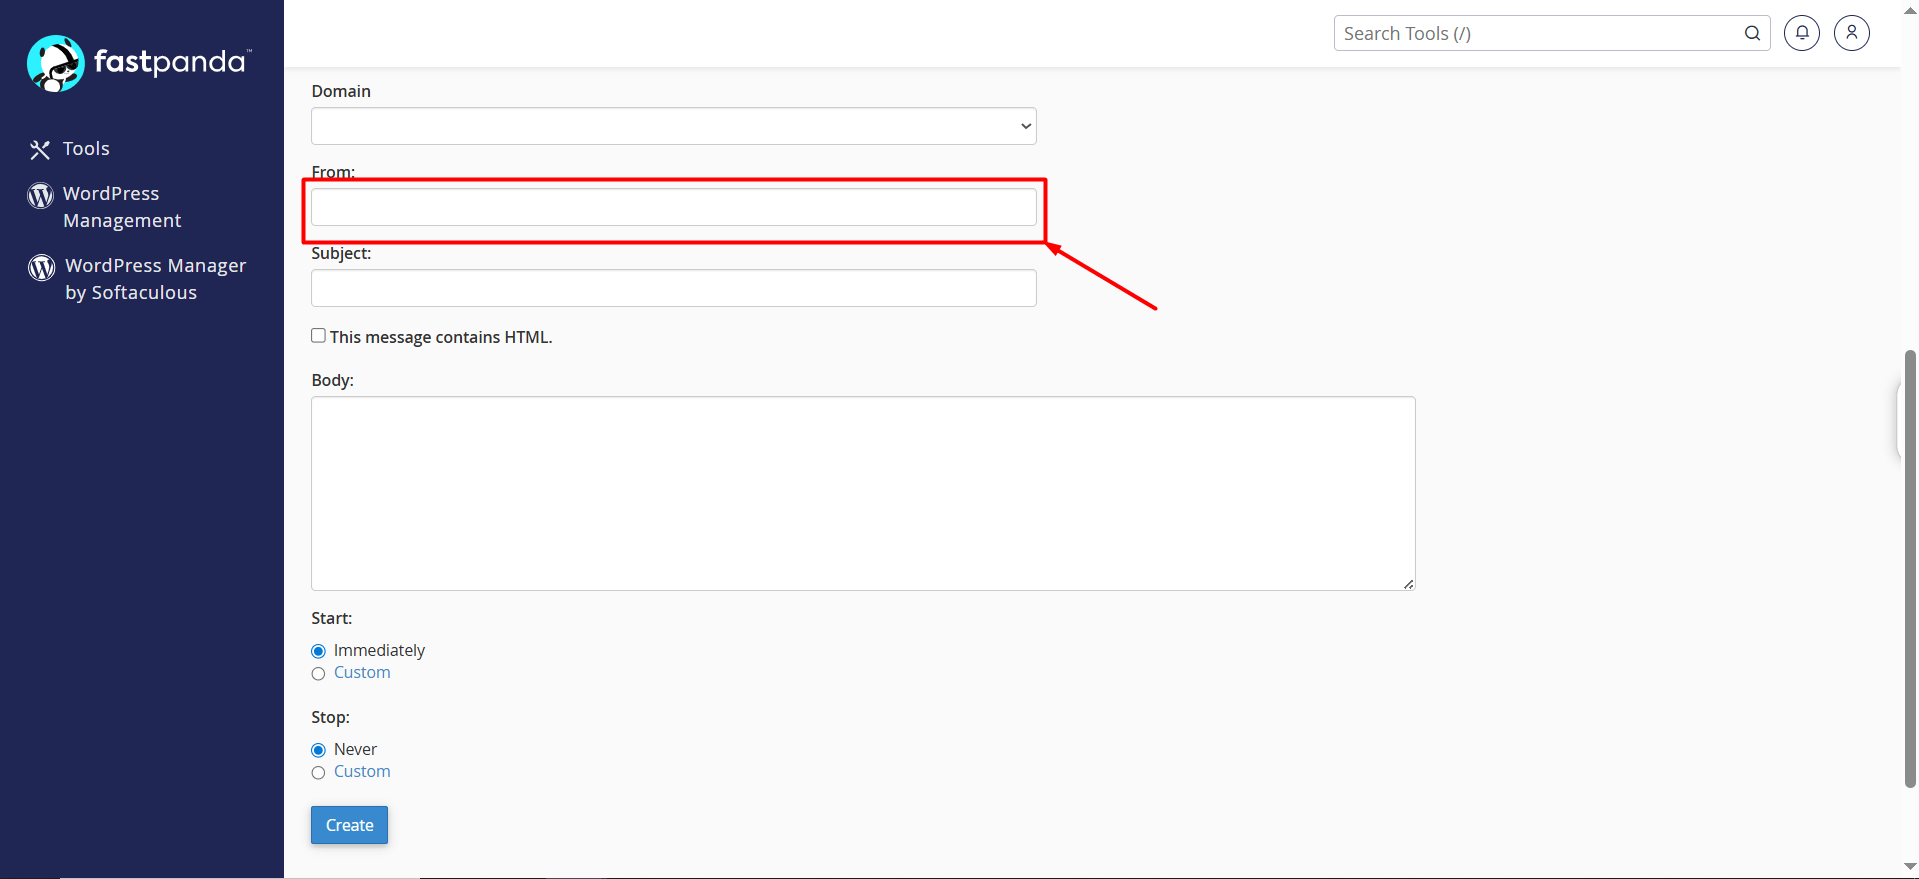
- From: Enter the sender name in this field.
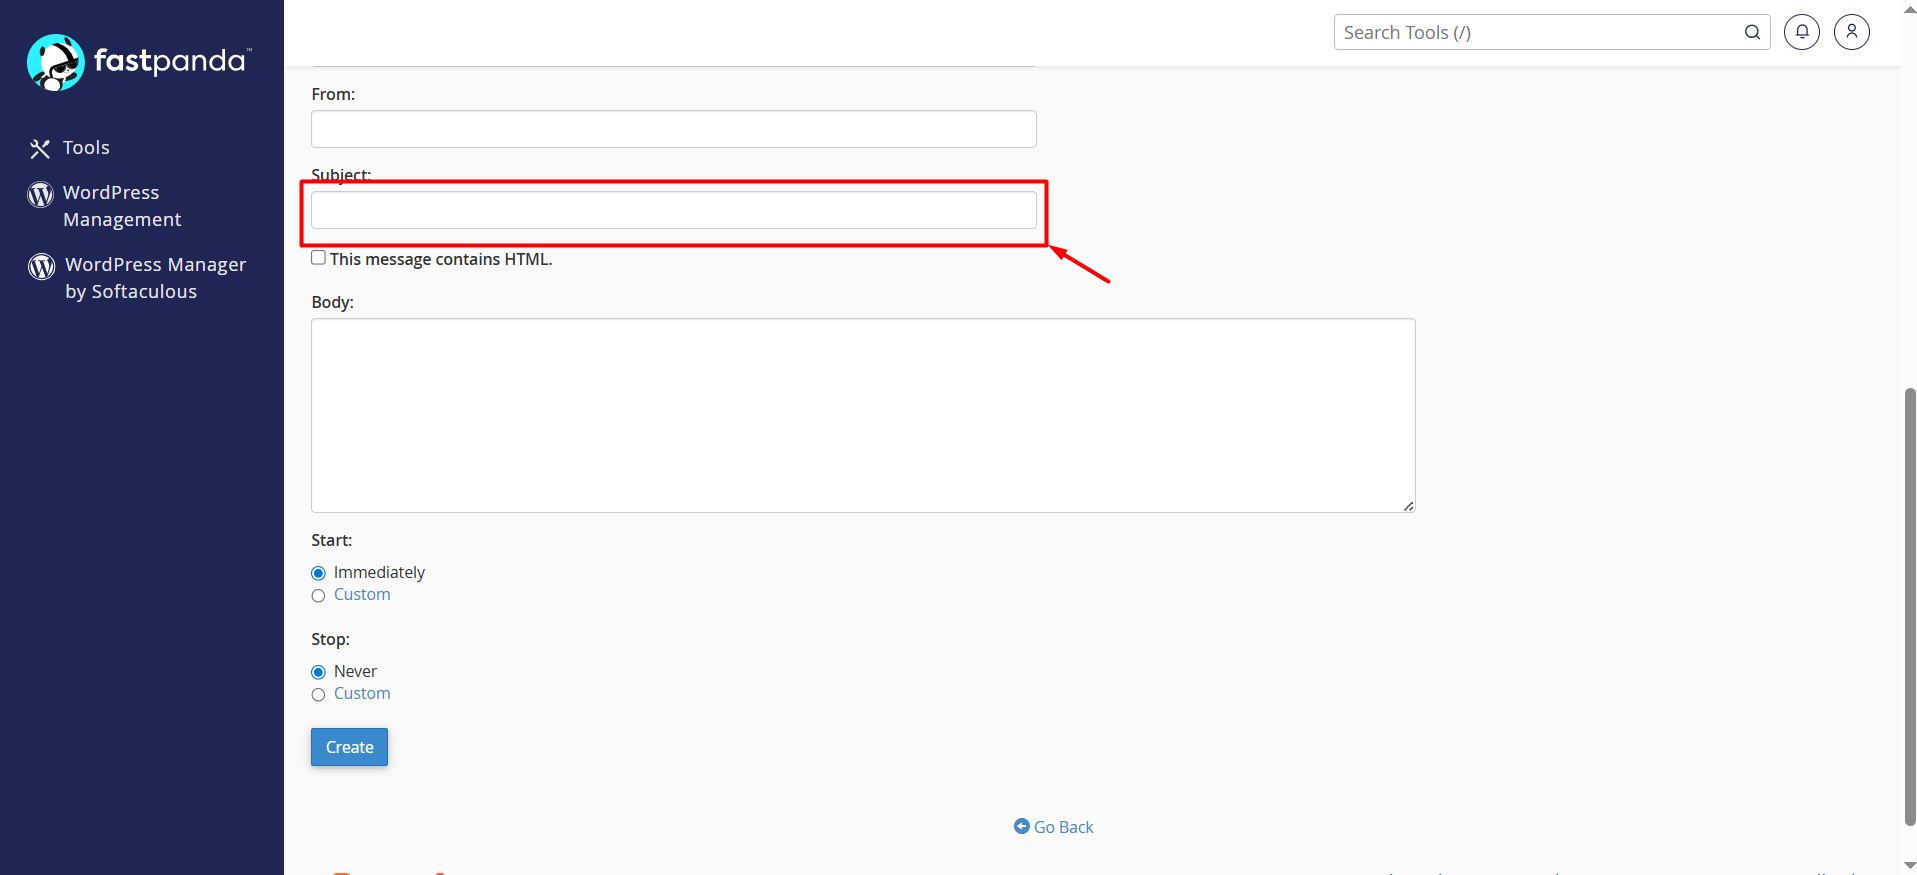
- Subject: Enter the subject line in this field (e.g., Your email has been received).
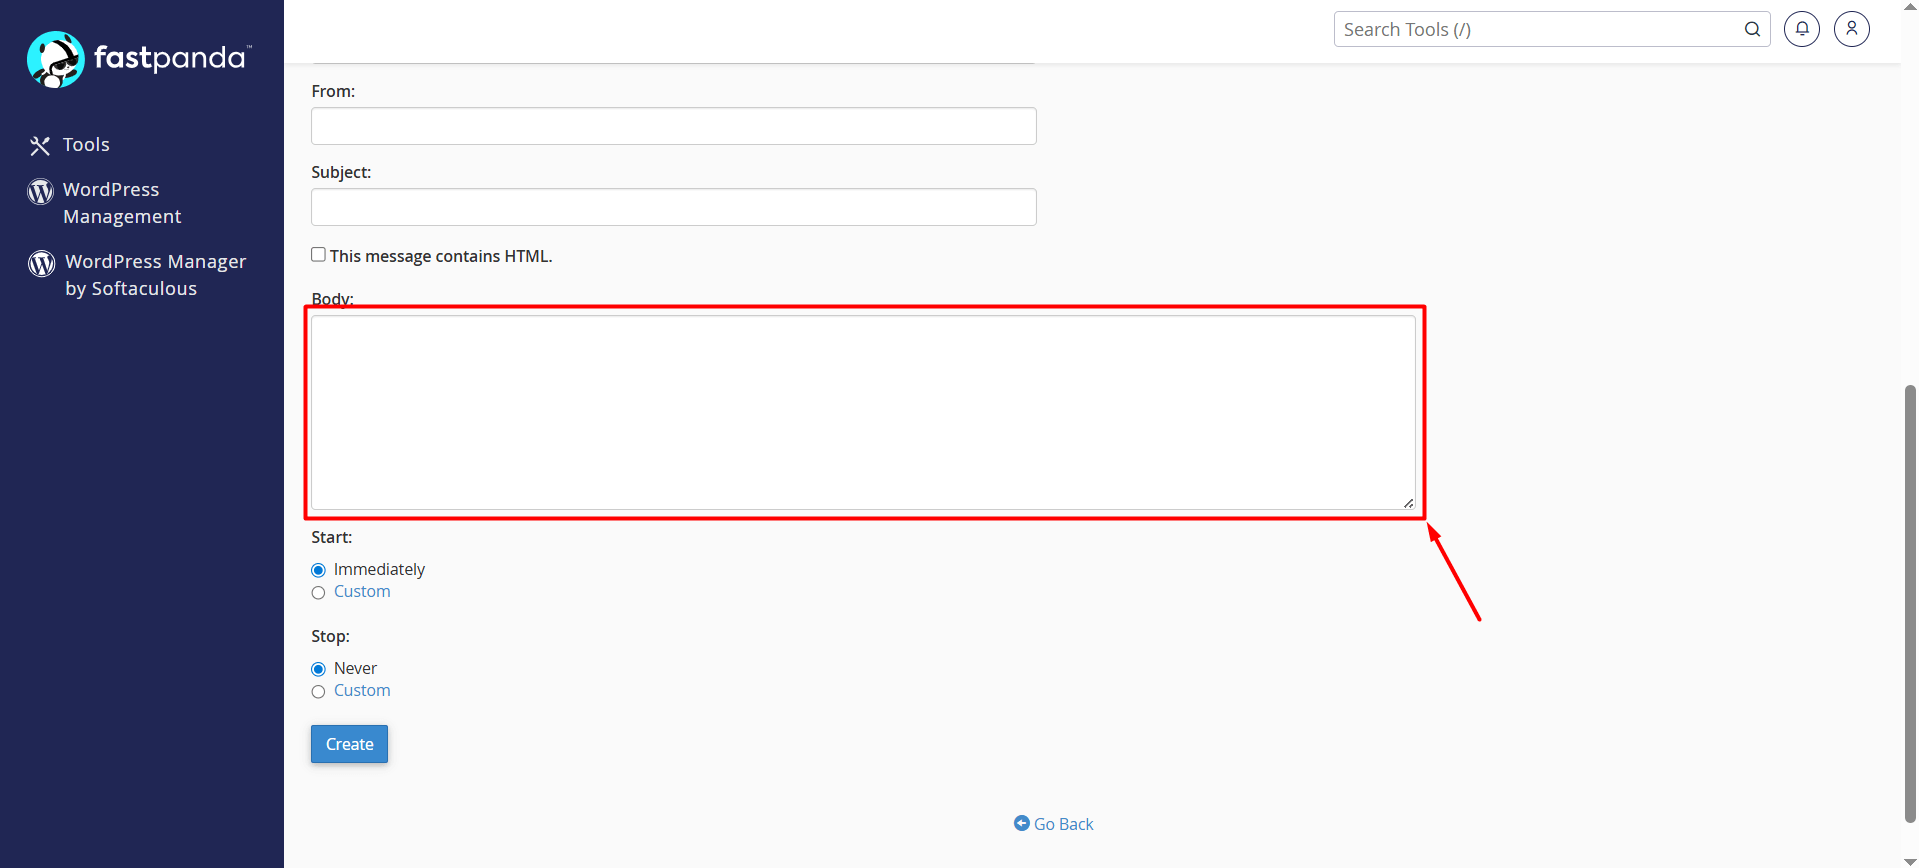
- Body: Enter the message you want to send in this field. (e.g., I will be on leave between xxx dates.) If your message contains HTML, check the “This message contains HTML.” box.
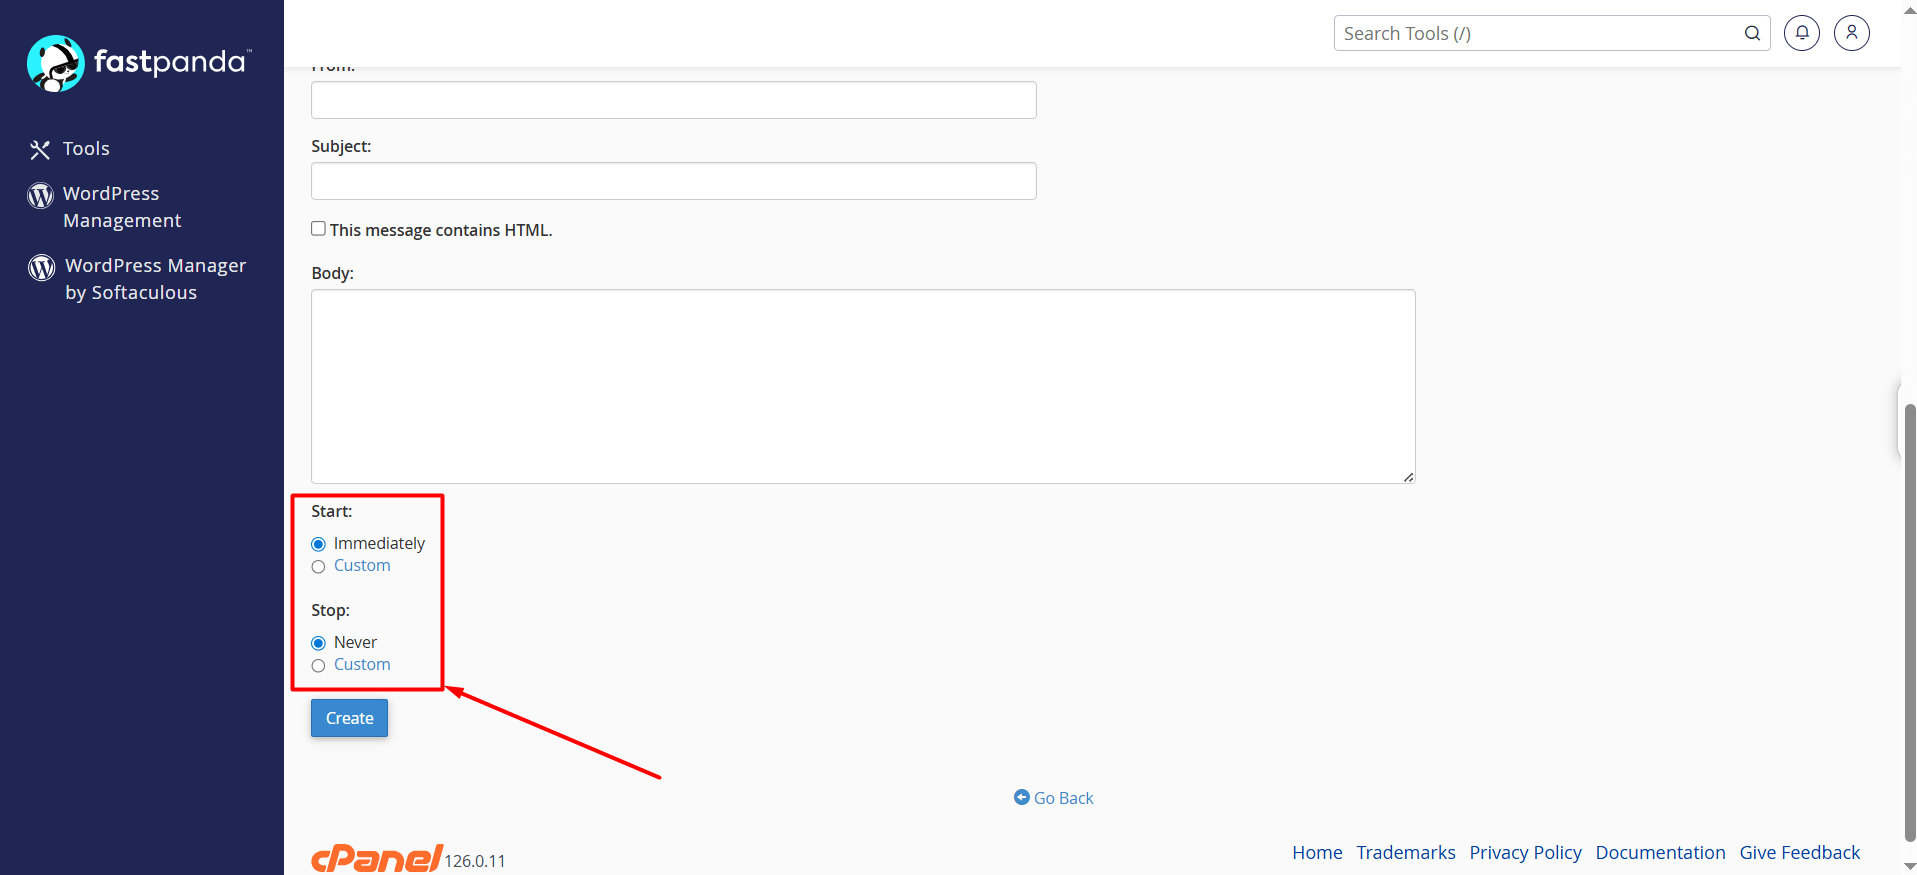
- Start – Stop: If you want to set a start and end date for the automatic reply, click the “Custom” button in the Start and Stop sections to choose the desired date and time.
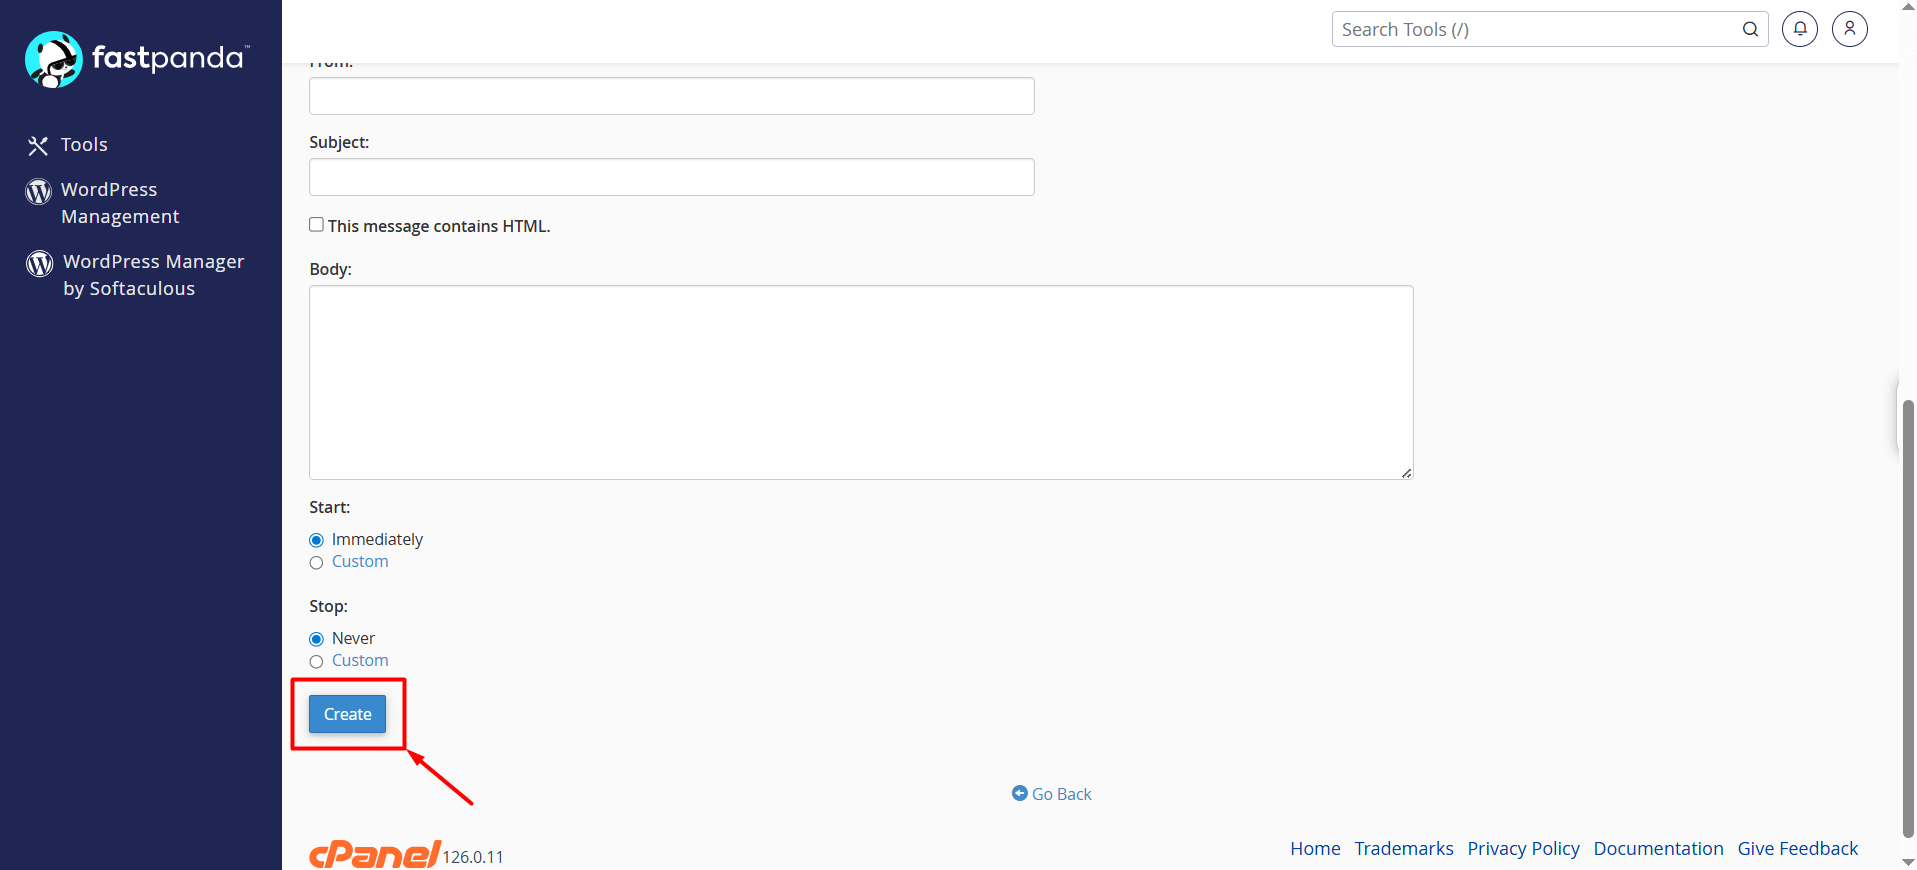
- Click the Create button to save and activate the autoresponder.
Additional information: You can edit or delete the autoresponder you created at any time from the Autoresponders page.


 .CO.UK Domain
 Linux Hosting
 Windows Hosting