When you’re on leave, on vacation, traveling, or busy with meetings, you may not be able to respond to emails immediately. In such cases, you can use the Autoresponder feature in Business Email to inform your clients or colleagues. The autoresponder automatically sends a reply to emails received at a specific address, letting senders know you’re unavailable or that your response may be delayed.
To enable an autoresponder in Business Email, you can follow the steps below.
- Log in to your email account via webmail (https://webmail.yourdomain.extension). If you need more information about webmail login, click here.
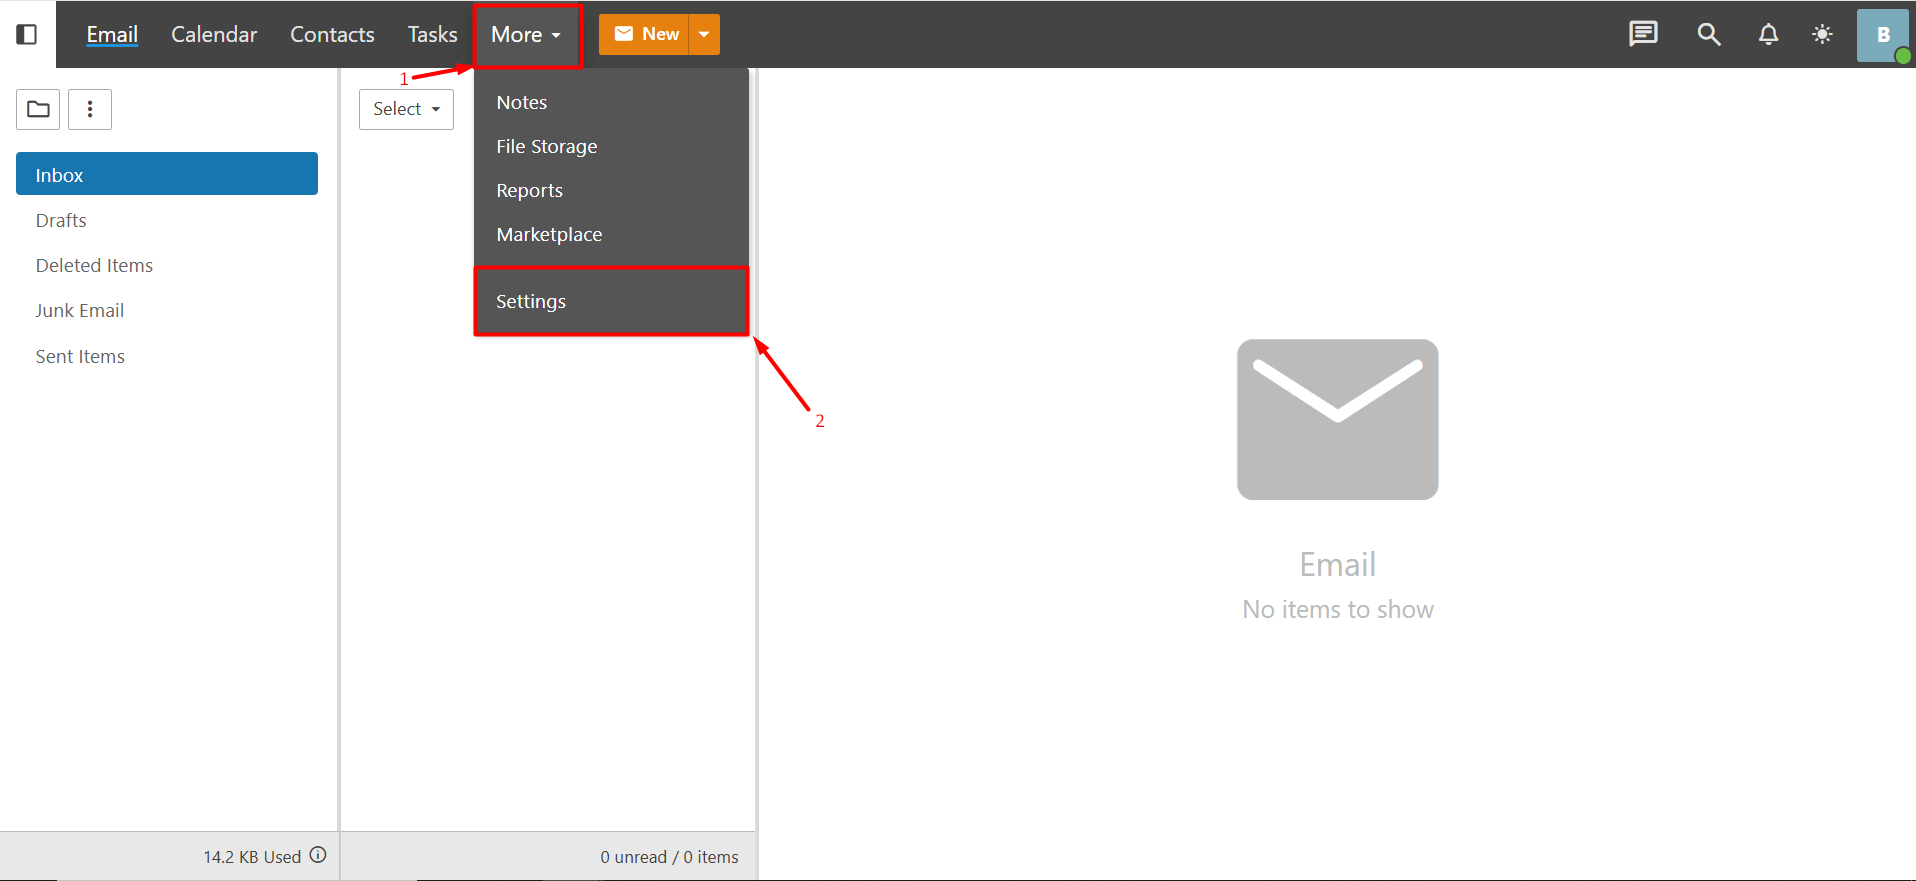
- In the webmail interface, click the “More” button and then select “Settings” from the dropdown list.
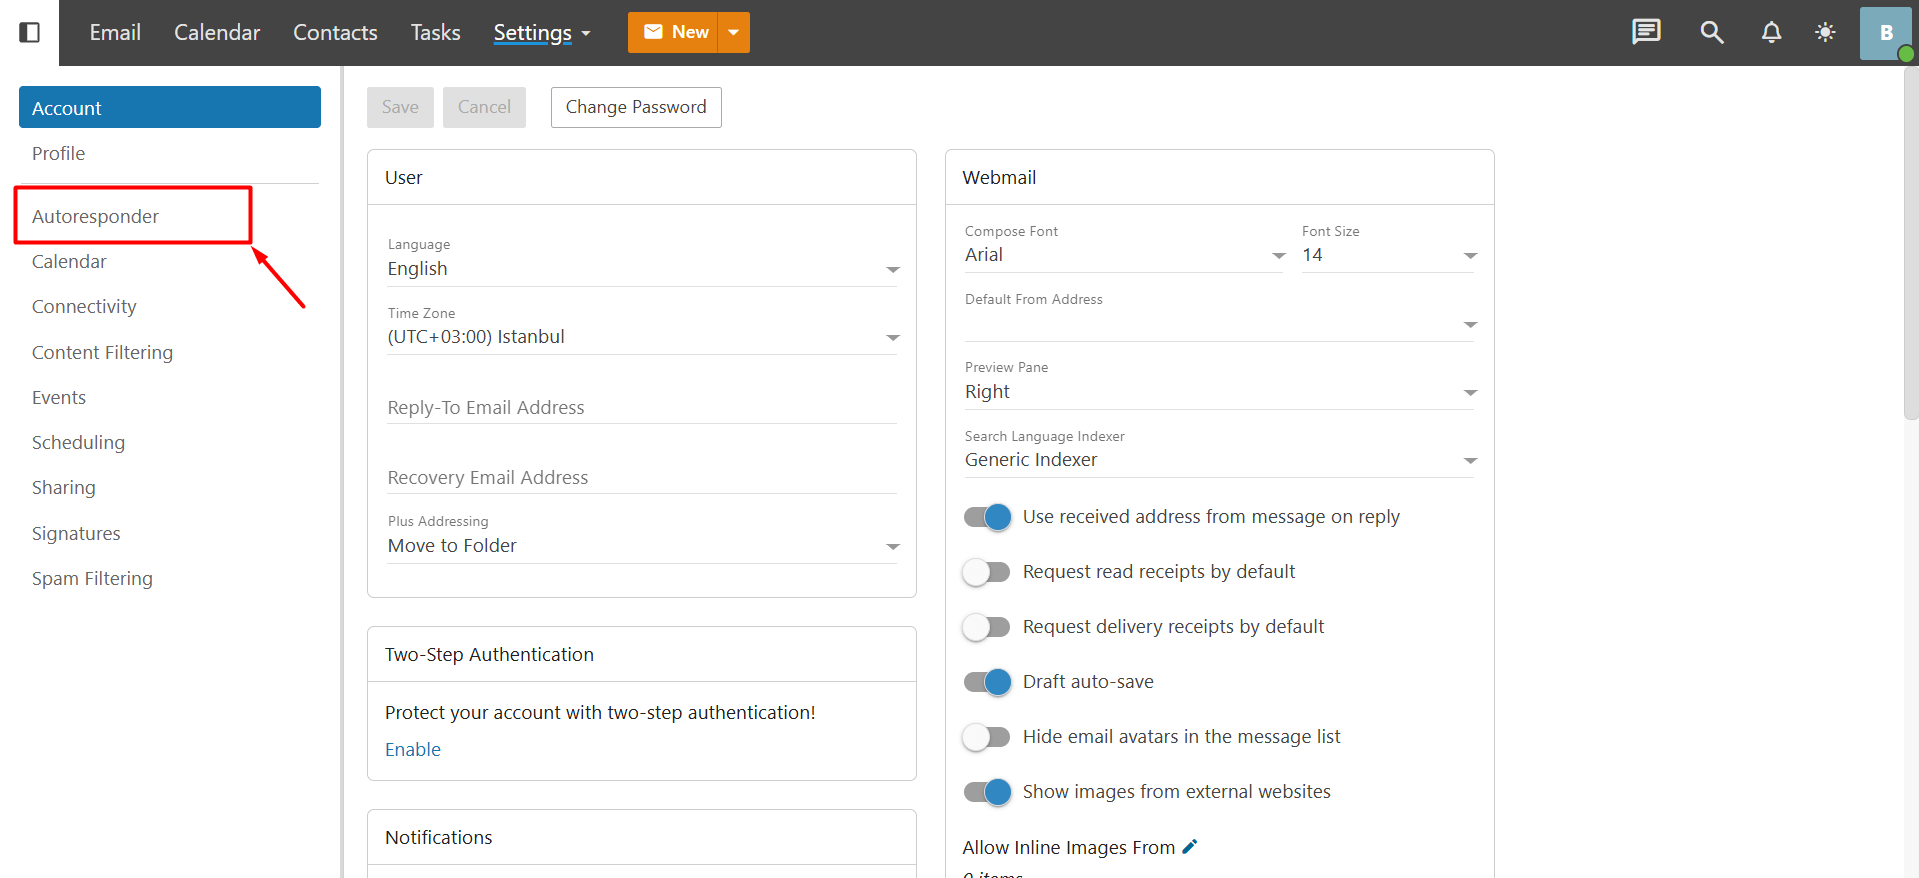
- Click the “Autoresponder” button in the left menu.
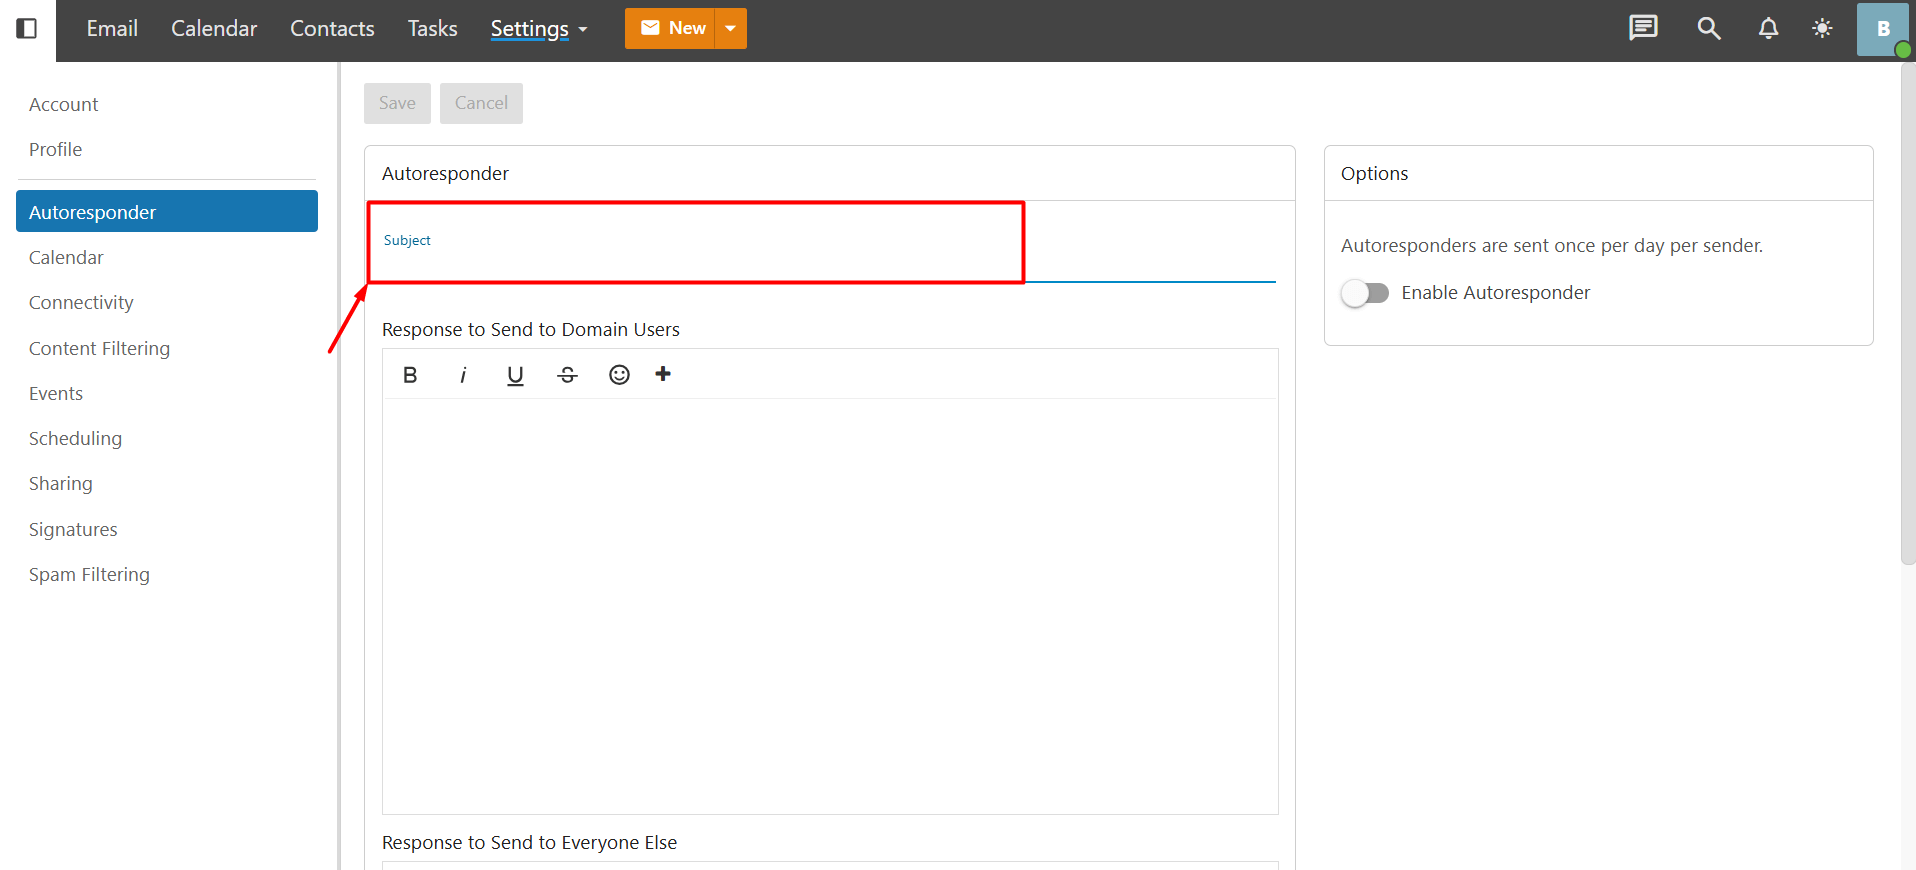
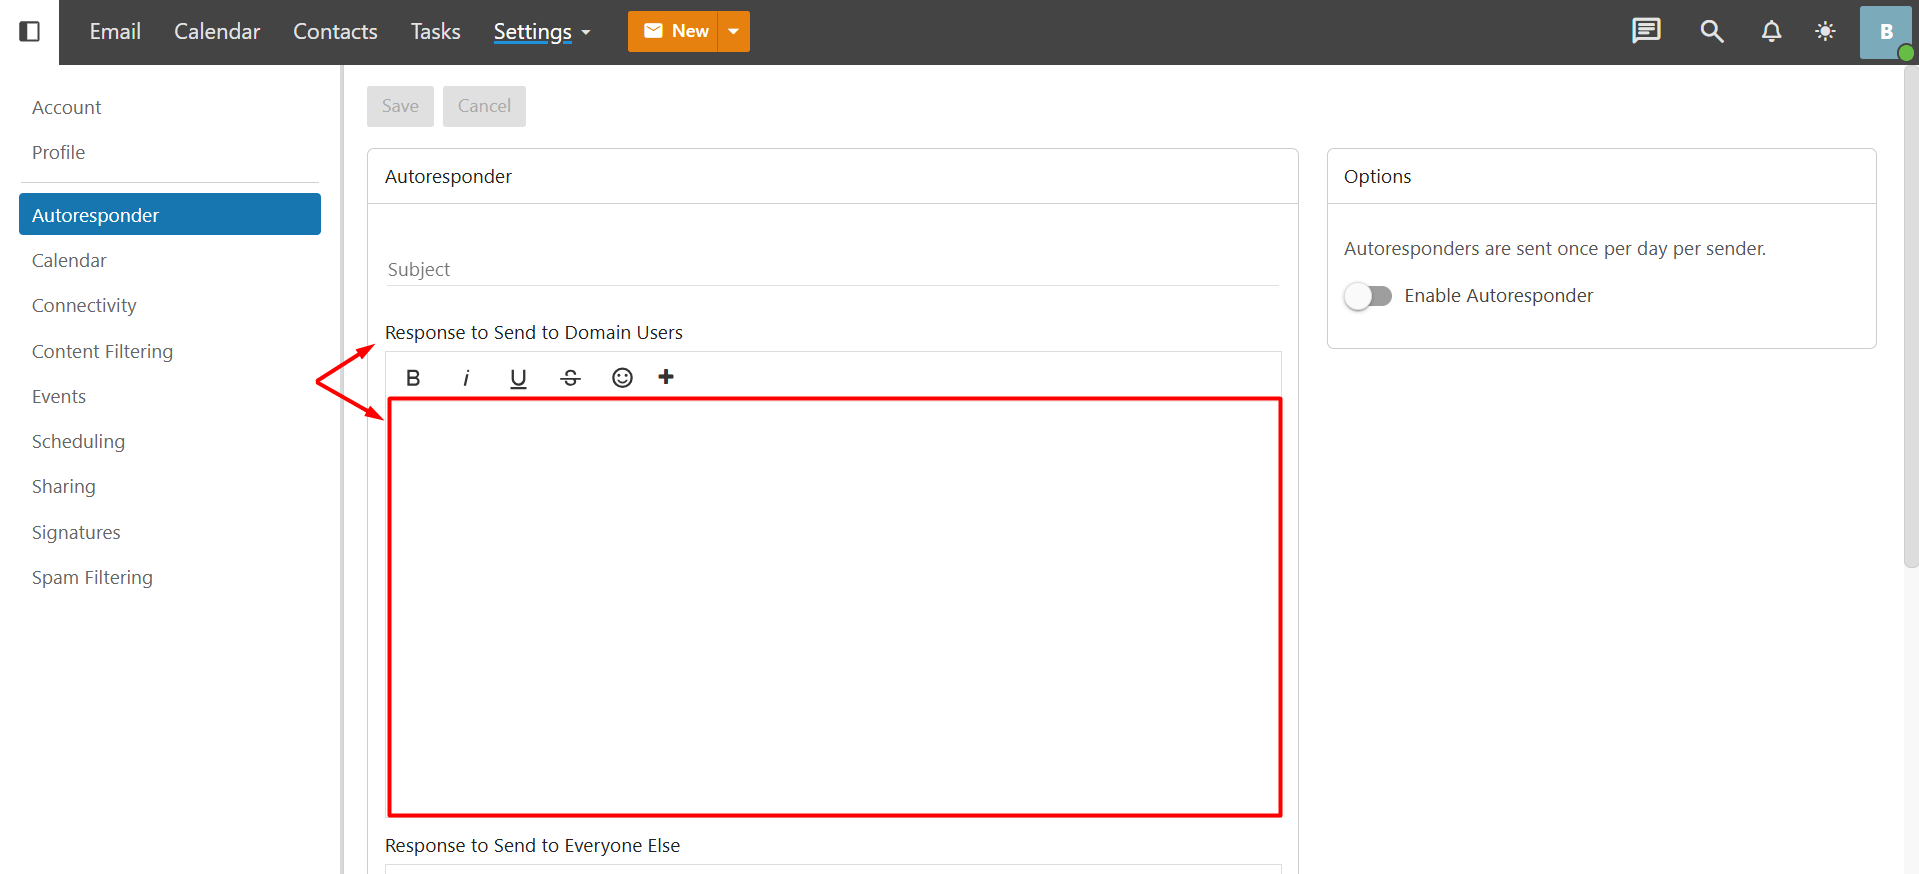
- Subject: This is the field where you write the subject line of the automatic reply. This subject will appear in the recipient’s inbox when they receive the auto-reply email. For example: Out of Office, On Vacation, or Your Email Has Been Received.
- Response to Send to Domain Users: This is the field where you can write the automatic reply that will be sent to internal users (i.e., email addresses within the same domain). For example, you can write an automatic response like “I will be out of the office until xx.xx.xxxx, please contact [email protected]” instead.
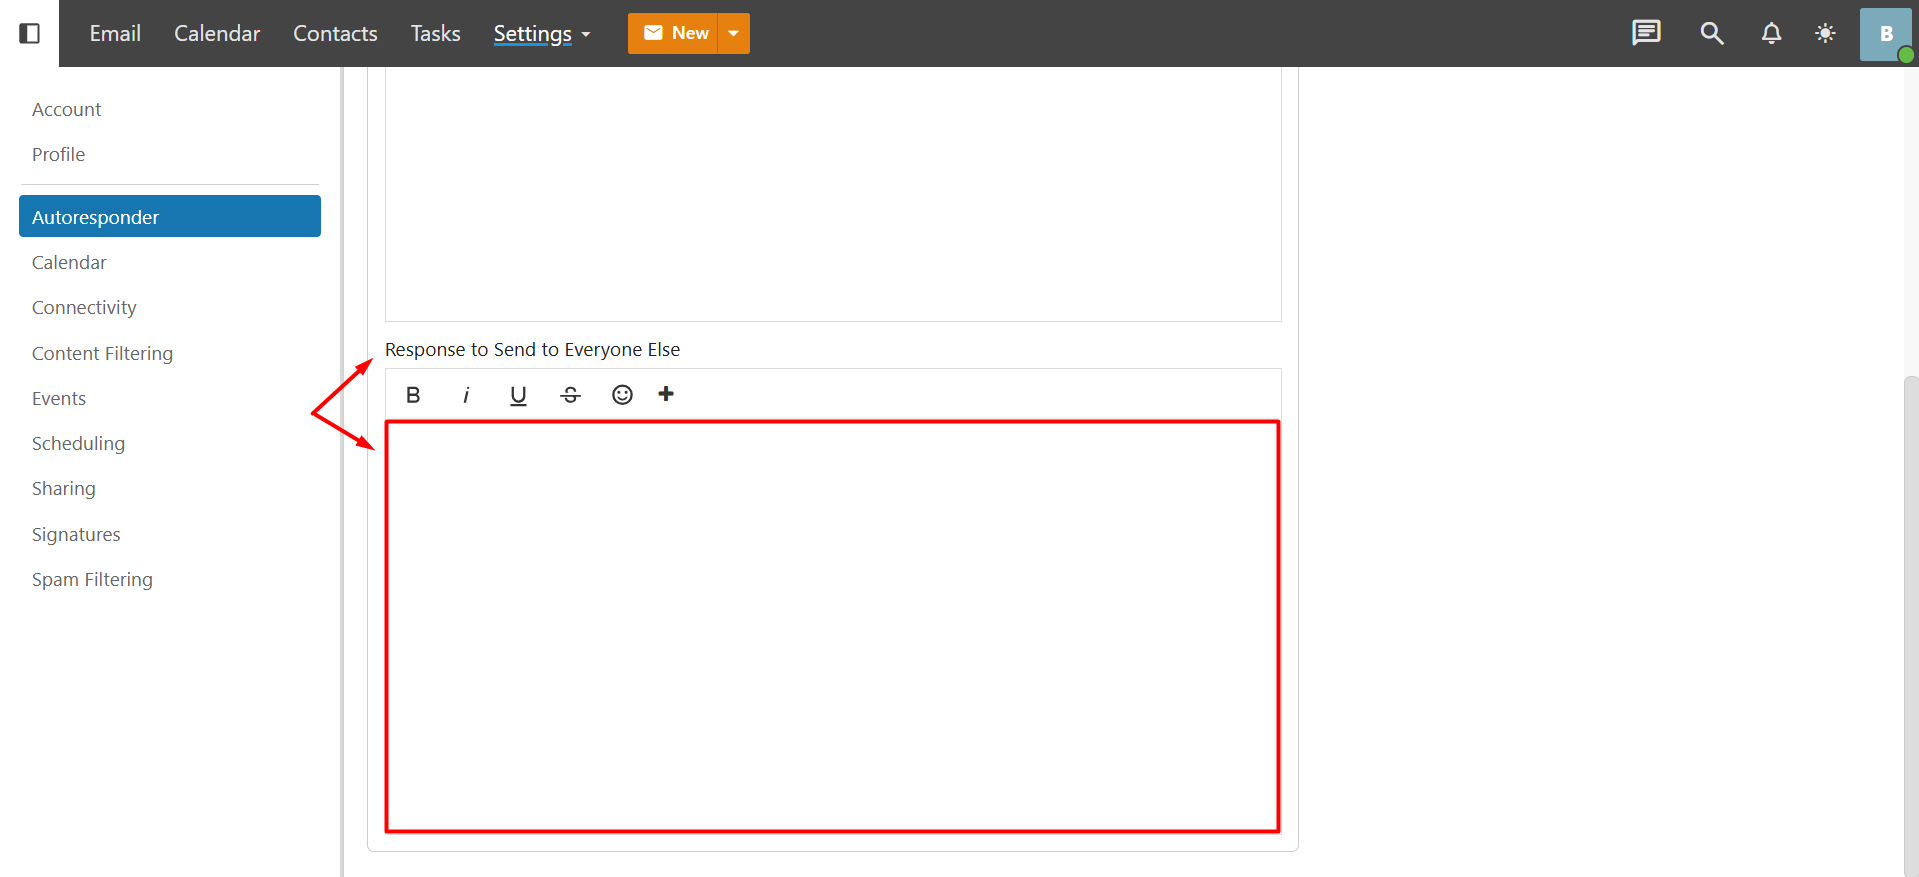
- Response to Send to Everyone Else: This is the field where you can write the predefined message that will be sent to external users (customers, suppliers, other companies, Gmail/Hotmail, etc.). The text you enter here will not be sent to email addresses with the same domain name extension as yours. For example: “I am currently out of the office. For all urgent requests, please contact [email protected]”
Note: To send automatic emails both to colleagues within your domain and to external recipients (such as customers), you need to fill in both fields.
-
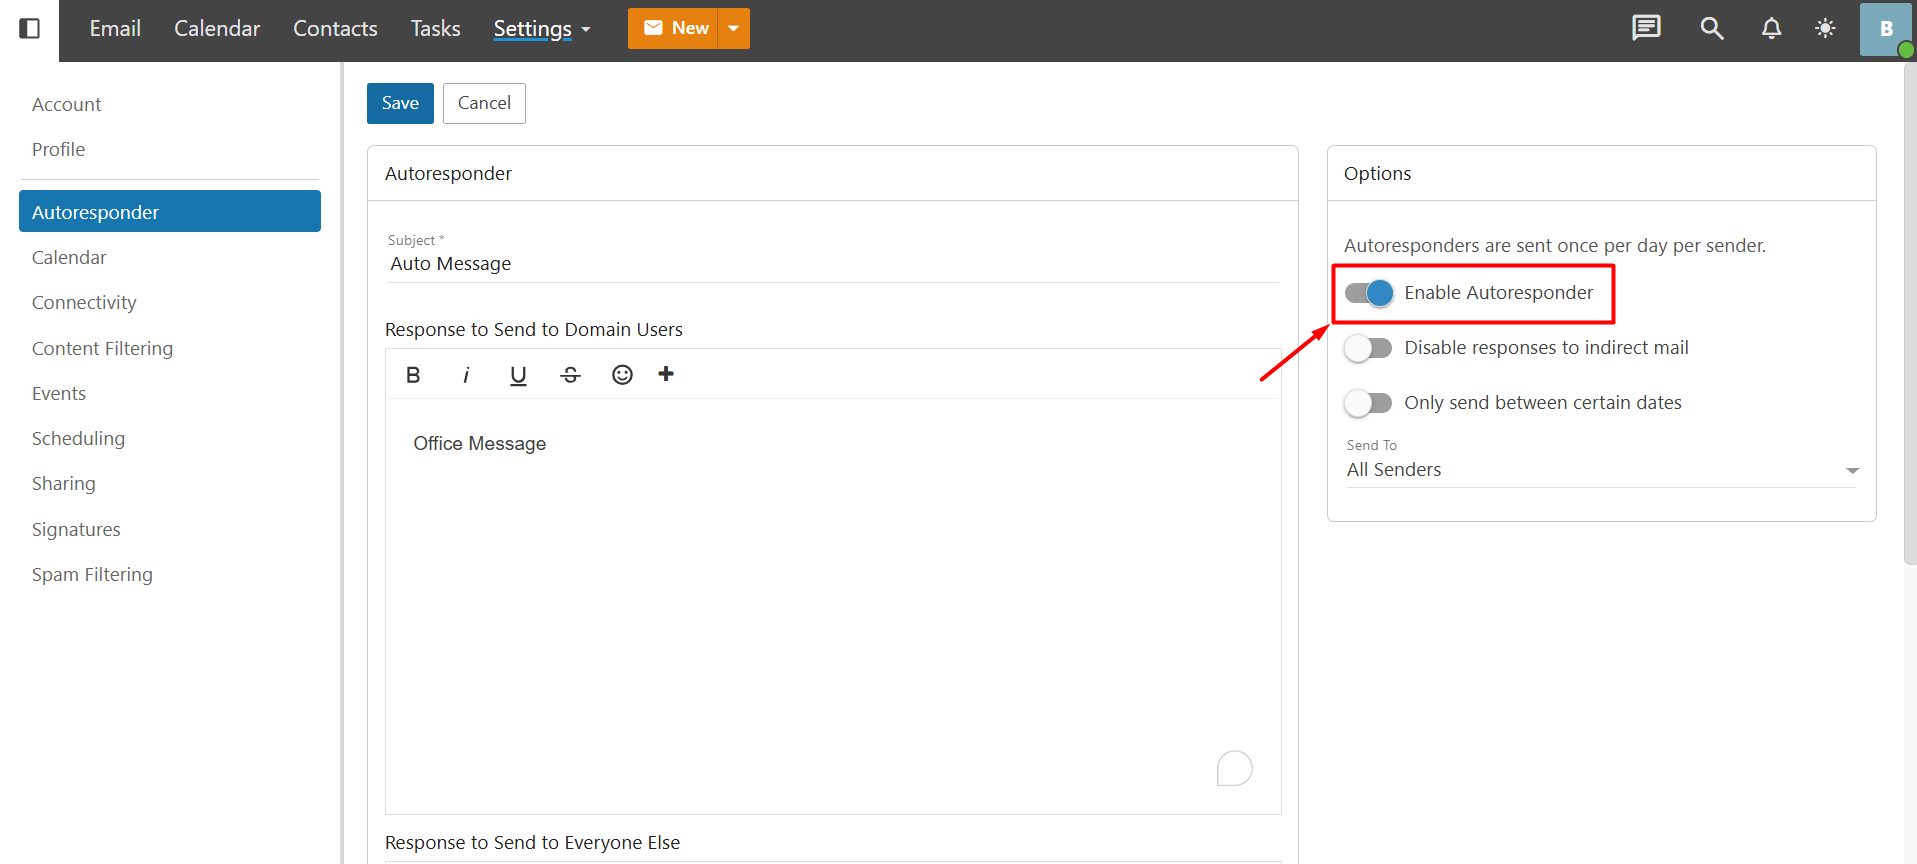
To enable the auto-responder, follow the steps below:
-
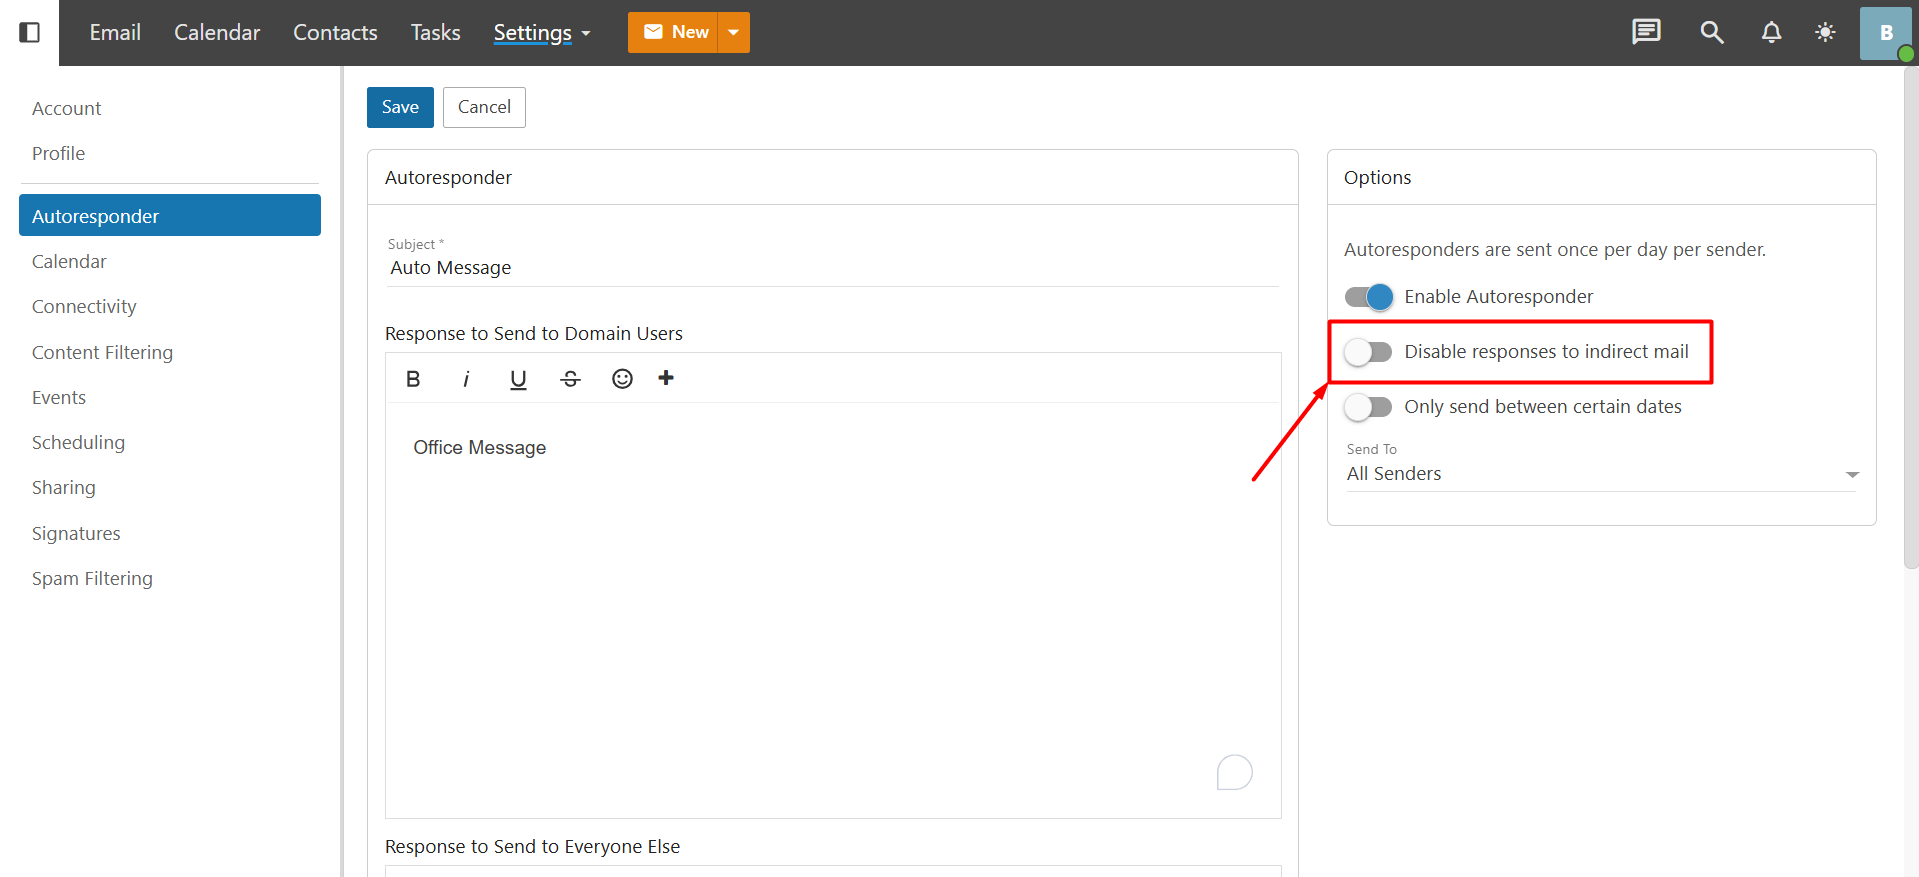
If the “Disable responses to indirect mail” option is off, the auto-reply will be sent to both emails sent directly to you and emails sent to you via CC/BCC. If it is on, the auto-reply will only be sent to emails directly addressed to you, and not to CC/BCC emails.
-
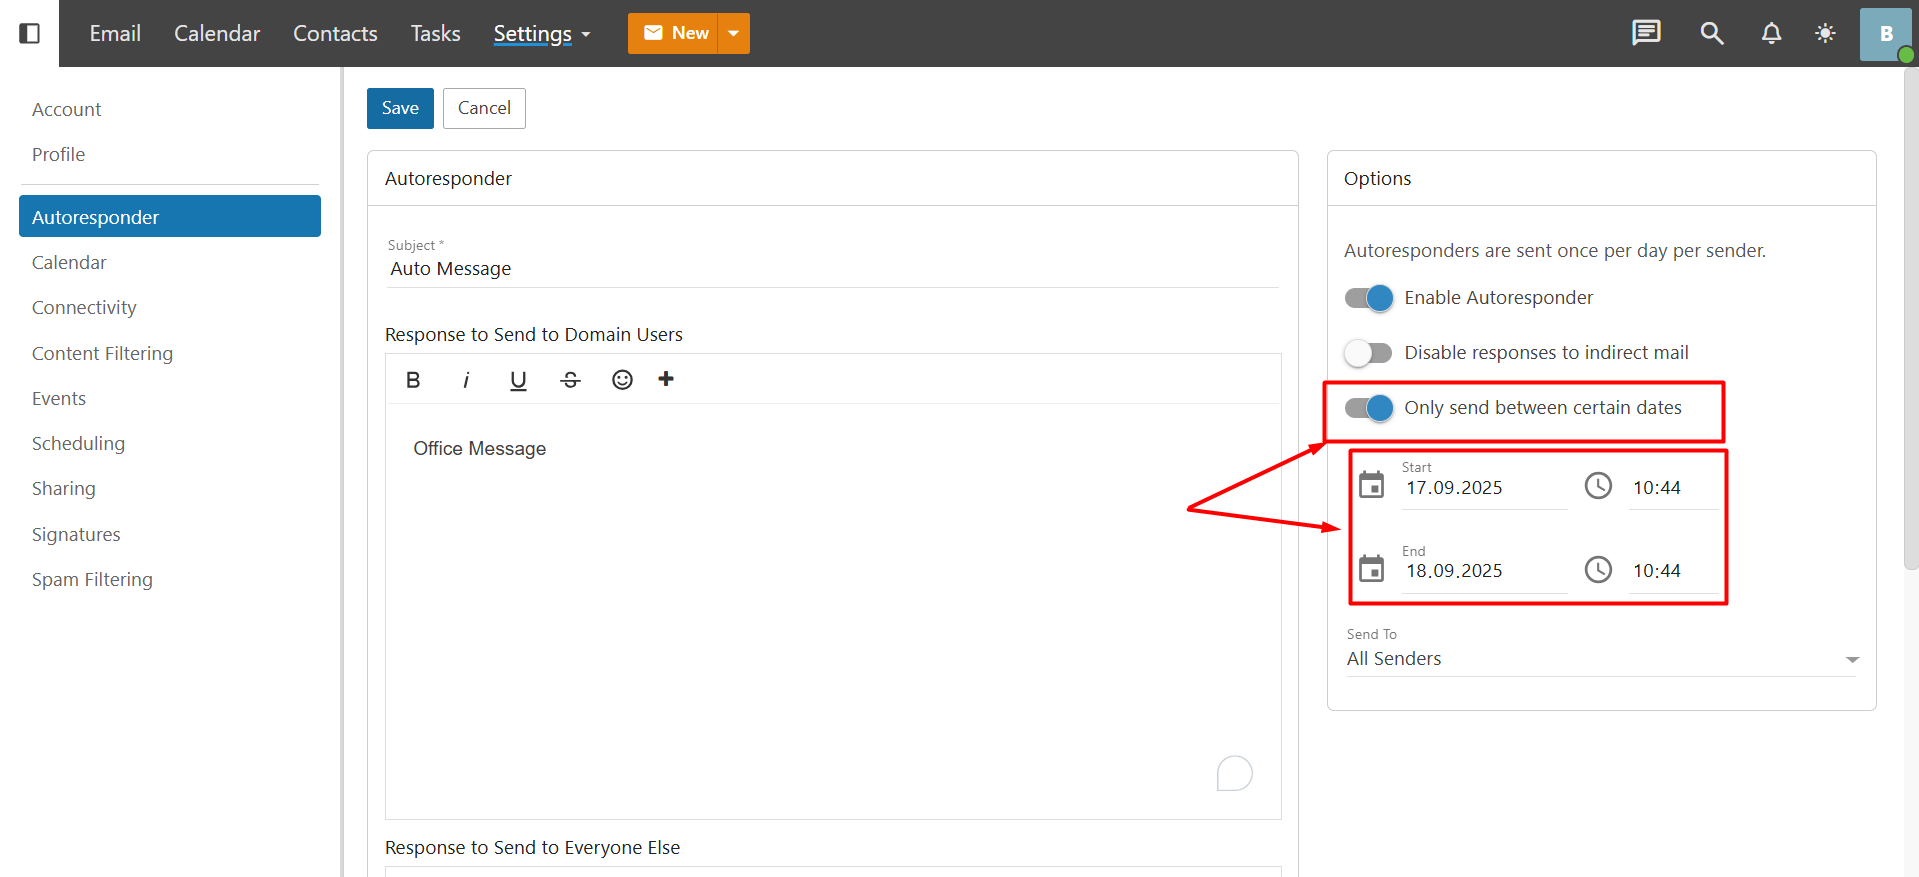
If you enable the “Only send between certain dates” option, you can select the start date and time for the auto-reply and also set the end date and time for when the auto-reply will stop.
-
In the “Sent To” section, you can choose one of the following options:
-
All Senders
-
Senders in my domain and Contacts
-
Senders in my domain
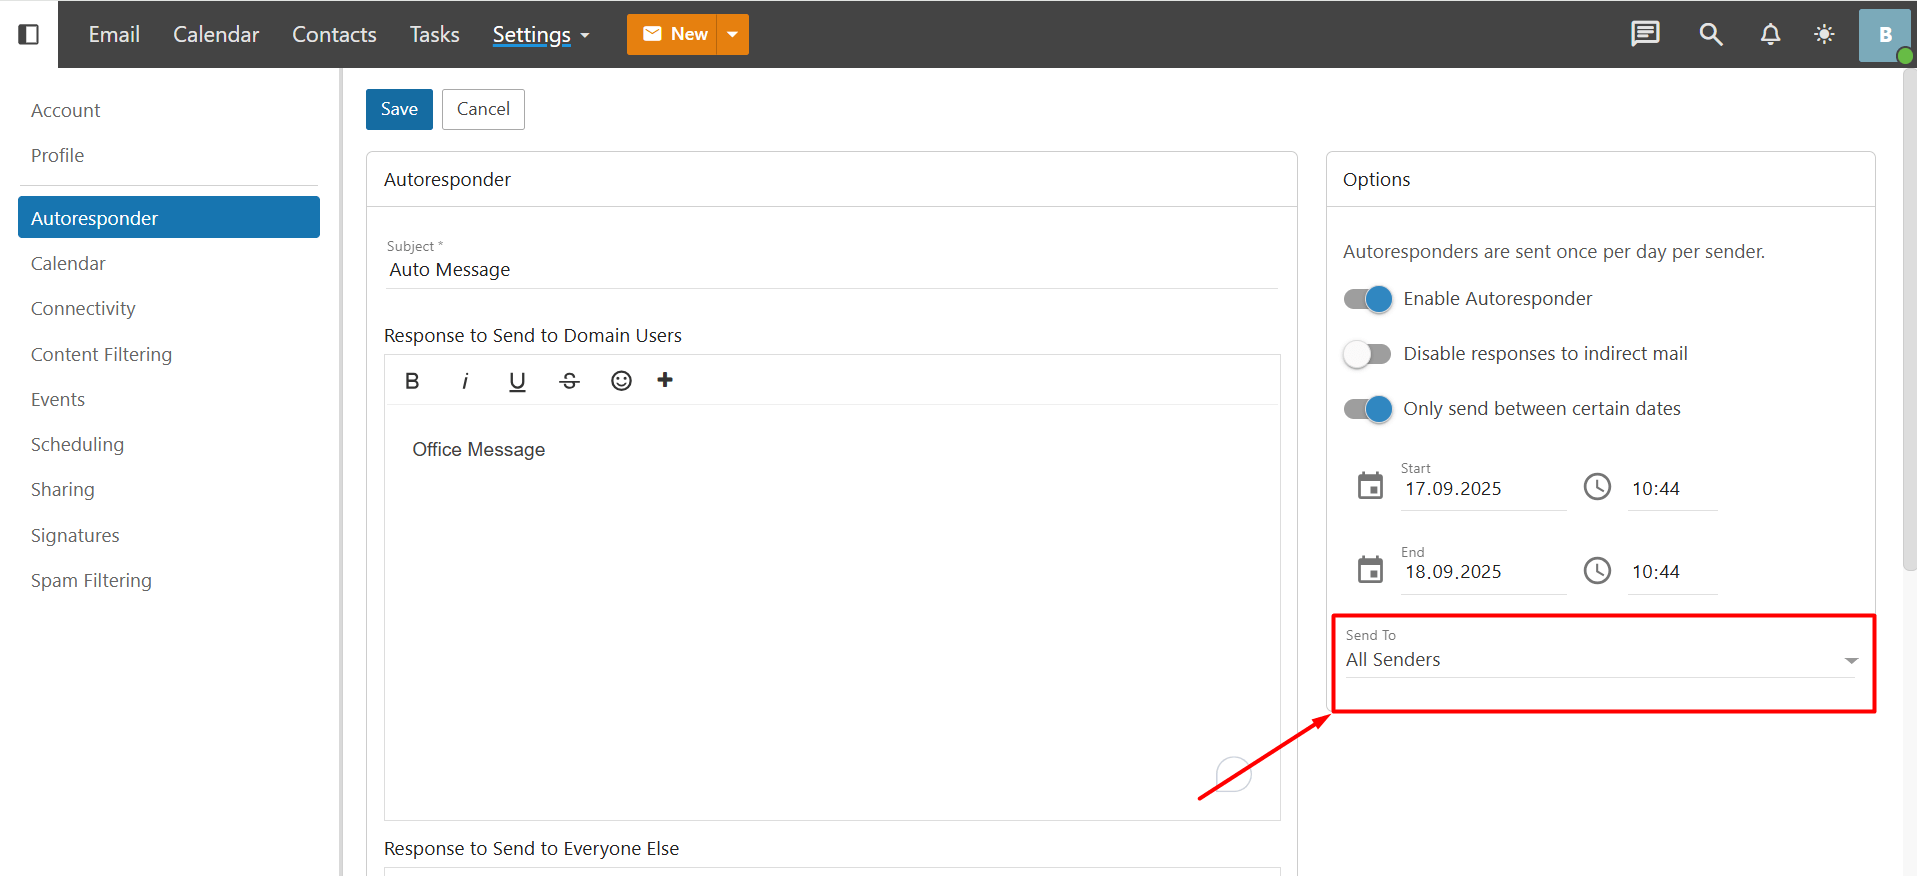 One important note: For example, if you did not write a message in the “Response to Send to Domain Users” field but selected “All Senders” in the “Sent To” section, an internal user from the same domain who sends you an email will still receive an automatic reply. However, since there is no content, the recipient will receive a blank email with the text ‘[This message has no HTML content]’.
-
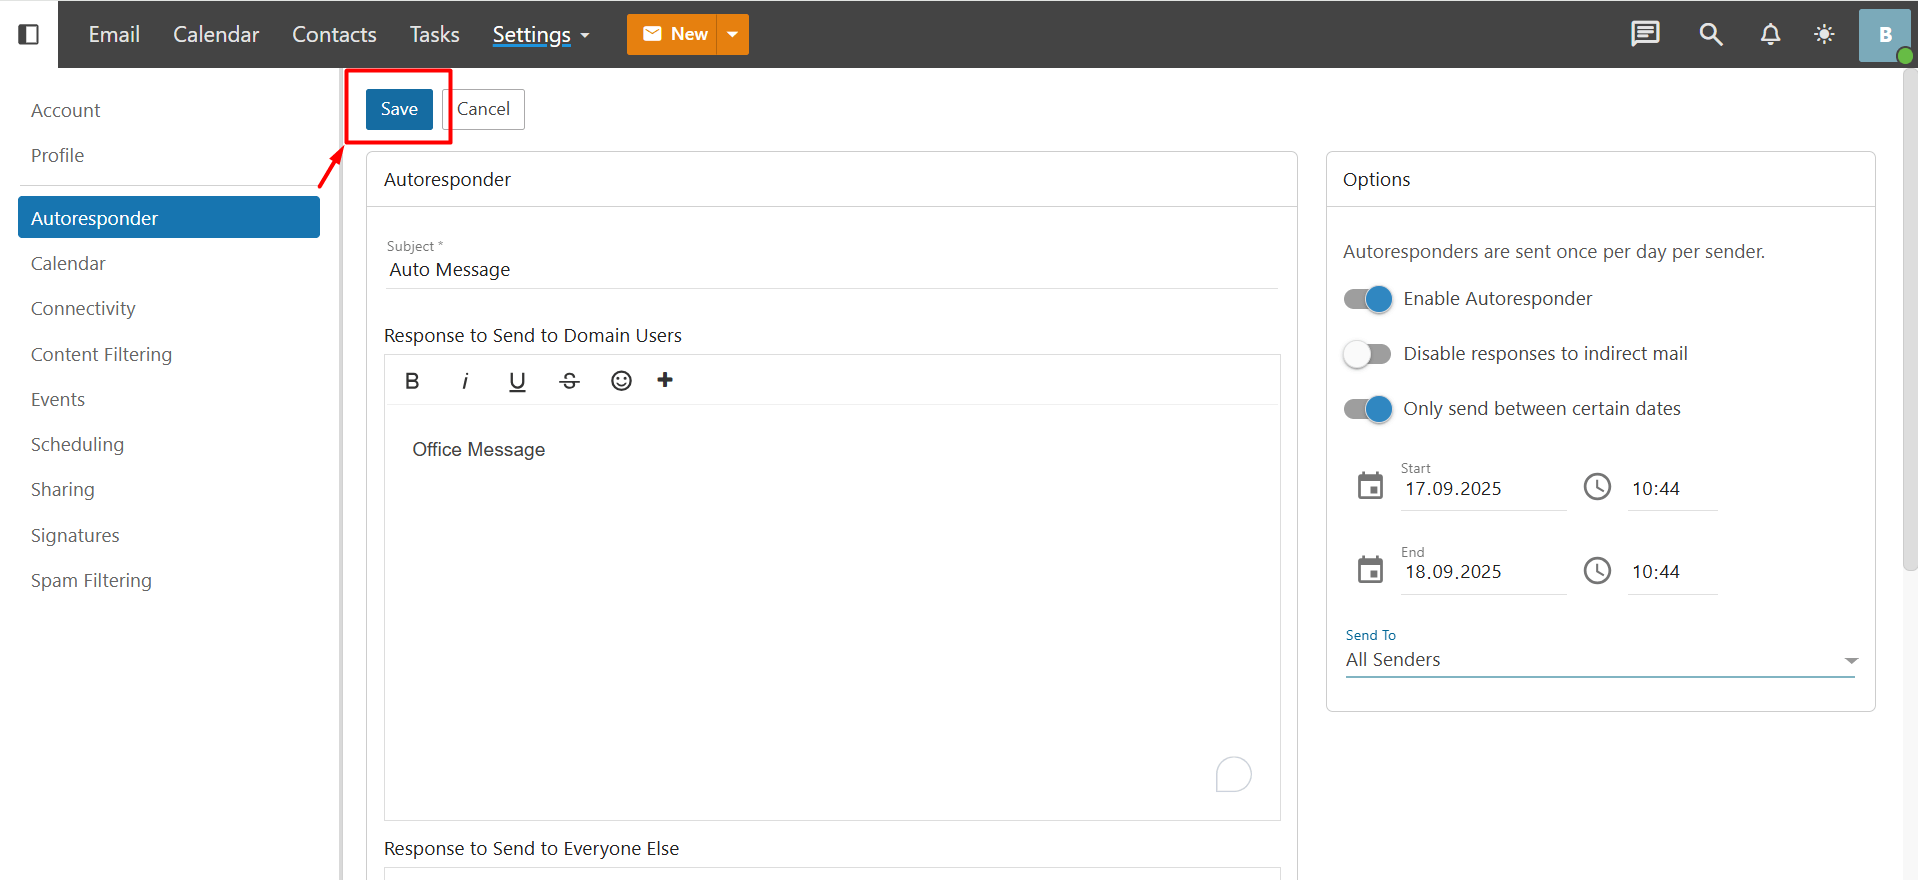
- After making all the adjustments, click the “Save” button to activate the auto-responder. Important: auto-responses are sent only once per day. For example, if person X sends you 10 emails, an automatic reply will be sent only for the first email. No additional replies will be sent to the same user on the same day.


 .CO.UK Domain
 Linux Hosting
 Windows Hosting