When you’re on leave, on vacation, traveling, or busy with meetings, you may not be able to respond to emails right away. In such cases, you can use the Auto-Reply feature in Plesk Panel to inform your clients or colleagues. Auto-Reply automatically sends a response to messages received at a specific email address, letting senders know that you are unavailable or that your response may be delayed.
To activate Auto-Reply in Plesk Panel, follow the steps below.
- First, log in to your customer panel and then access Plesk Panel. Click here to learn how to log in to Plesk Panel.
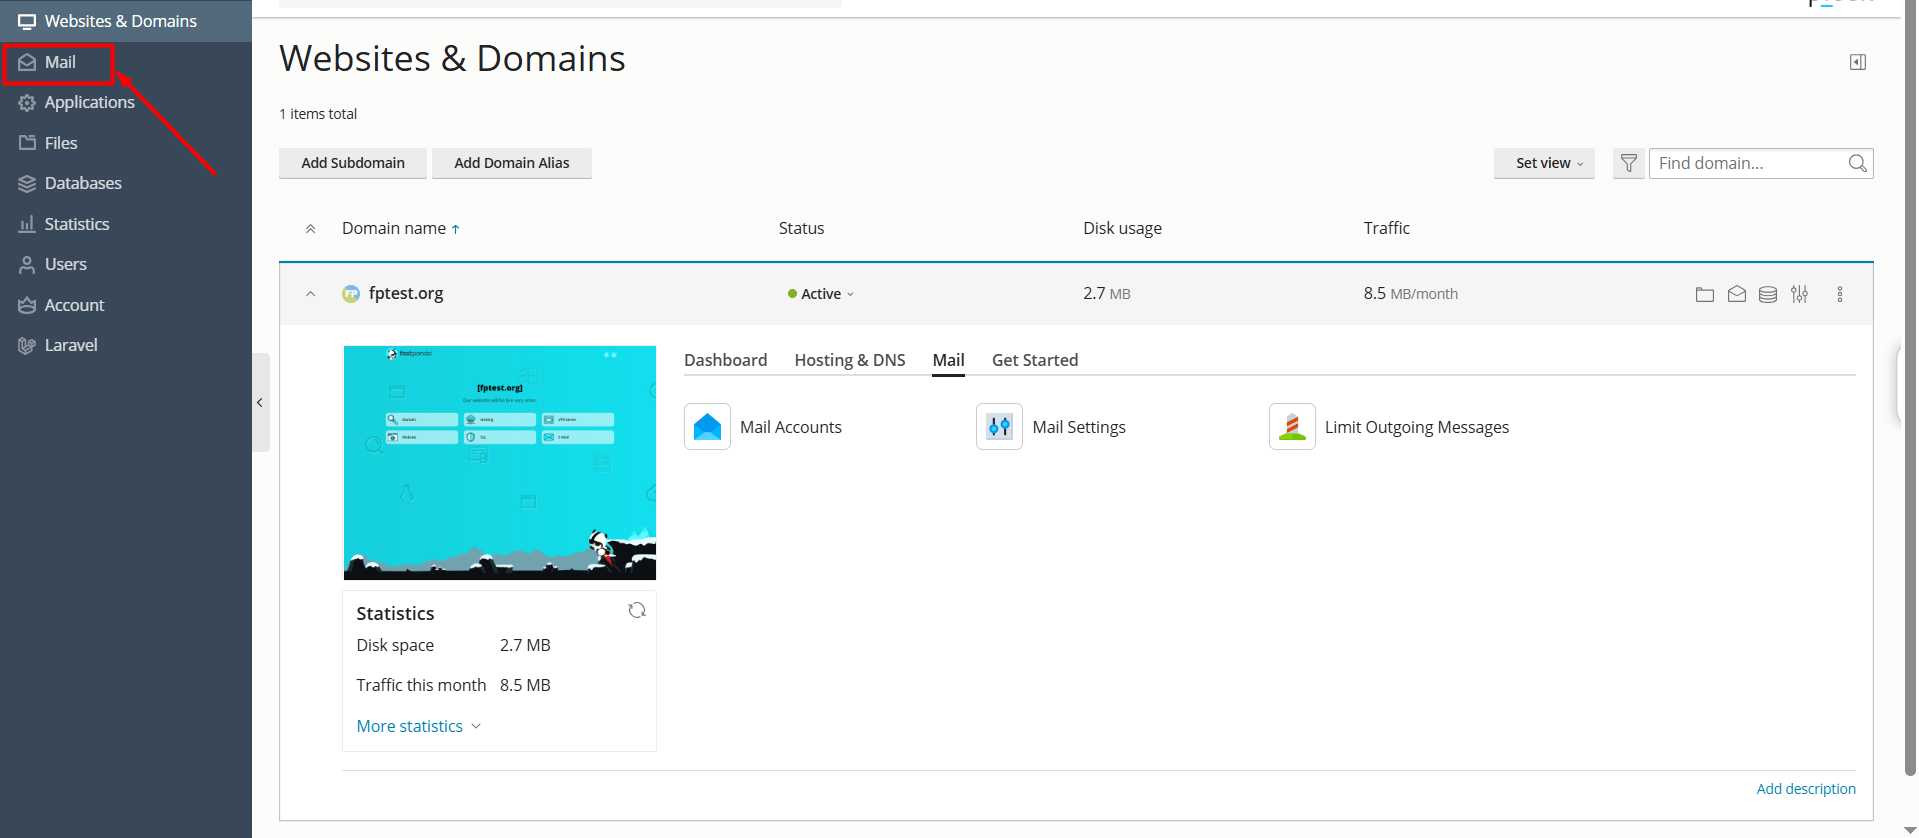
- When you log in to Plesk Panel, click the “Mail” button located on the left side of the page.
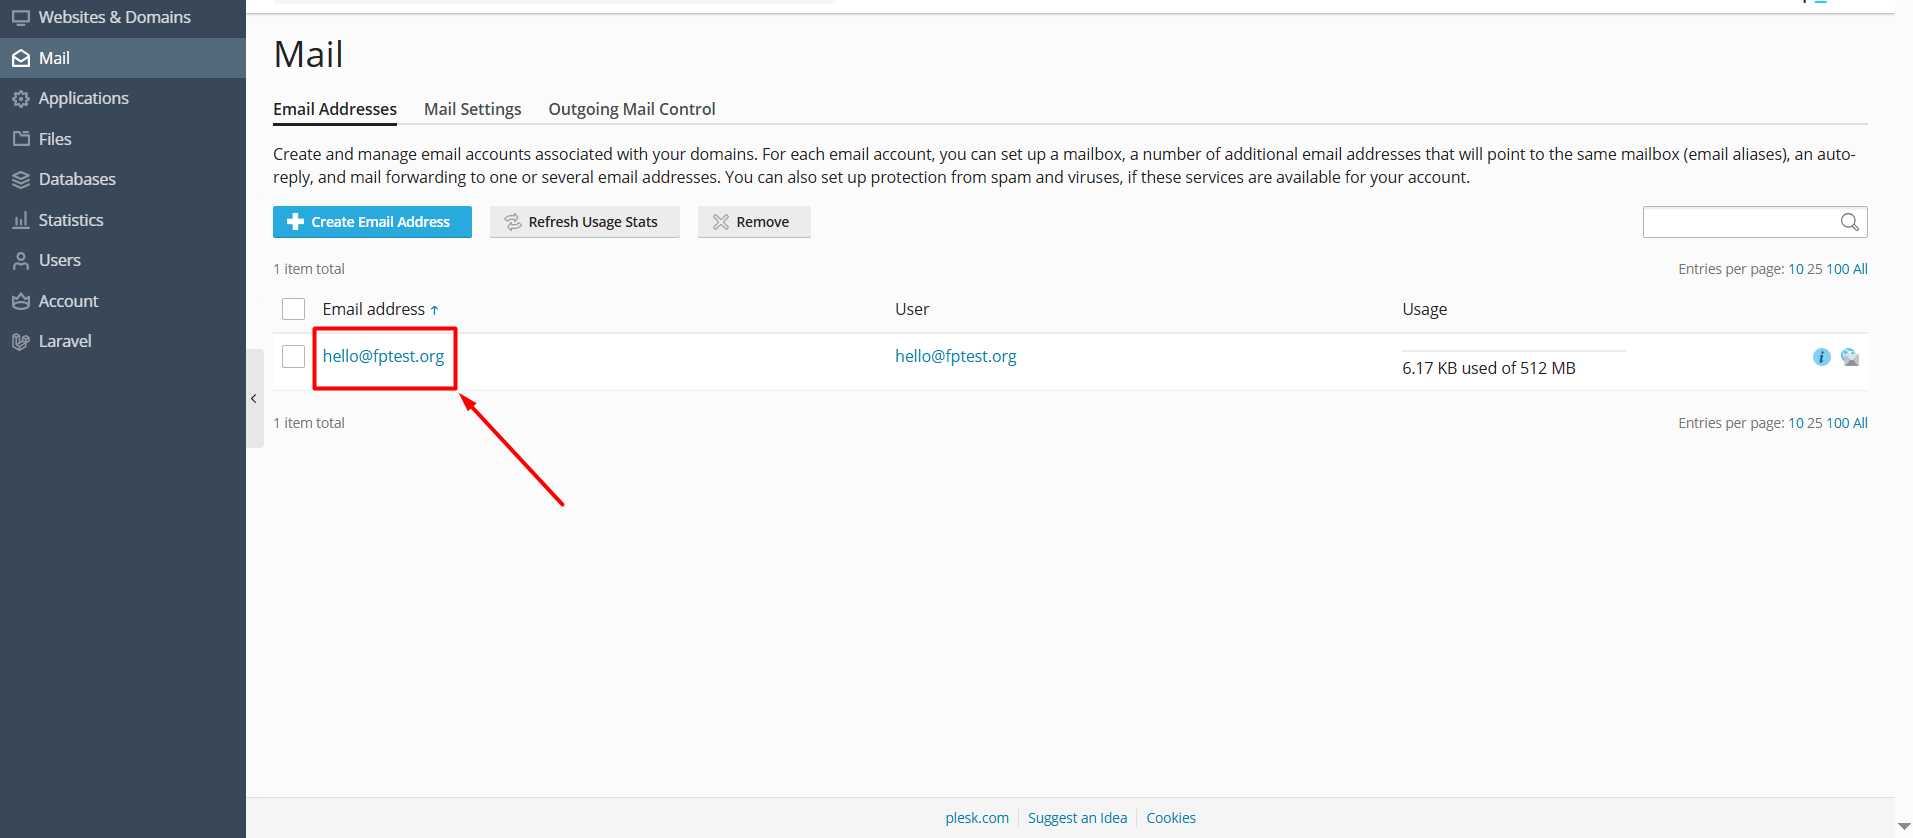
- When you log in to Plesk Panel, click the Mail button located on the left side of the page. On the page that opens, your email accounts will be listed. Click on the account for which you want to enable the Auto-Reply feature.
Example:
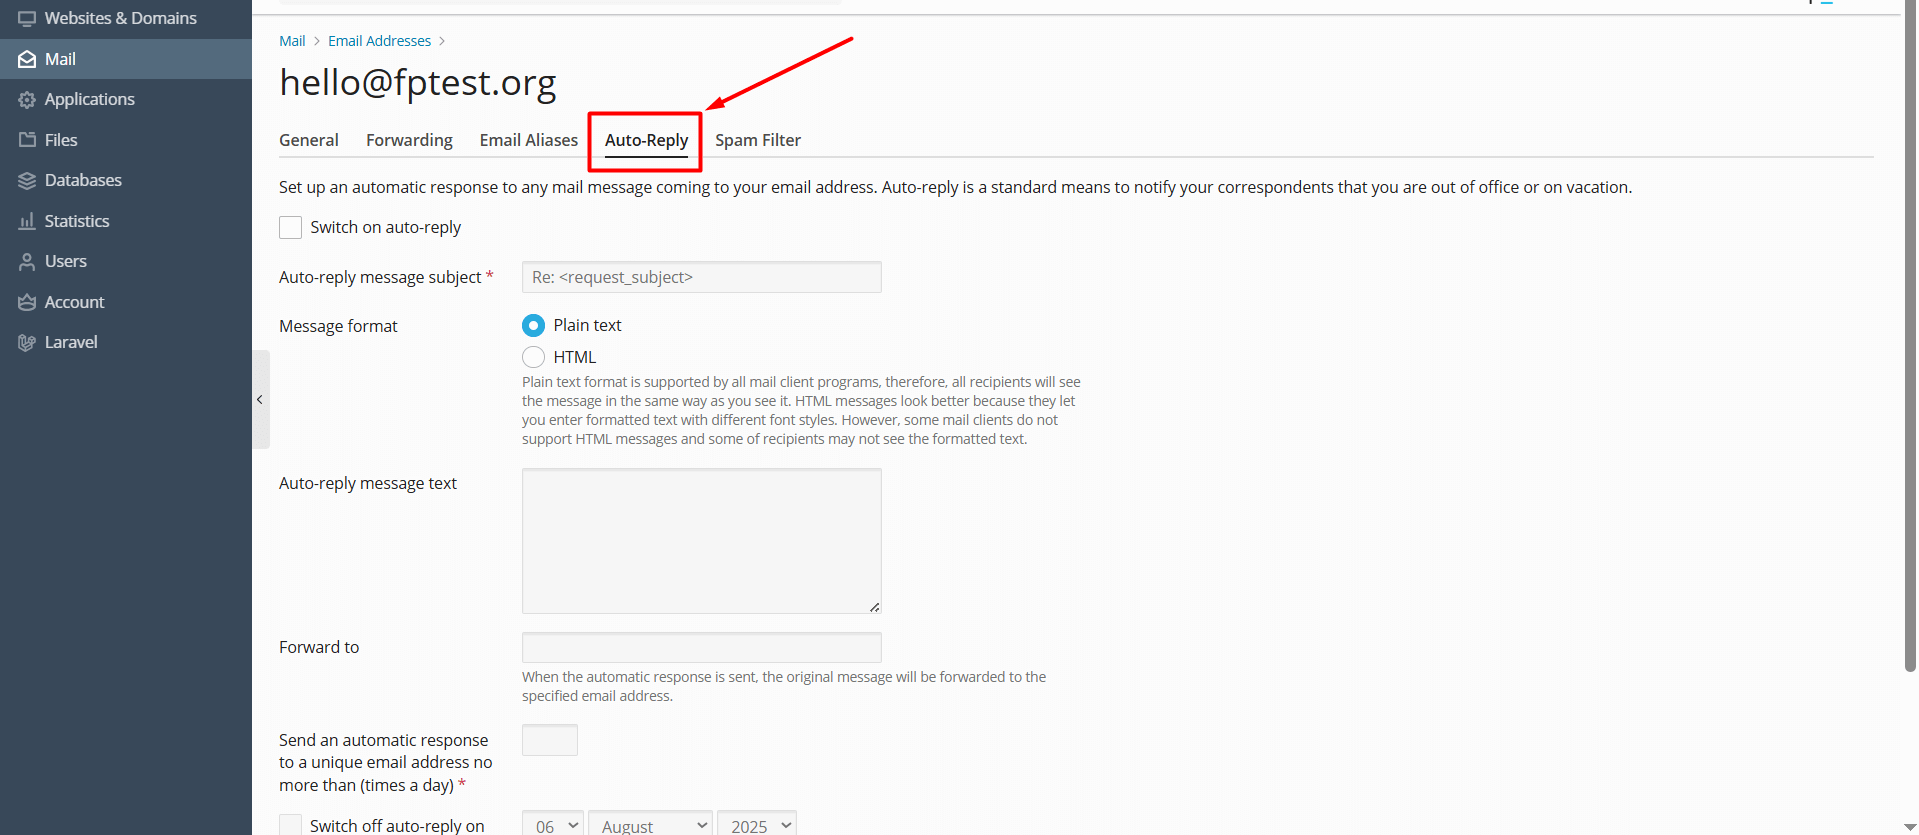
- On the email management page that opens, click the “Auto-Reply” button.
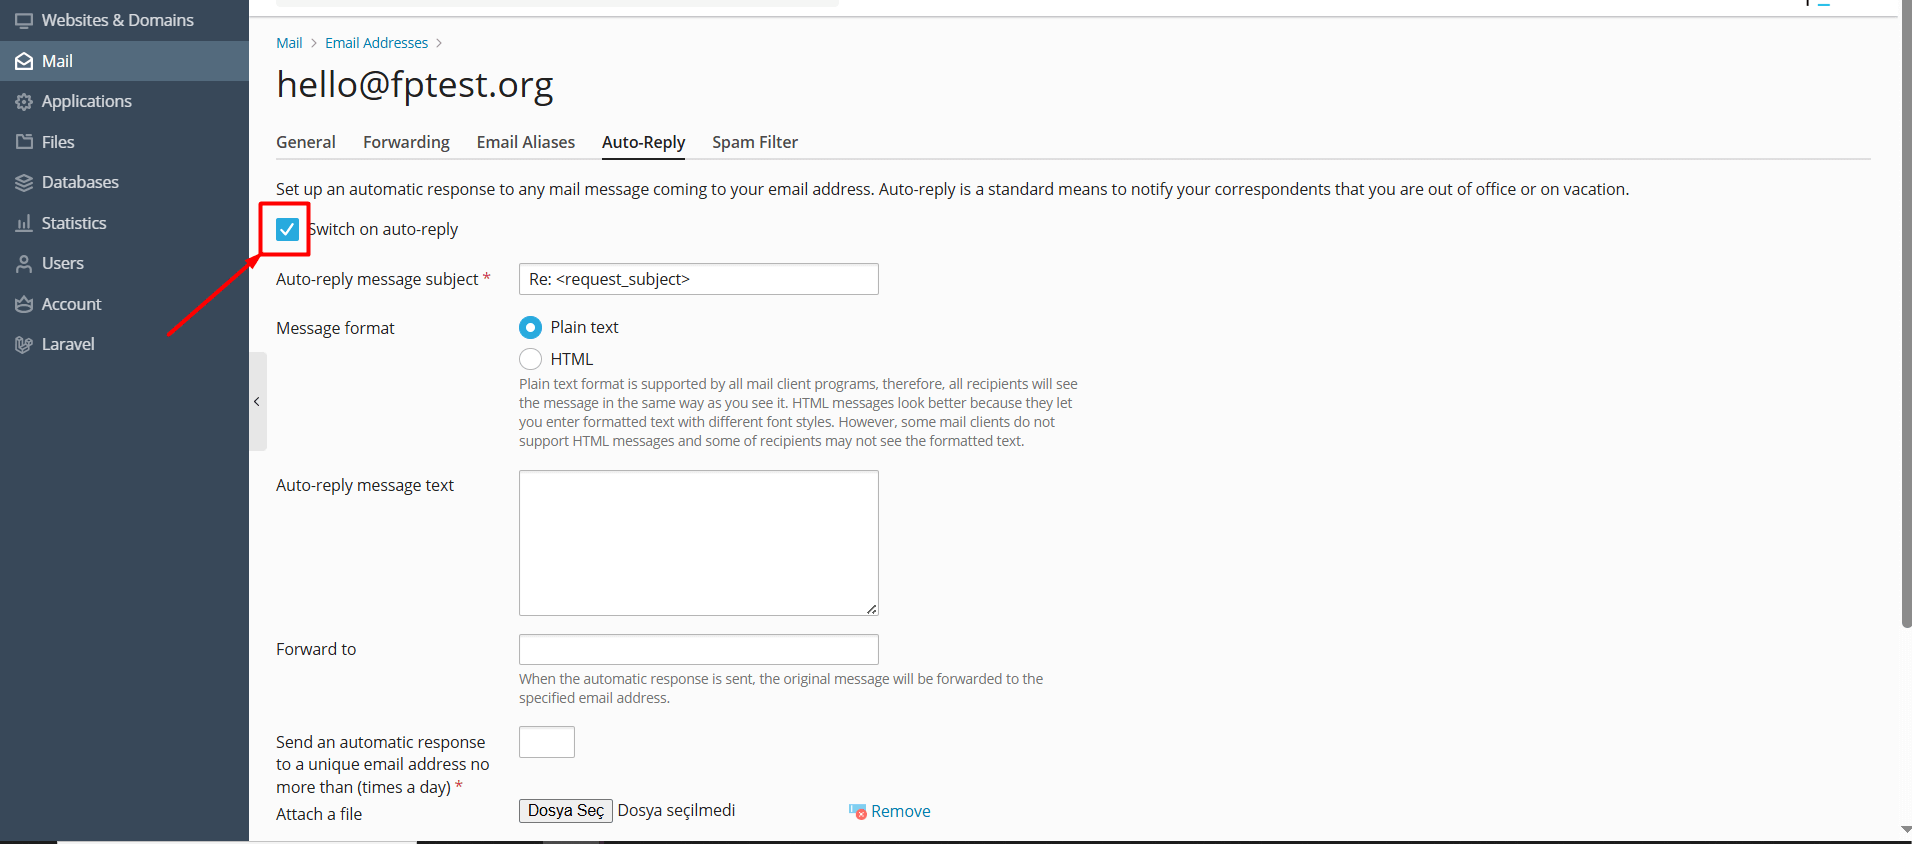
- Check the “Switch on auto-reply” box.
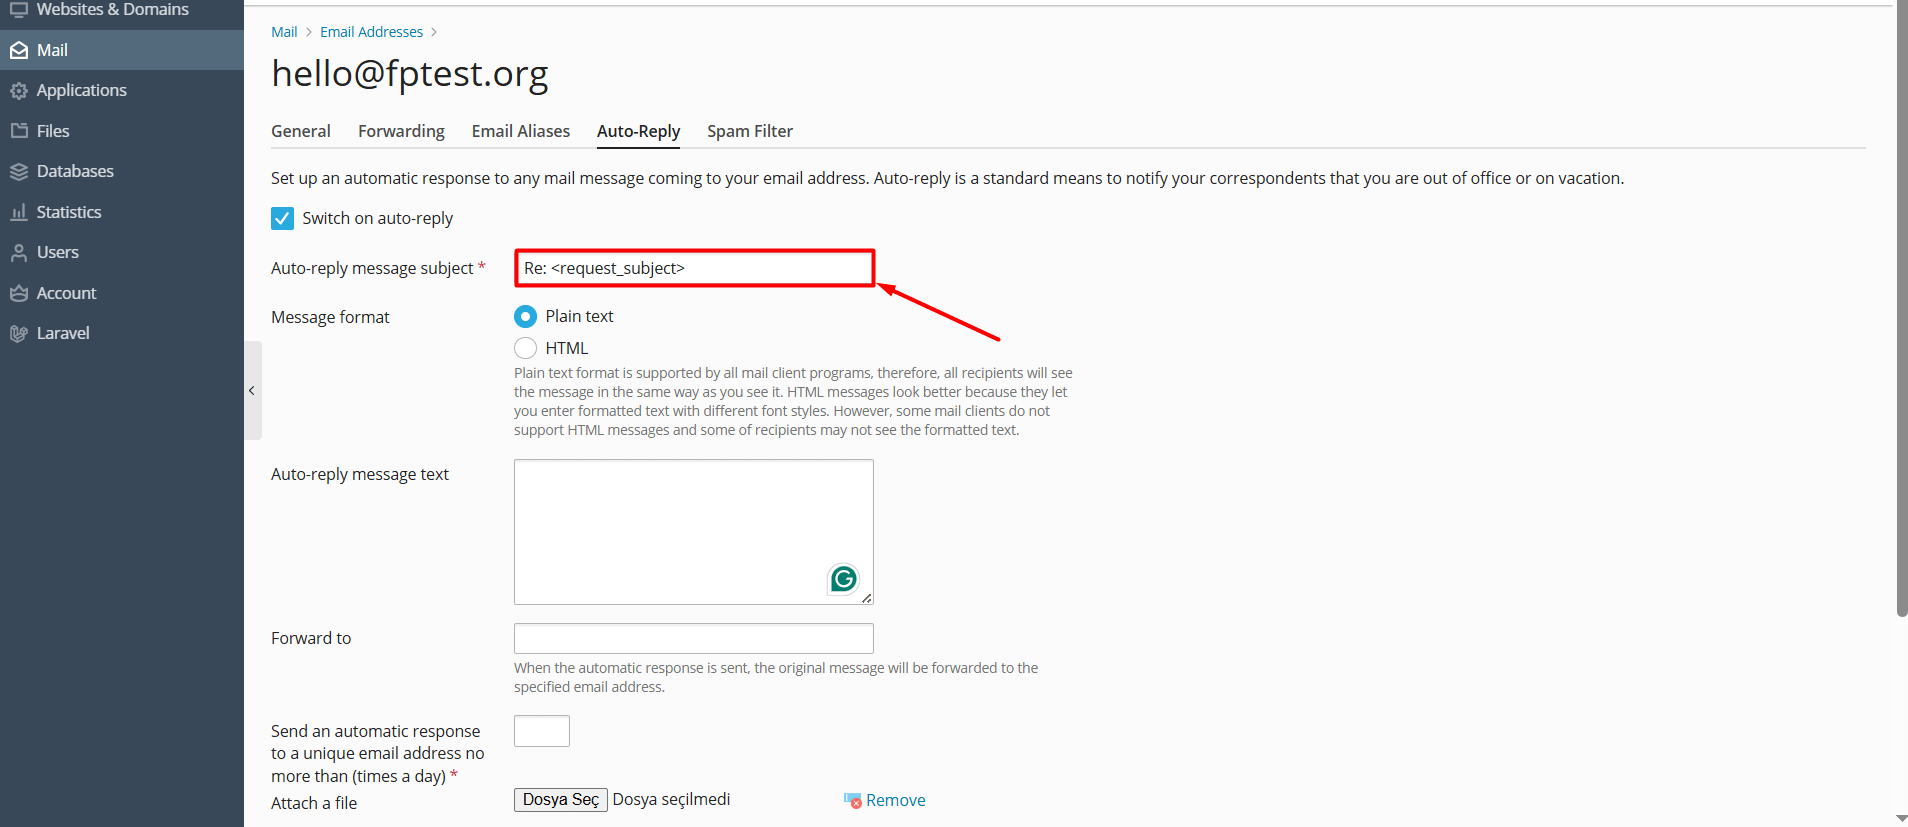
- Auto-reply message subject: This is the field where you write the subject line of the automatic reply.
This subject will appear in the recipient’s inbox when they receive the auto-reply email.
For example: Out of Office, On Vacation, or Your Email Has Been Received.
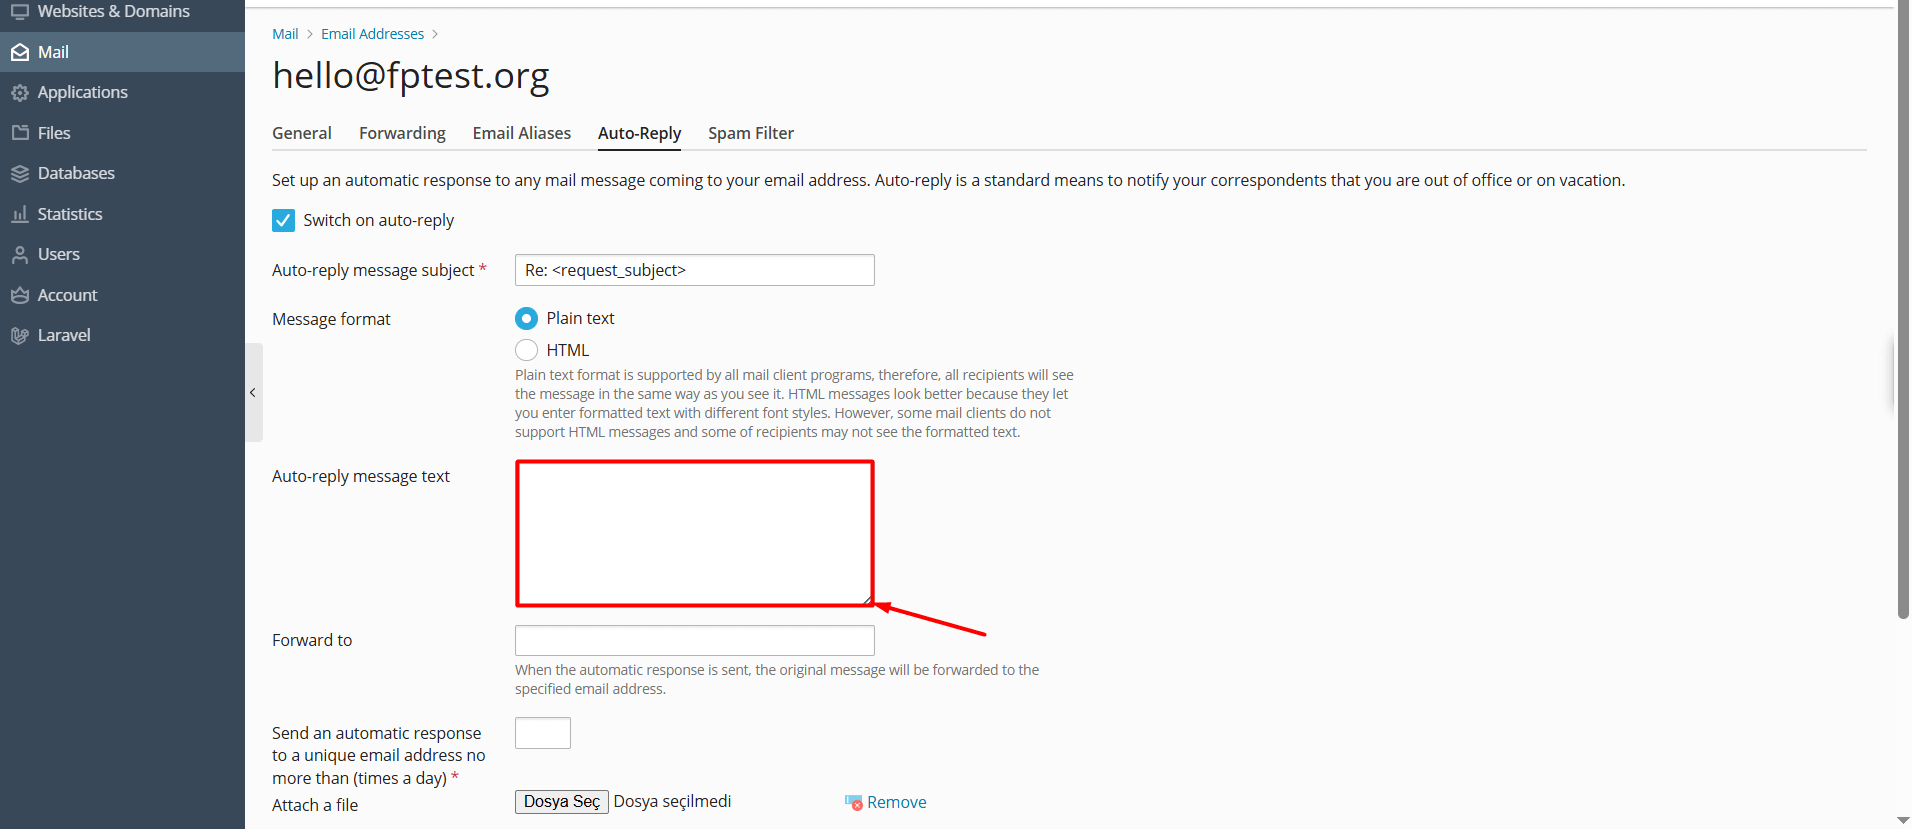
- Auto-reply message text: Enter the message you want to send in this field. (e.g., I will be on leave between xxx dates.) If your message contains HTML, check the “HTML” box.
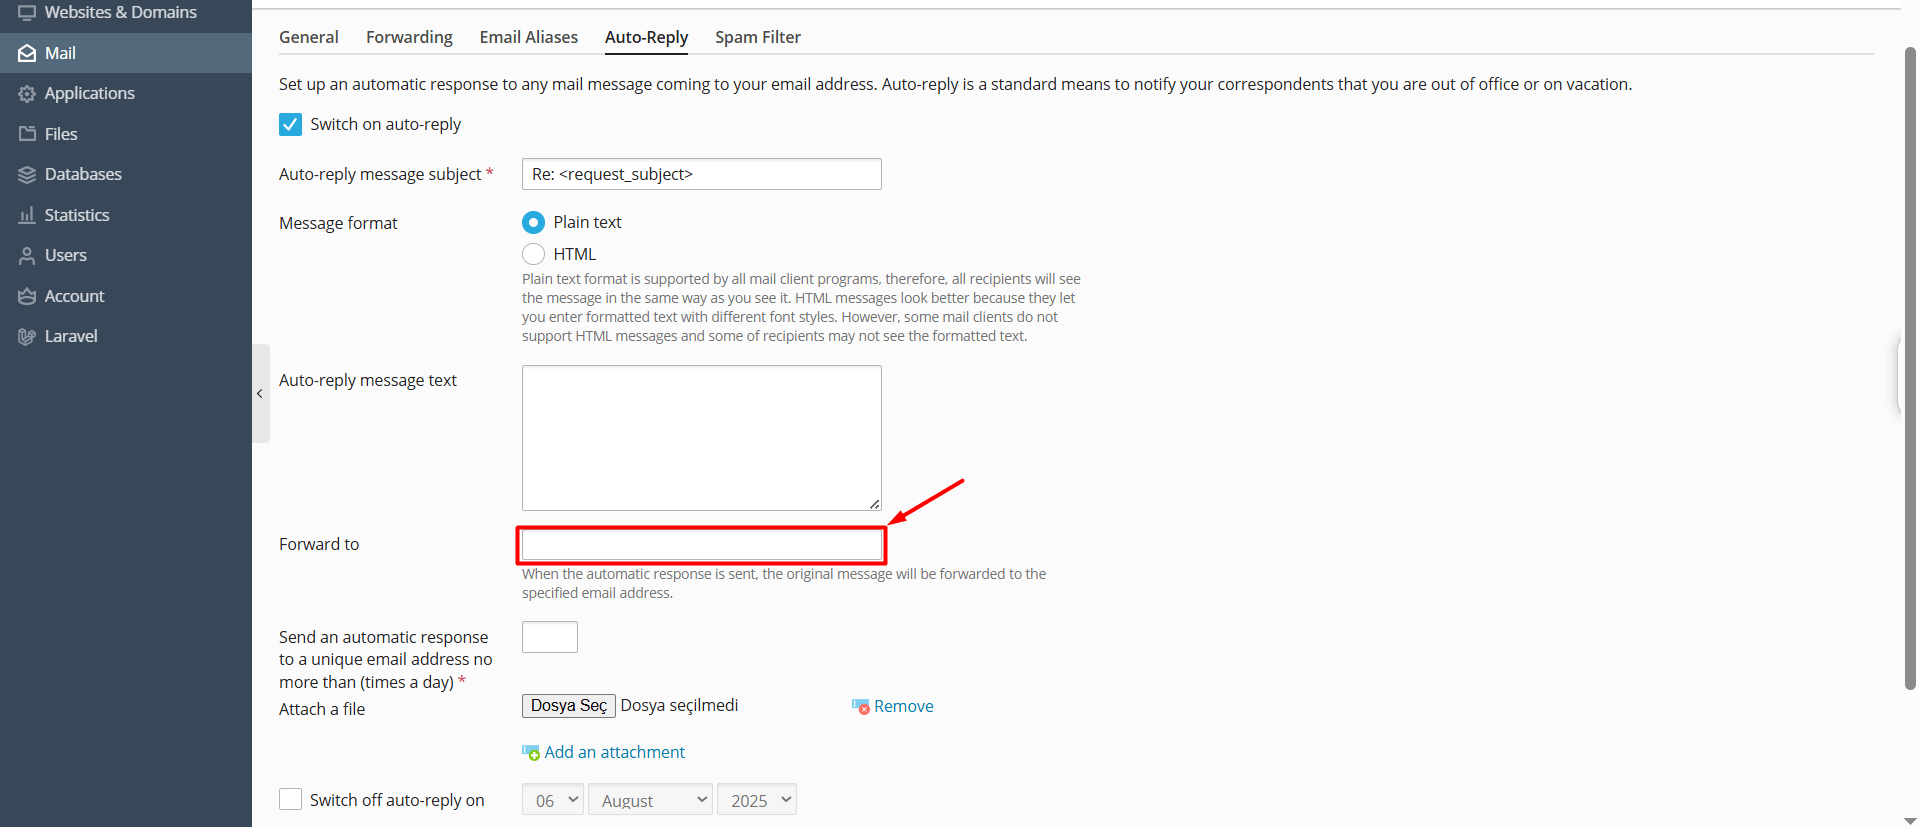
- Forward to: This field can be used if you want incoming emails to be forwarded to another address while the auto-reply is active.
If you enter an email address here, incoming messages will be both automatically replied to and forwarded to the specified email address.
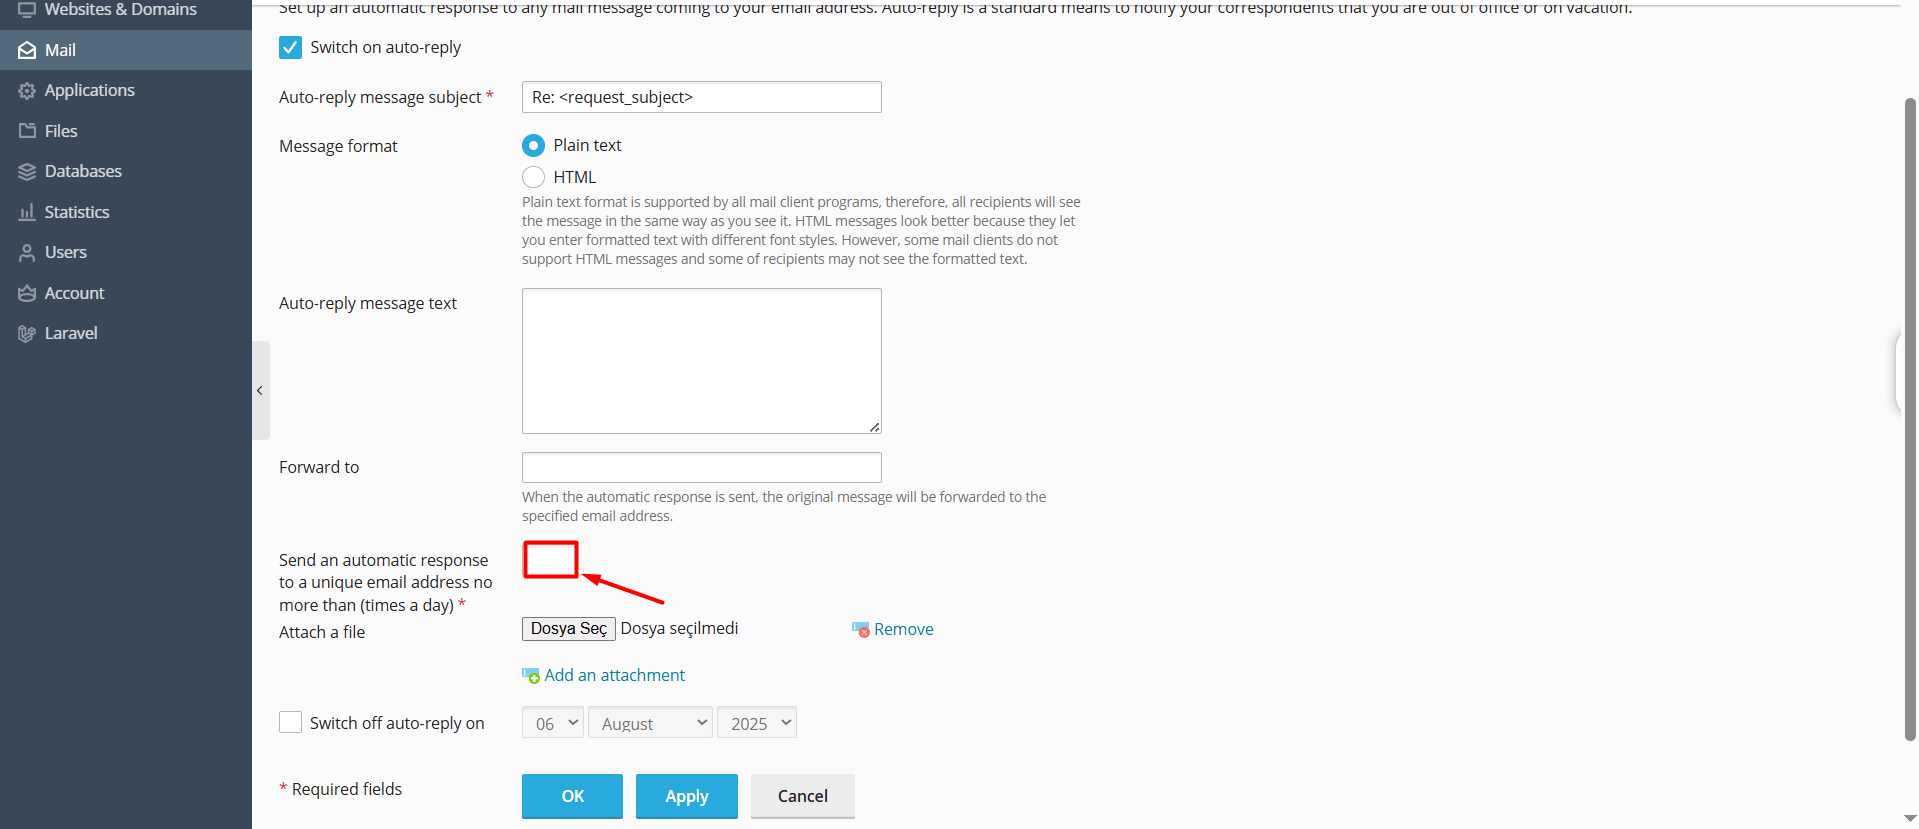
- Send an automatic response to a unique email address no more than (times a day): This field determines how many times per day an automatic reply will be sent to the same person. If someone sends you multiple emails in a short time, this setting prevents the system from replying to every single one. Usually, this value is set to 1, meaning the first message from that person will receive an auto-reply, and the rest will not. If you set it to 3, the system will send auto-replies to the first three emails from that person in a day. Any emails sent afterward will not receive an automatic response.
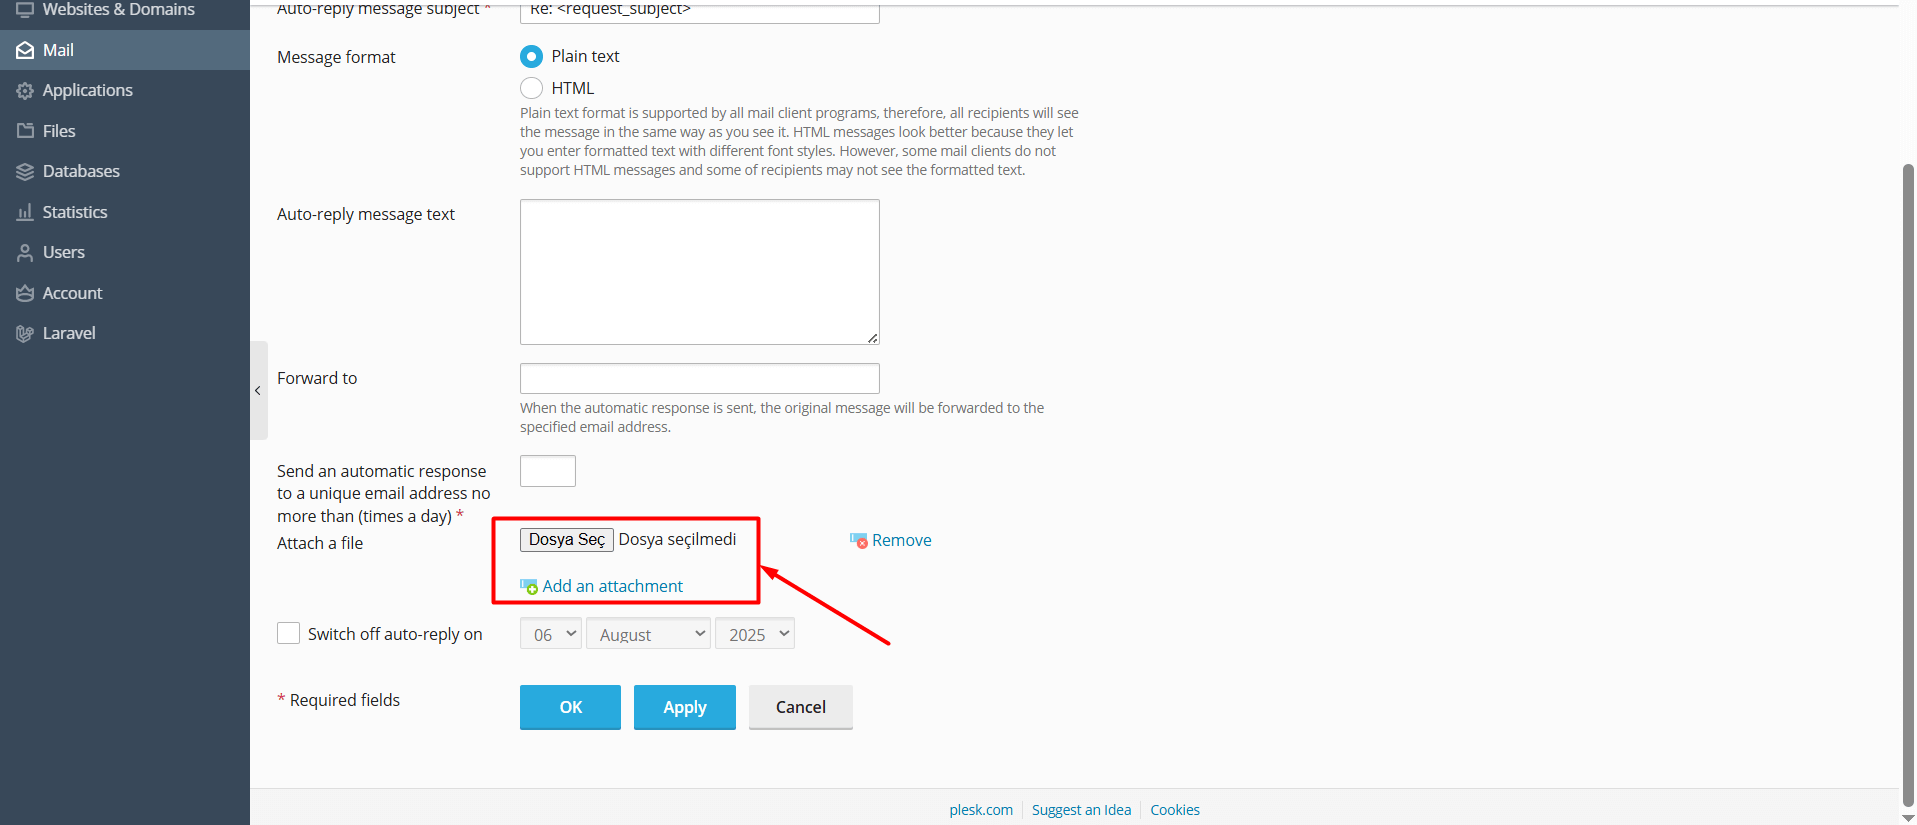
- Attach a file: This option is used if you want to attach a file to the automatic reply.
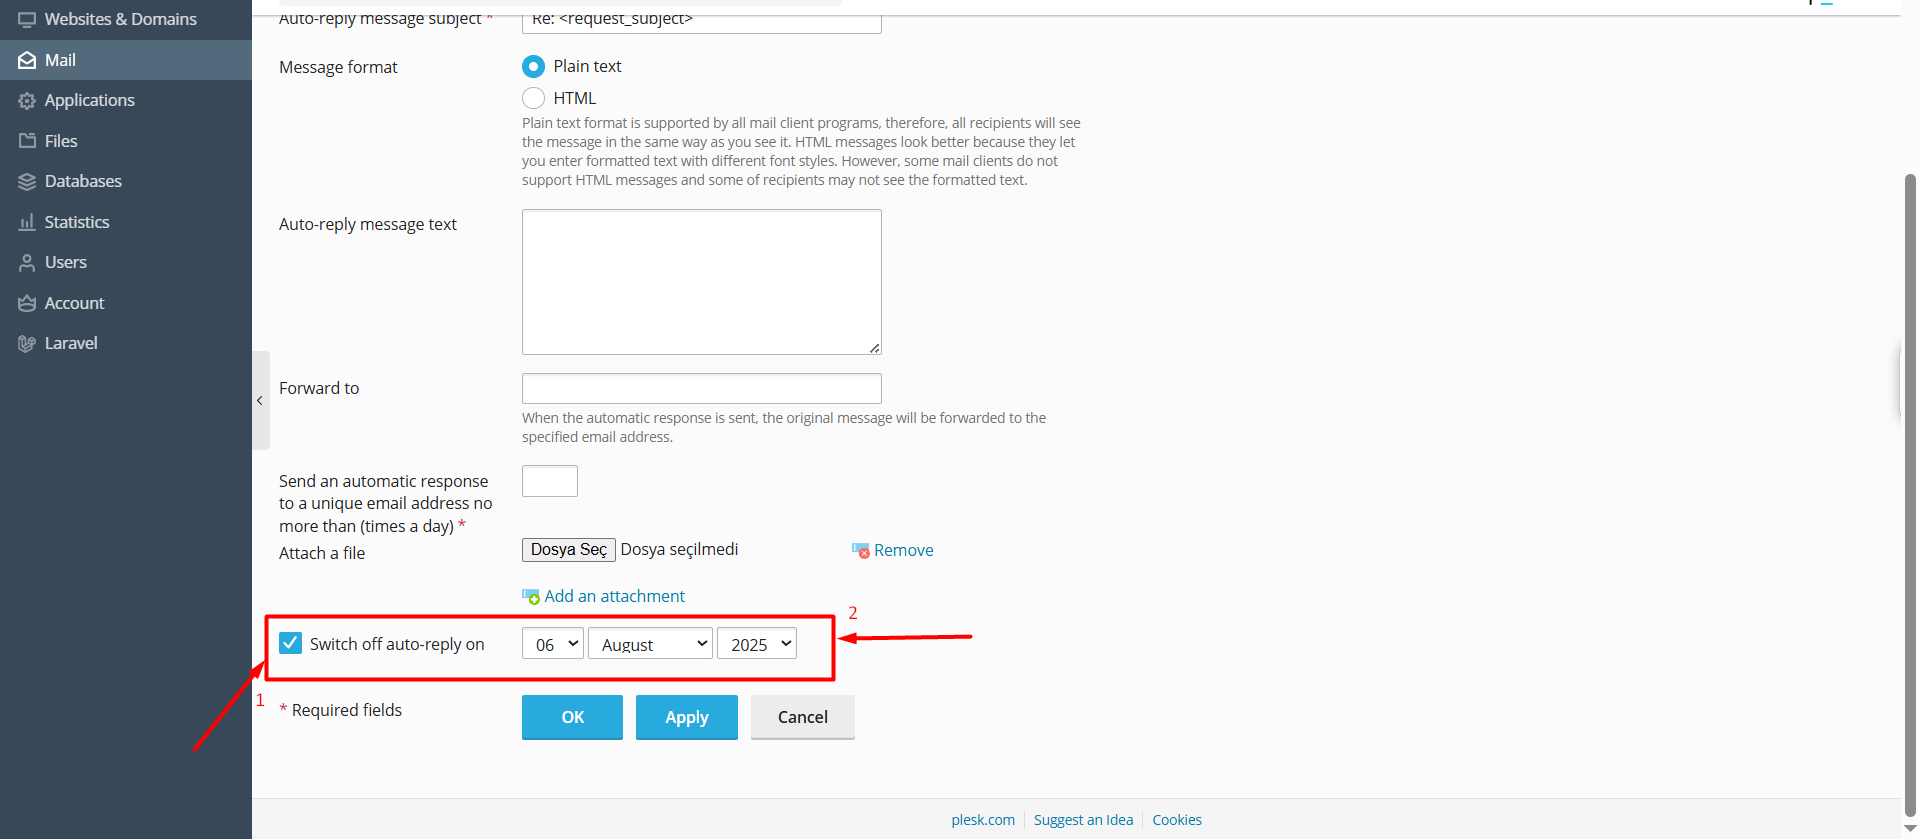
- Switch off auto-reply on: This option allows you to specify the date on which the auto-reply will automatically be turned off (disabled). You can either delete the auto-reply manually later, or set a specific date here for it to stop automatically. If you want it to turn off automatically, first check the “Switch off auto-reply on” box, then select the desired date.
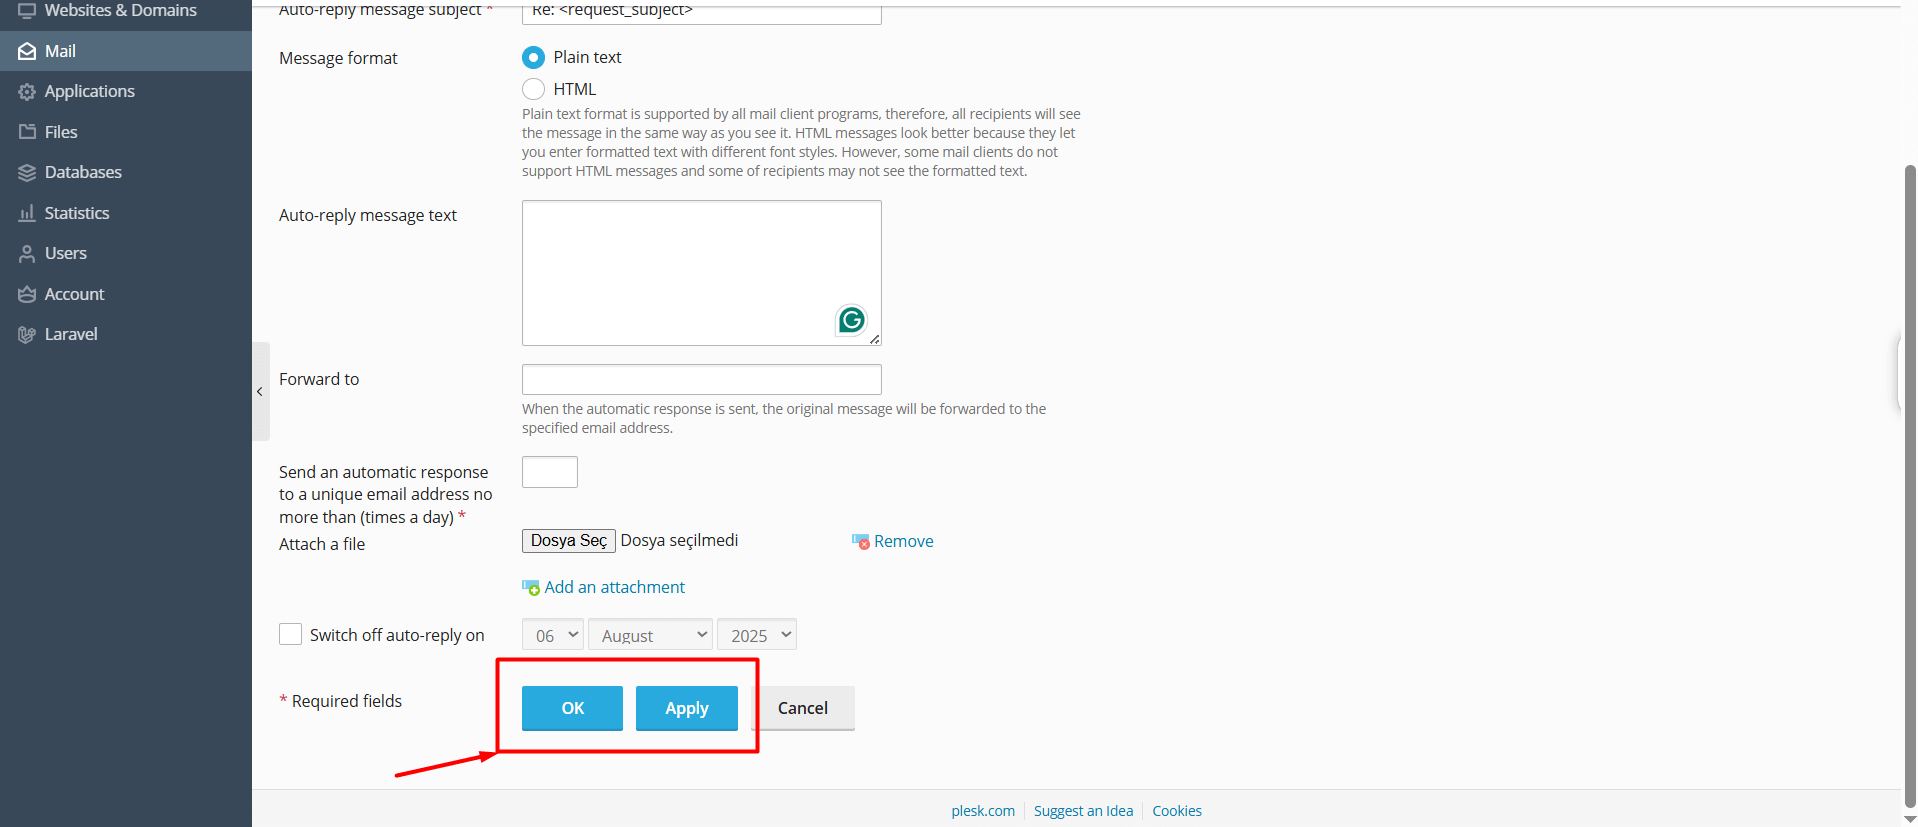
- Click the OK or Apply button to save and activate the autoresponder.
- To manually disable the auto-reply, simply uncheck the “Switch on auto-reply” box on the same page and save the changes


 .CO.UK Domain
 Linux Hosting
 Windows Hosting