After purchasing Business Email Hosting, you can follow the steps below to create an email address.
- Access the website www.fastpanda.co.uk
- Click on the “Sign In” button on the opened page, enter your customer panel information, and click the “Log in” button to log in to your account.
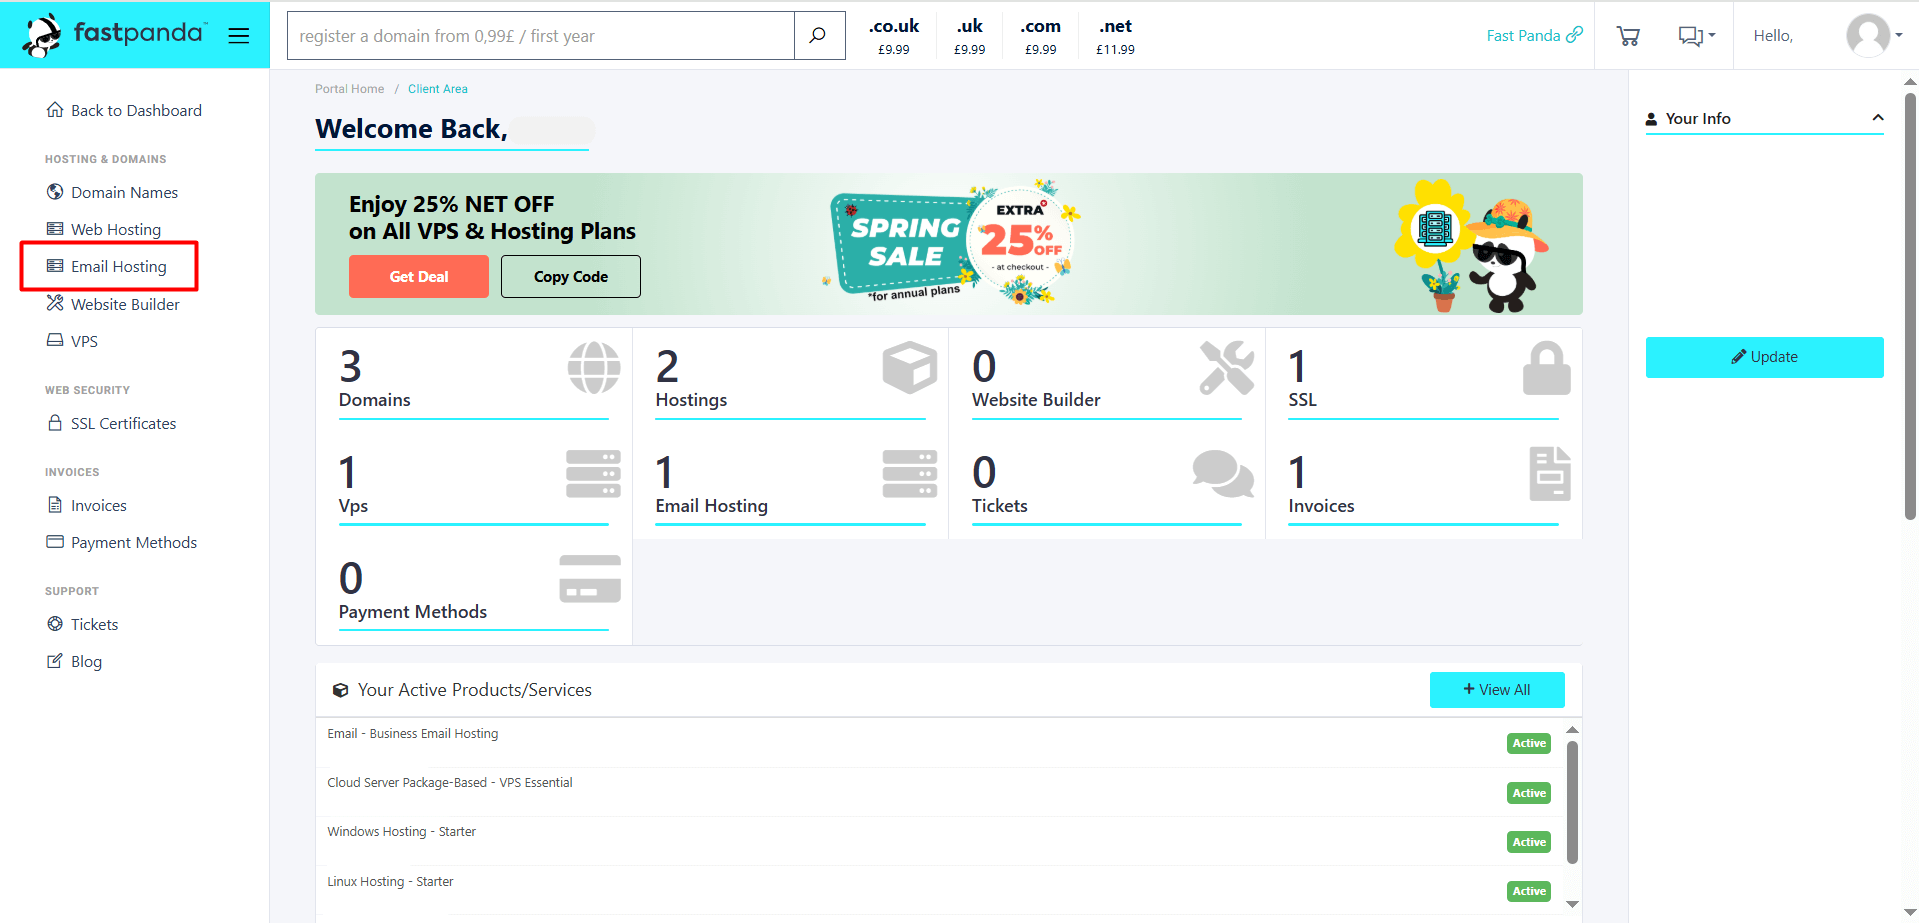
- Click on the “Email Hosting” option in the left menu.
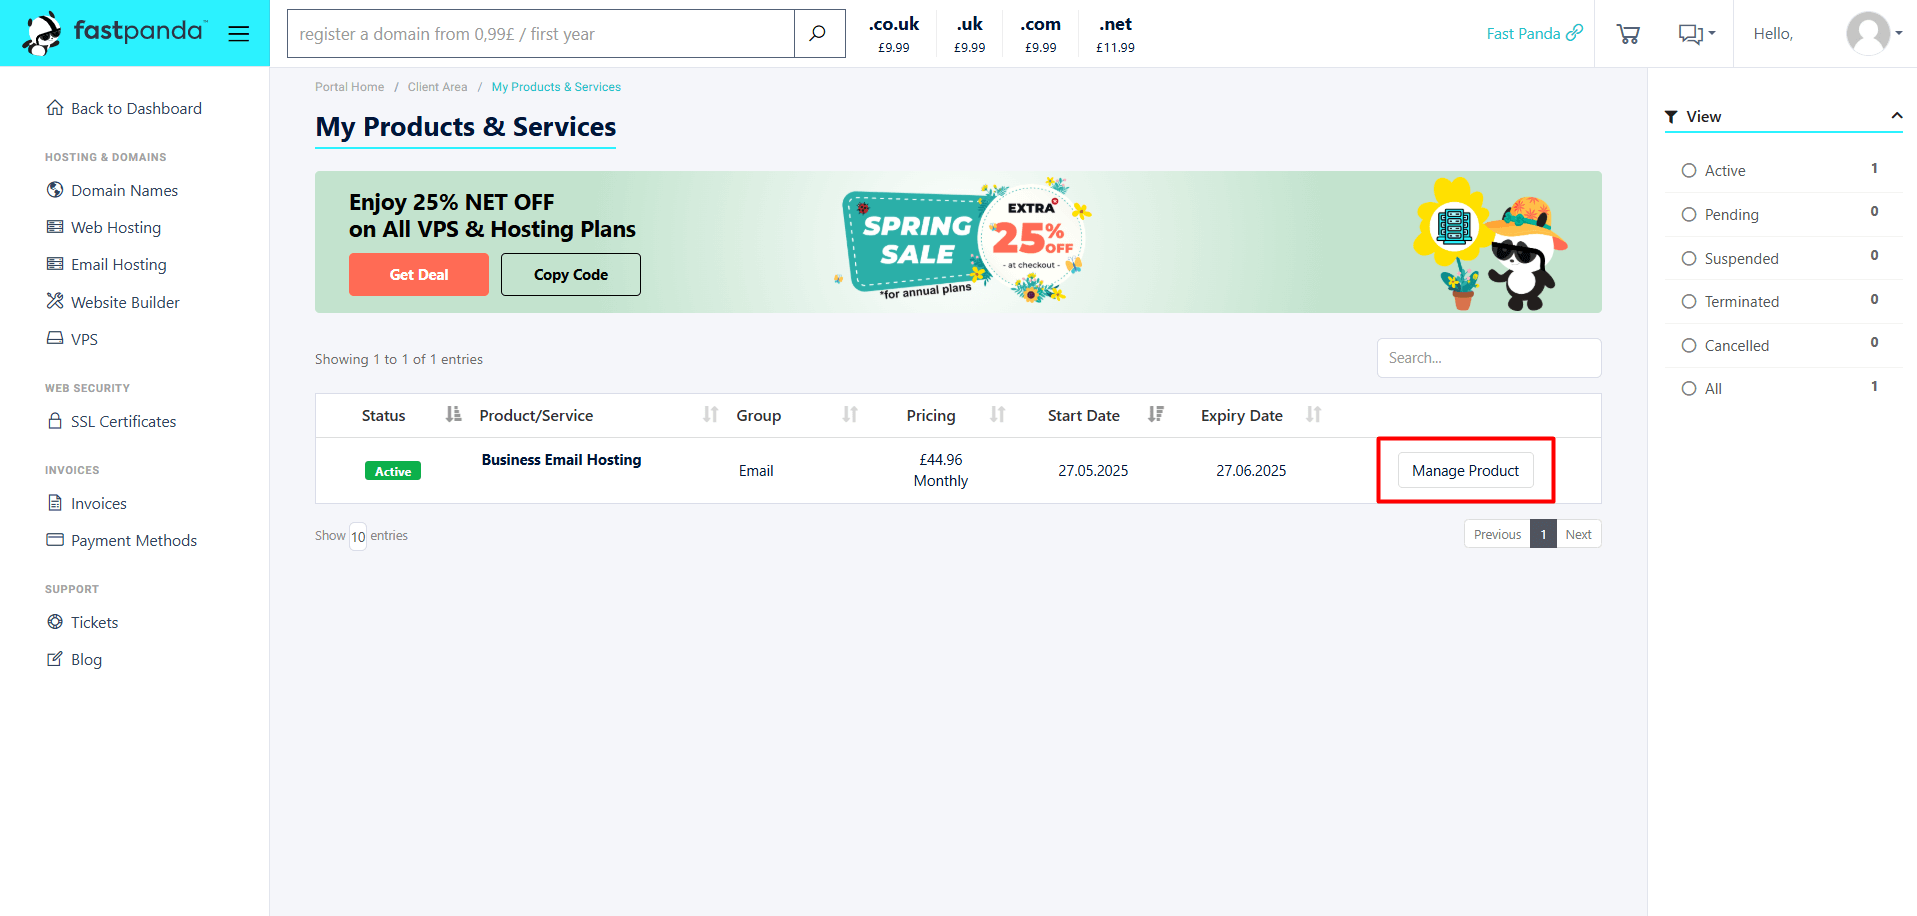
- On the page that opens, you will see your existing Business Email Hosting packages. To create an email user within your Business Email Hosting service, click the “Manage Product” button.
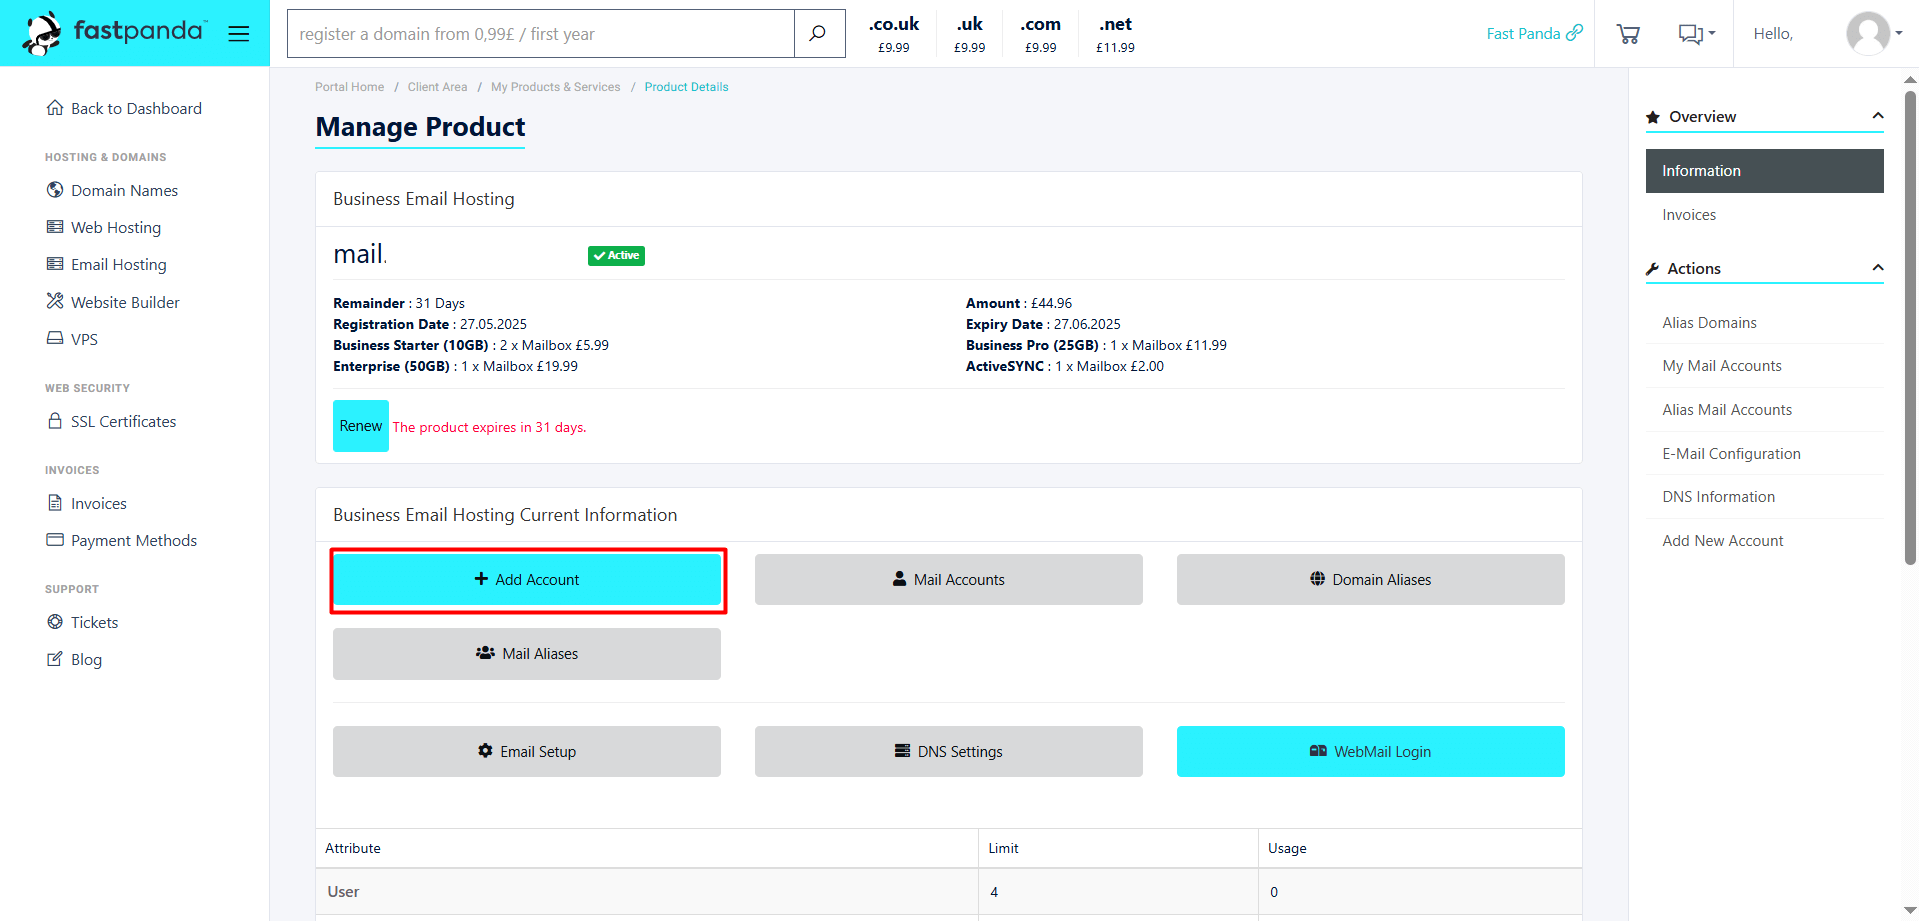
- Click the “Add Account” button.
- From the Package section, select one of the packages you are entitled to.
- Enter your Name and Surname information.
- In the Mail Username section, enter the desired email address name (e.g., support, sales, etc.).
- In the Password section, you can enter a password for your email address, or you can use the “Generate Password” button to create one automatically. If you are not generating the password automatically and setting it yourself, you need to re-enter the password in the “Verify Password” field.
- If you have purchased ActiveSync and want to activate it, check the box.
- If you want the password to be changed on the first login, check “Force Change Password on First Login.”
- If you have filled in all the information, click the “Save” button to create the mail user.
- After your mail account is created, the system will automatically redirect you to the Manage Product section. You can click the WebMail Login button, then enter your email username and password on the page that opens to log in. Alternatively, you can directly access it by typing https://webmail.yourdomain.com/ (replace with your own domain) into your browser, or you can set it up on your device.


 .CO.UK Domain
 Linux Hosting
 Windows Hosting


