Adding a contact form is very important to allow visitors browsing your website to easily get in touch with you. If your website is built with WordPress, you can do this quickly and easily. Follow the steps below to add a contact form to your WordPress website.
Creating a Form
- Access the WordPress admin panel. Click here to learn how to log in to the WordPress admin panel.
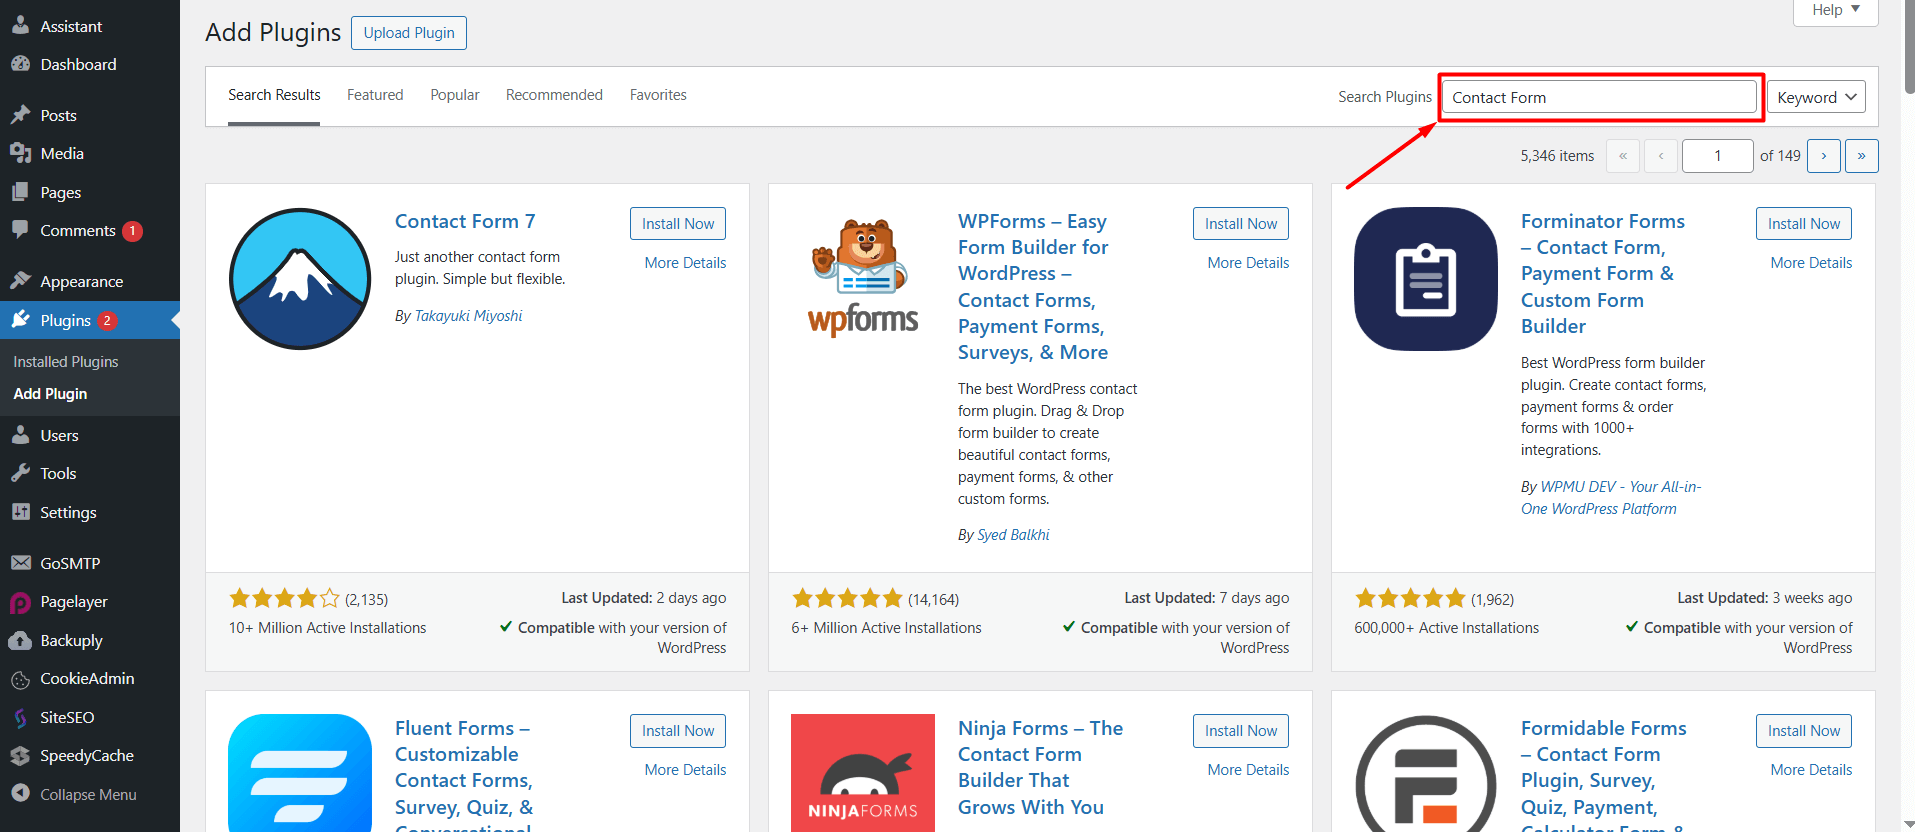
- Click on “Plugins > Add New Plugin”.
- Type “Contact Form” in the Search Plugins section.
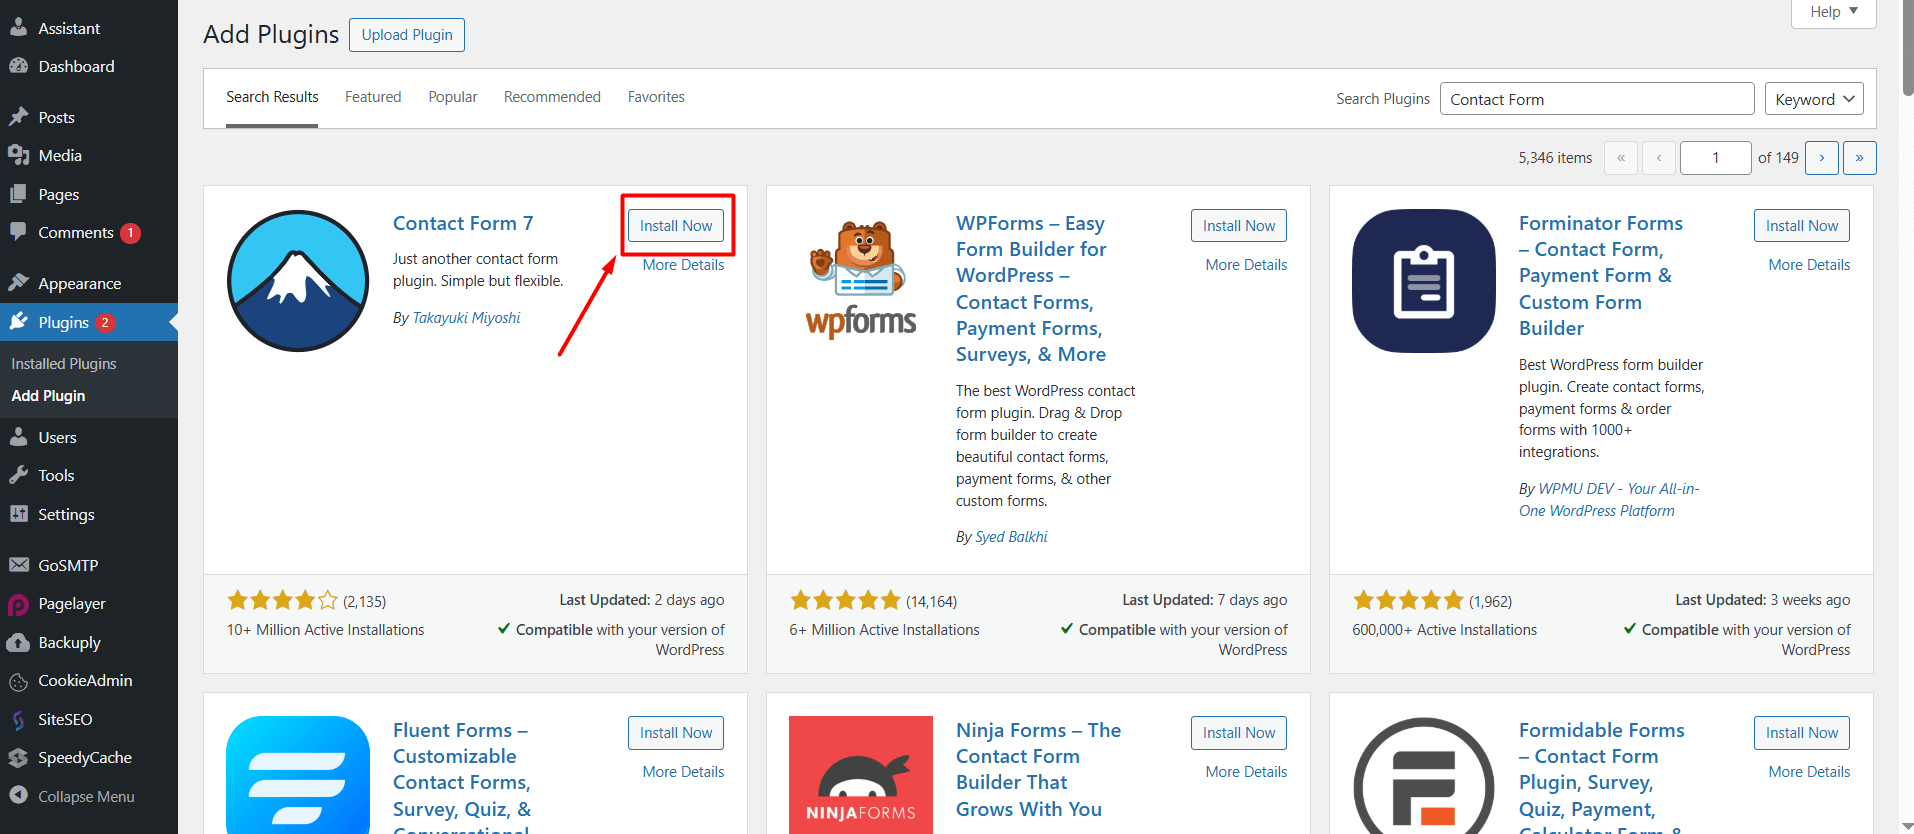
- You will see many contact form plugins listed. Click the “Install Now” button next to the one that suits your needs. In this example, Contact Form 7 is used.
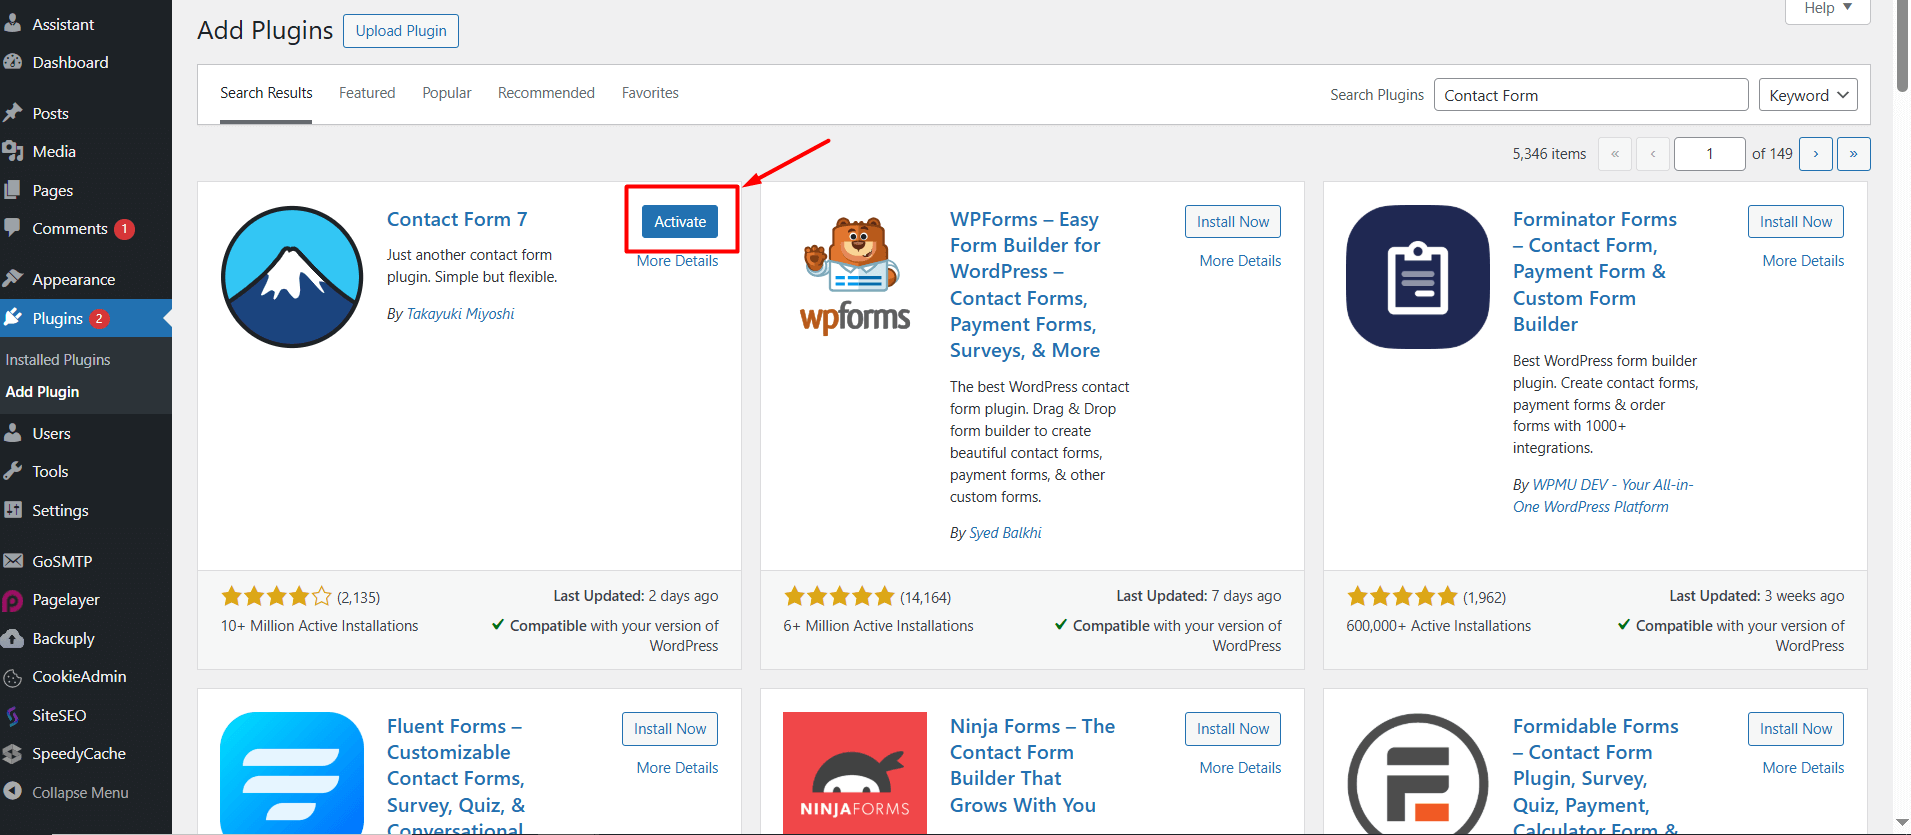
- After the installation is complete, click the “Activate” button.
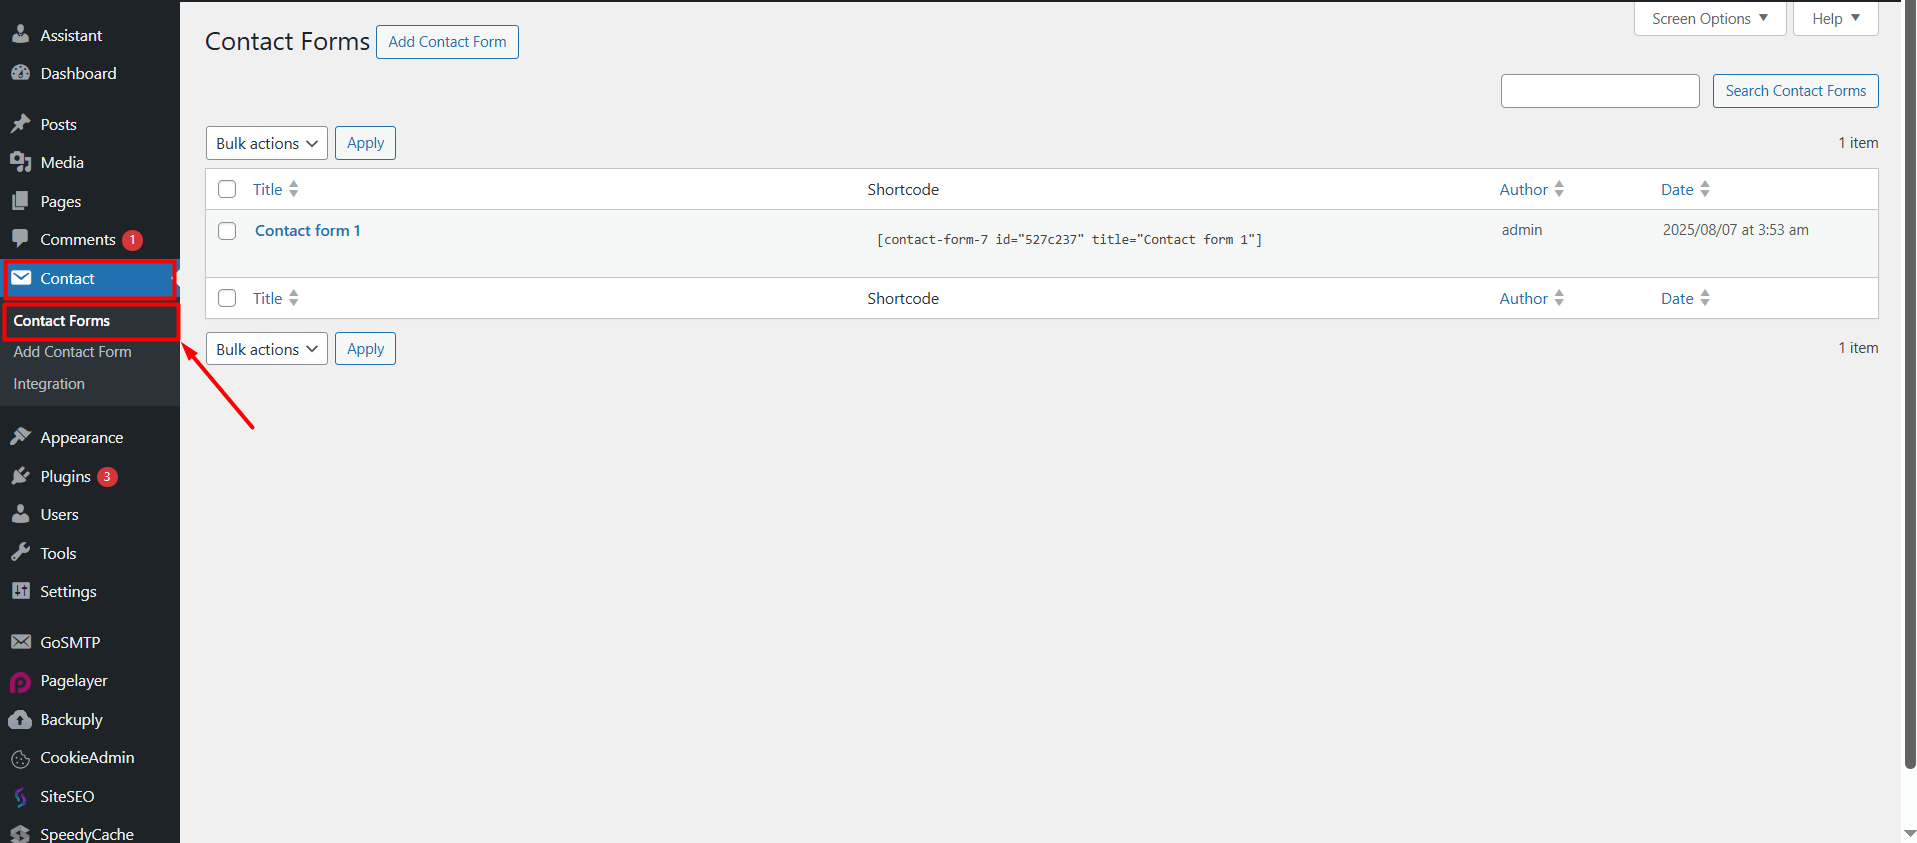
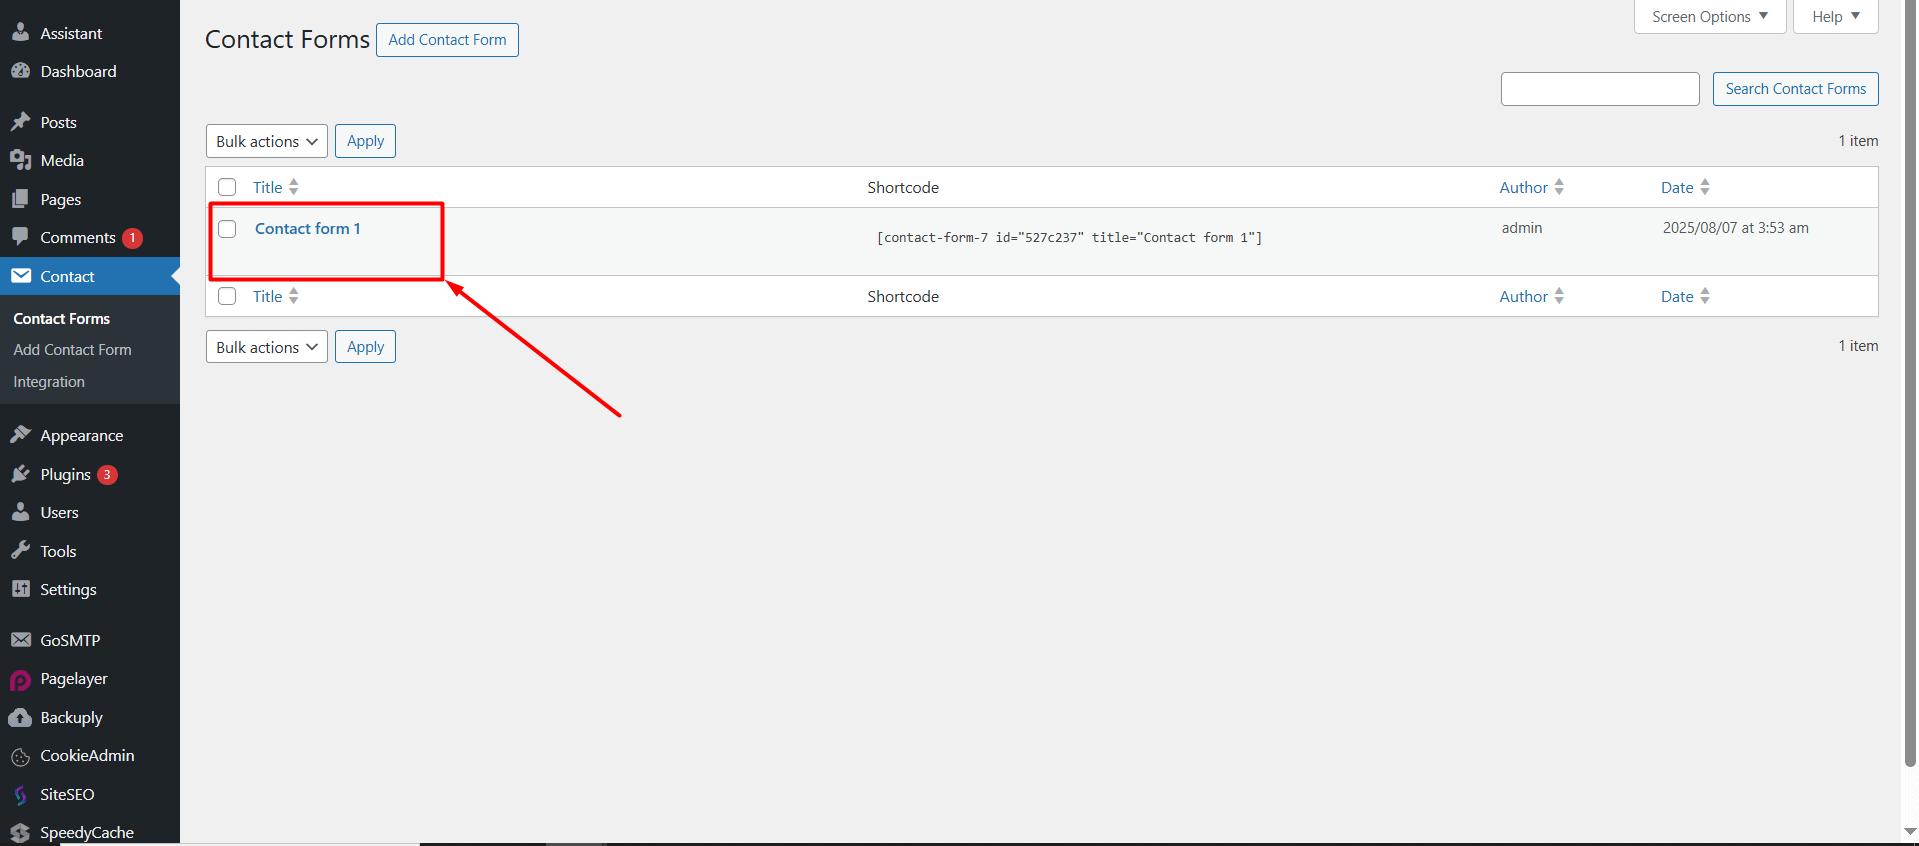
- Once the plugin is activated, click on the “Contact Forms” button under the “Contact” section in the left-hand menu.
- A default form will appear. You can click on it to edit. However, if you want to create a new one from scratch, you can click the “Add Contact Form” button in the left-hand menu.
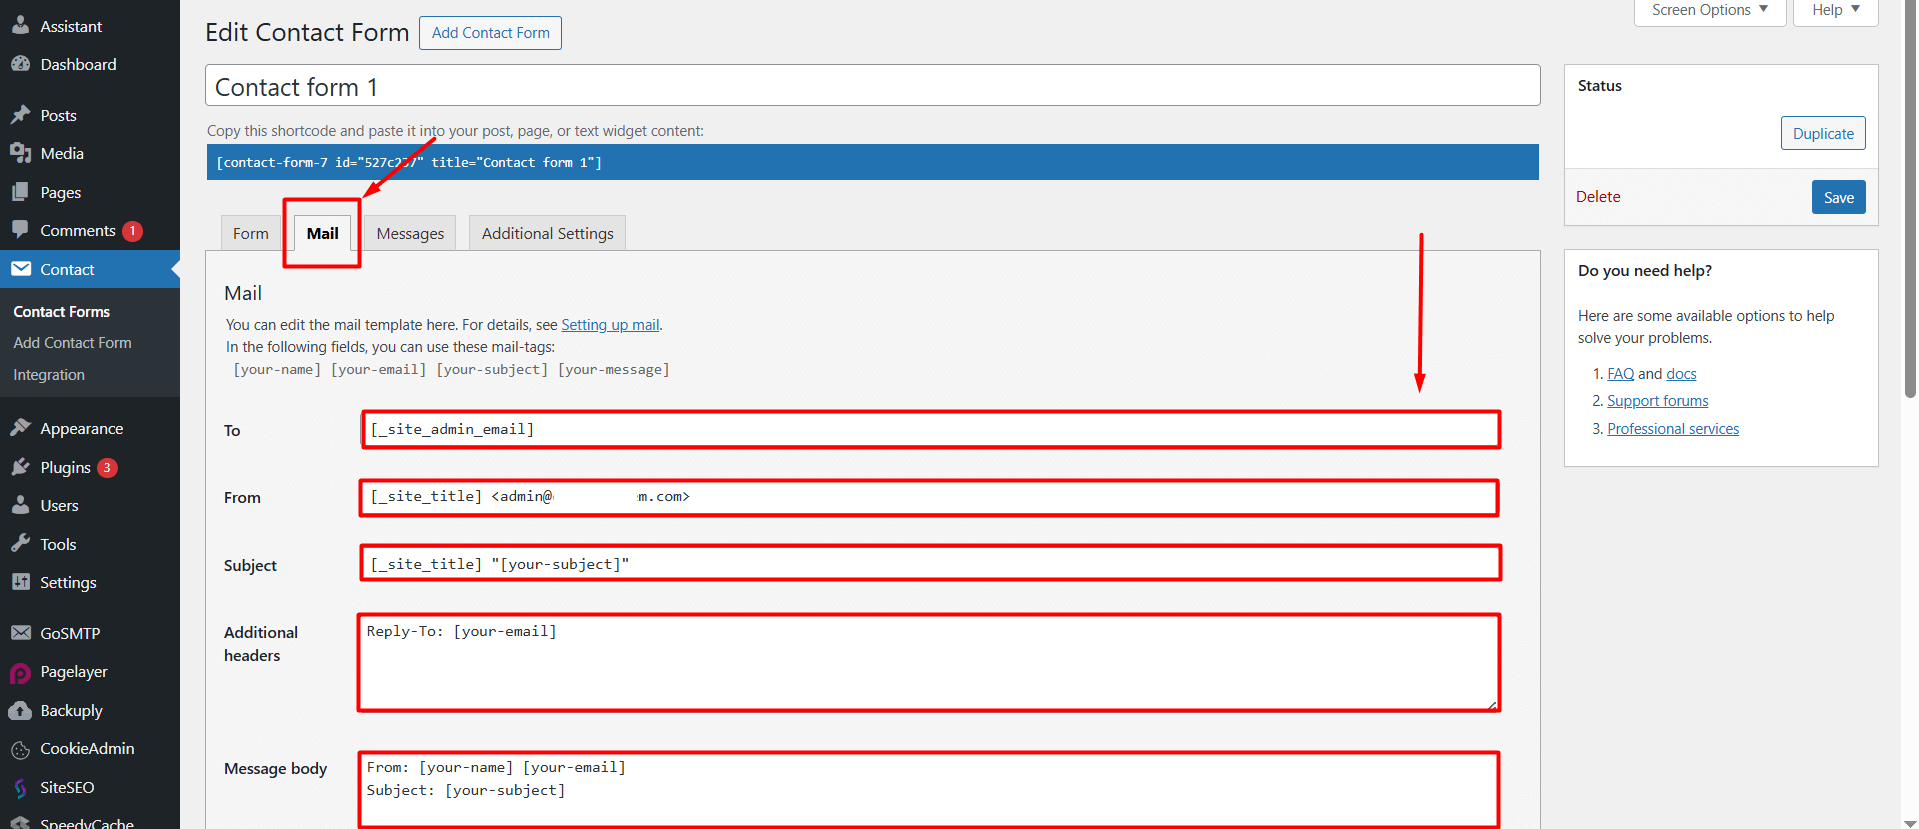
- In the editing screen, when you access the “Mail” section, you can edit the subject line, sender email, and message content used in the Contact Form 7 email settings. The most important part here is the ‘From’ field, which should contain a valid email address. If the information here is not a valid email address, you need to update it.
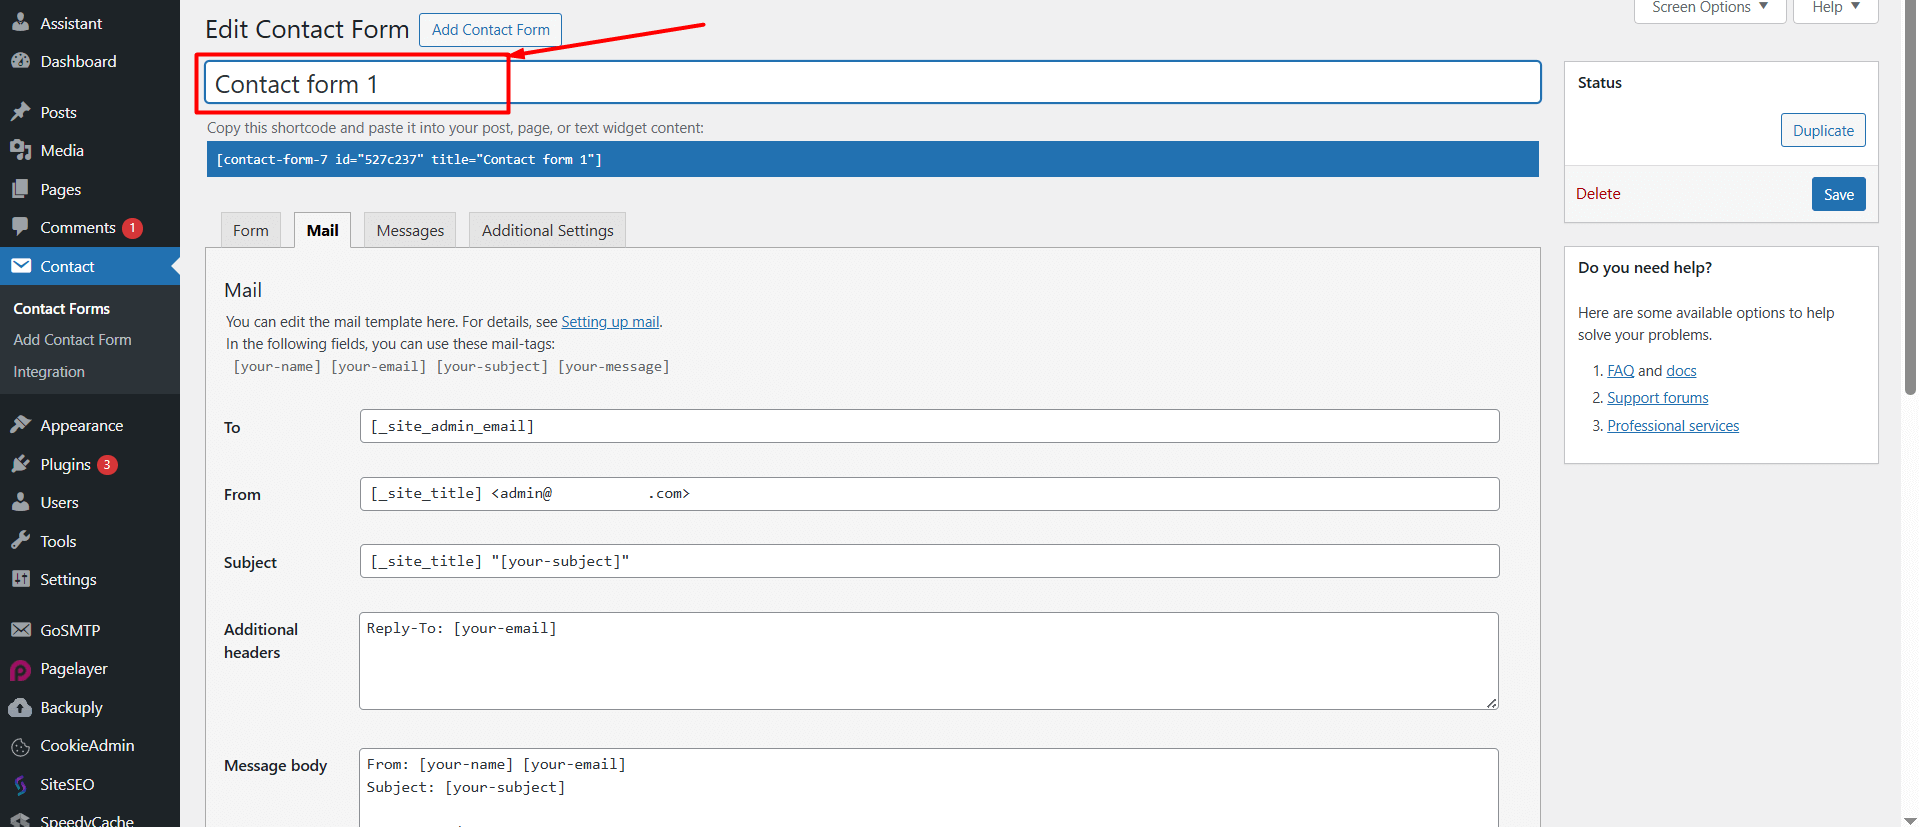
- If you want to change the name of the contact form, you can type the new form name in the box at the top.
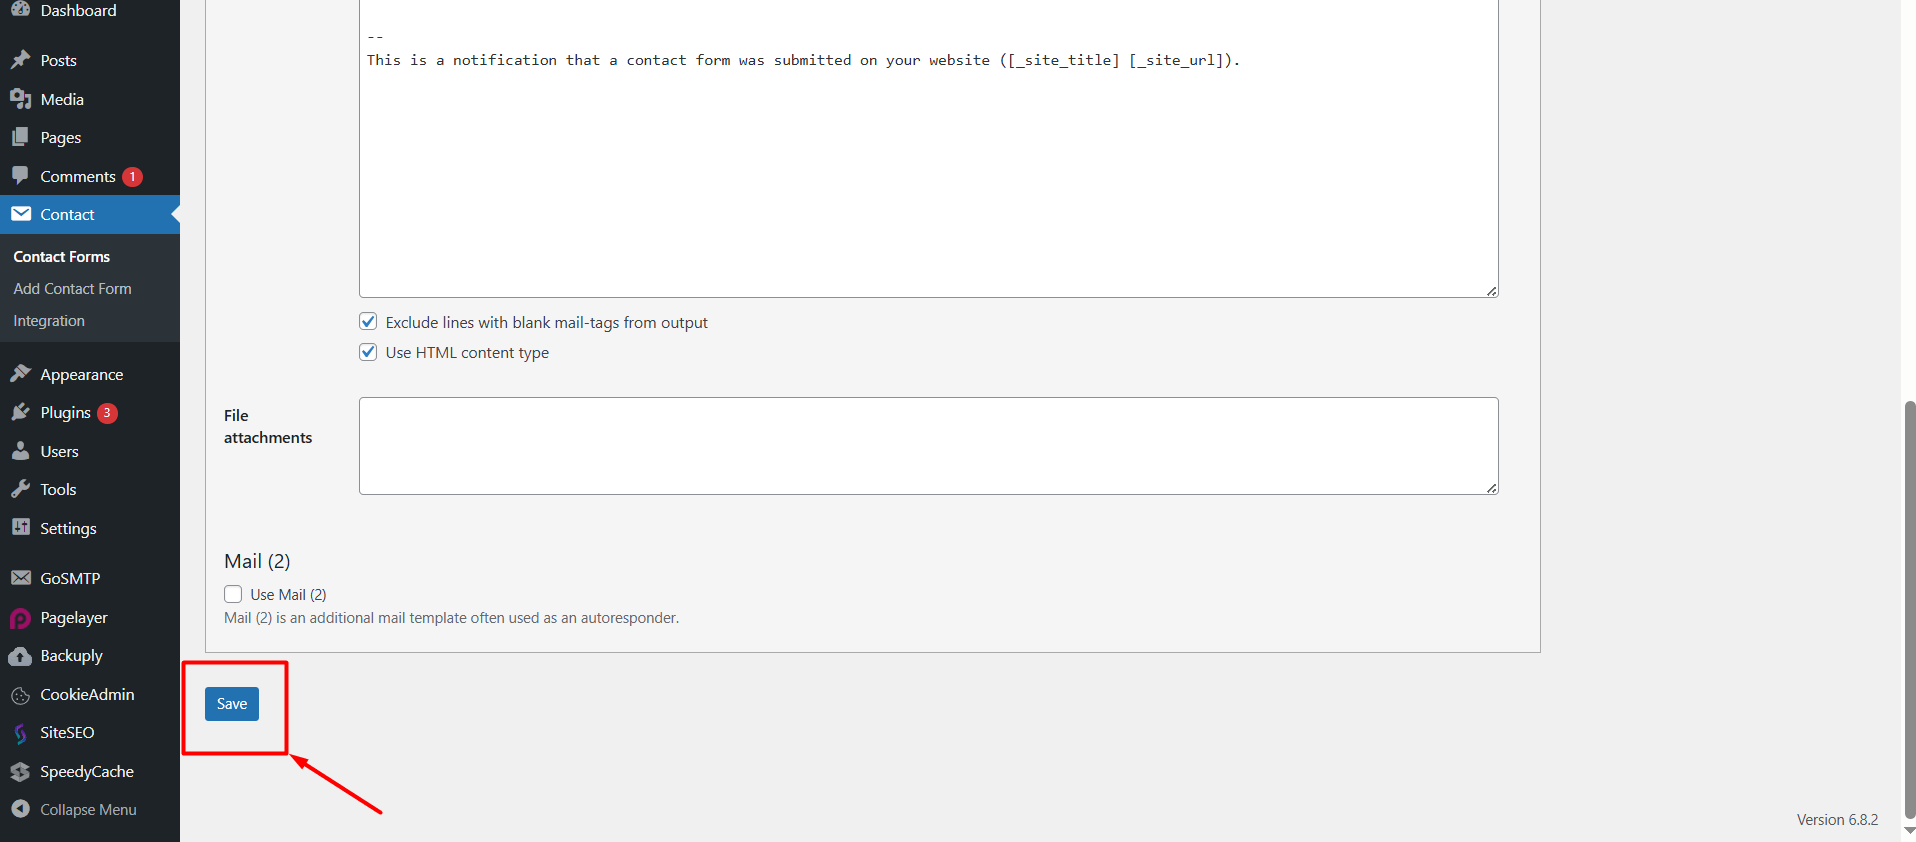
- If you have made the necessary adjustments in the mail settings on the screen, you can click the “Save” button at the bottom of the page to save your changes.
Adding the Form to a Page
-
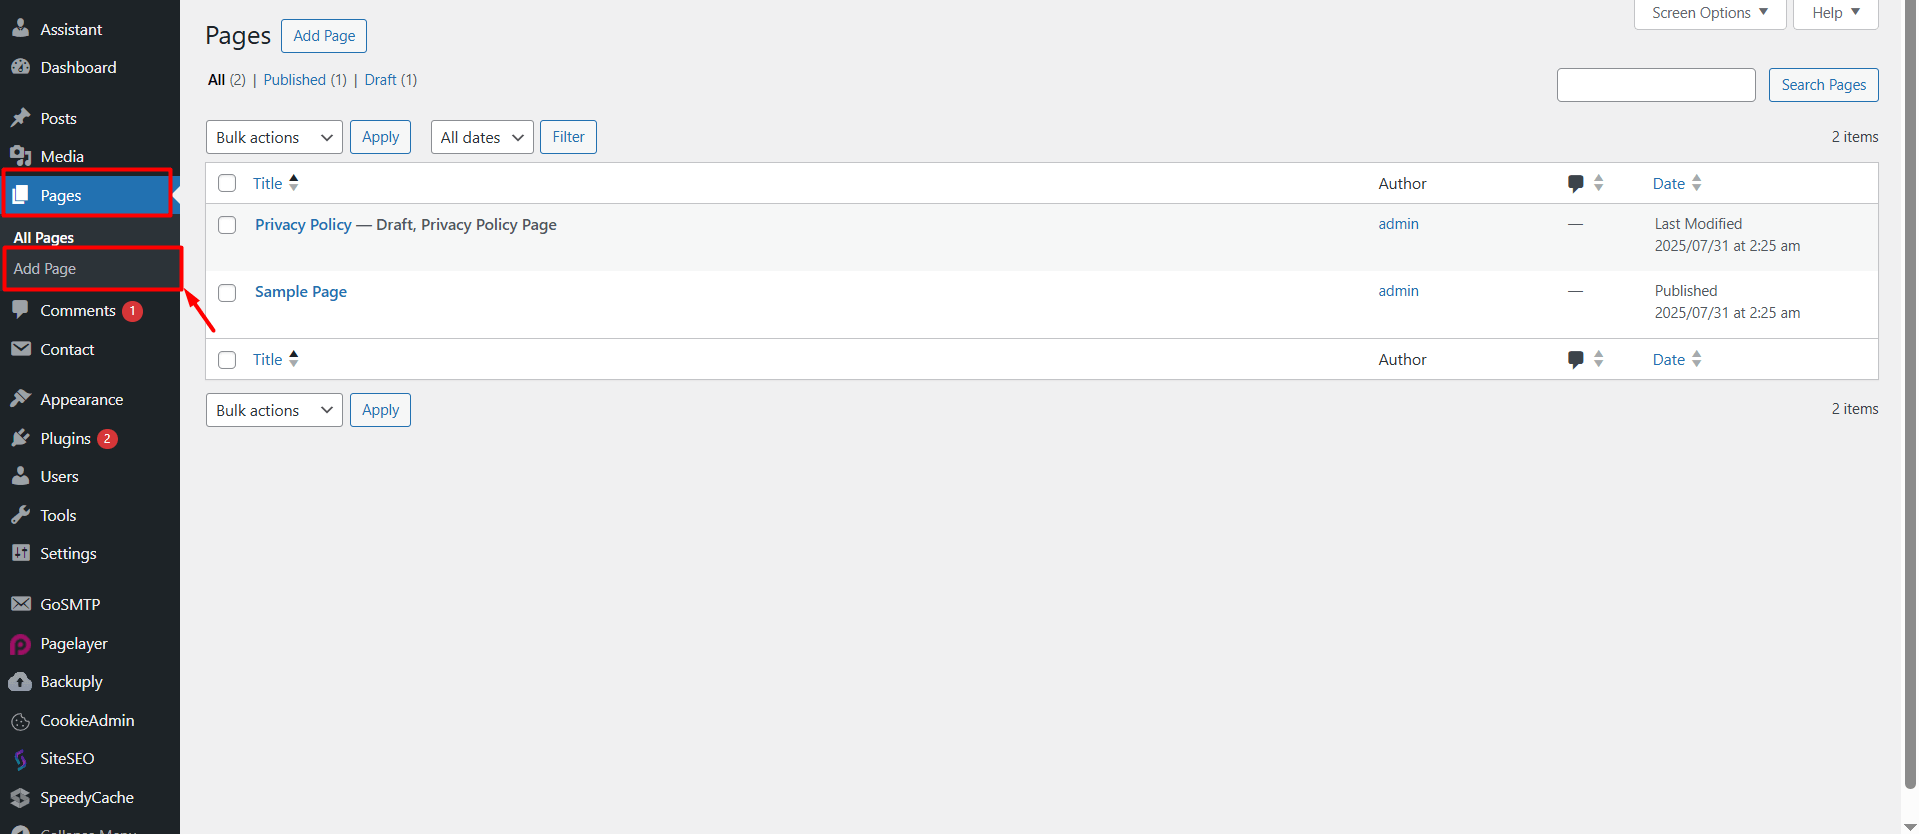
To add the form you created to the contact page, go to the left-hand menu and follow “Page > Add Page” to create a new page. If you already have a contact page, you can go to “Page > All Pages” and click on the existing page to edit it.
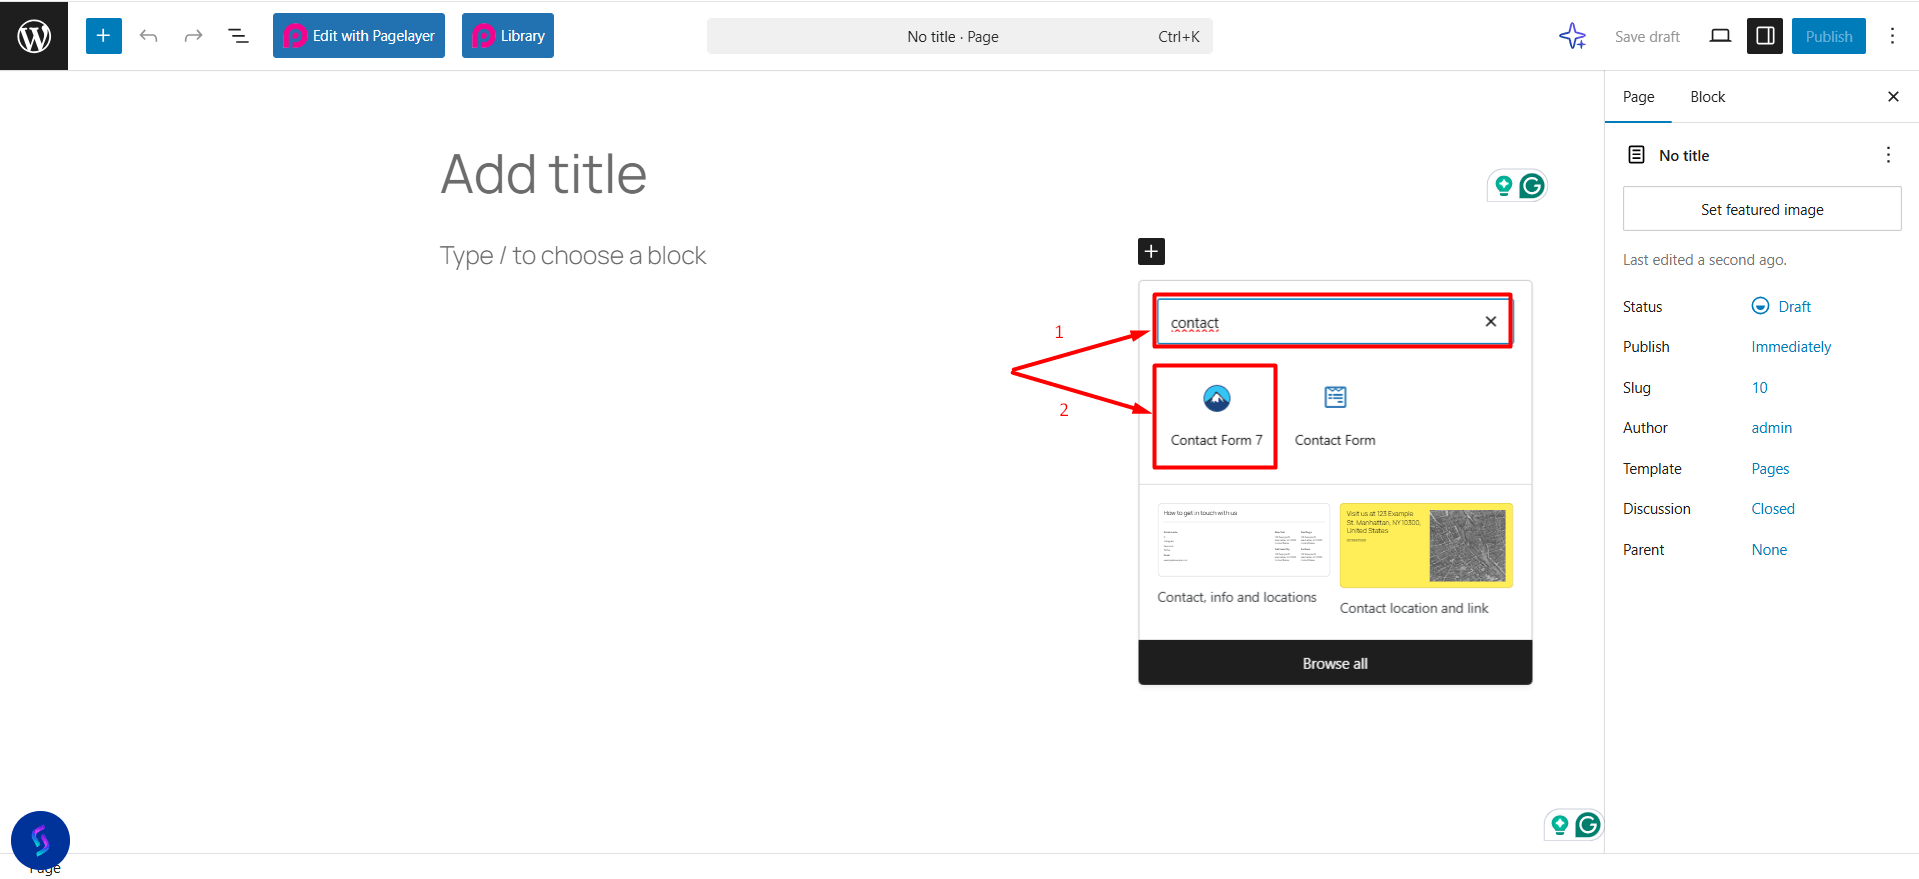
- On the page that opens, click the “+” icon.
- Type “contact” into the search box and click on the widget related to your plugin that appears.
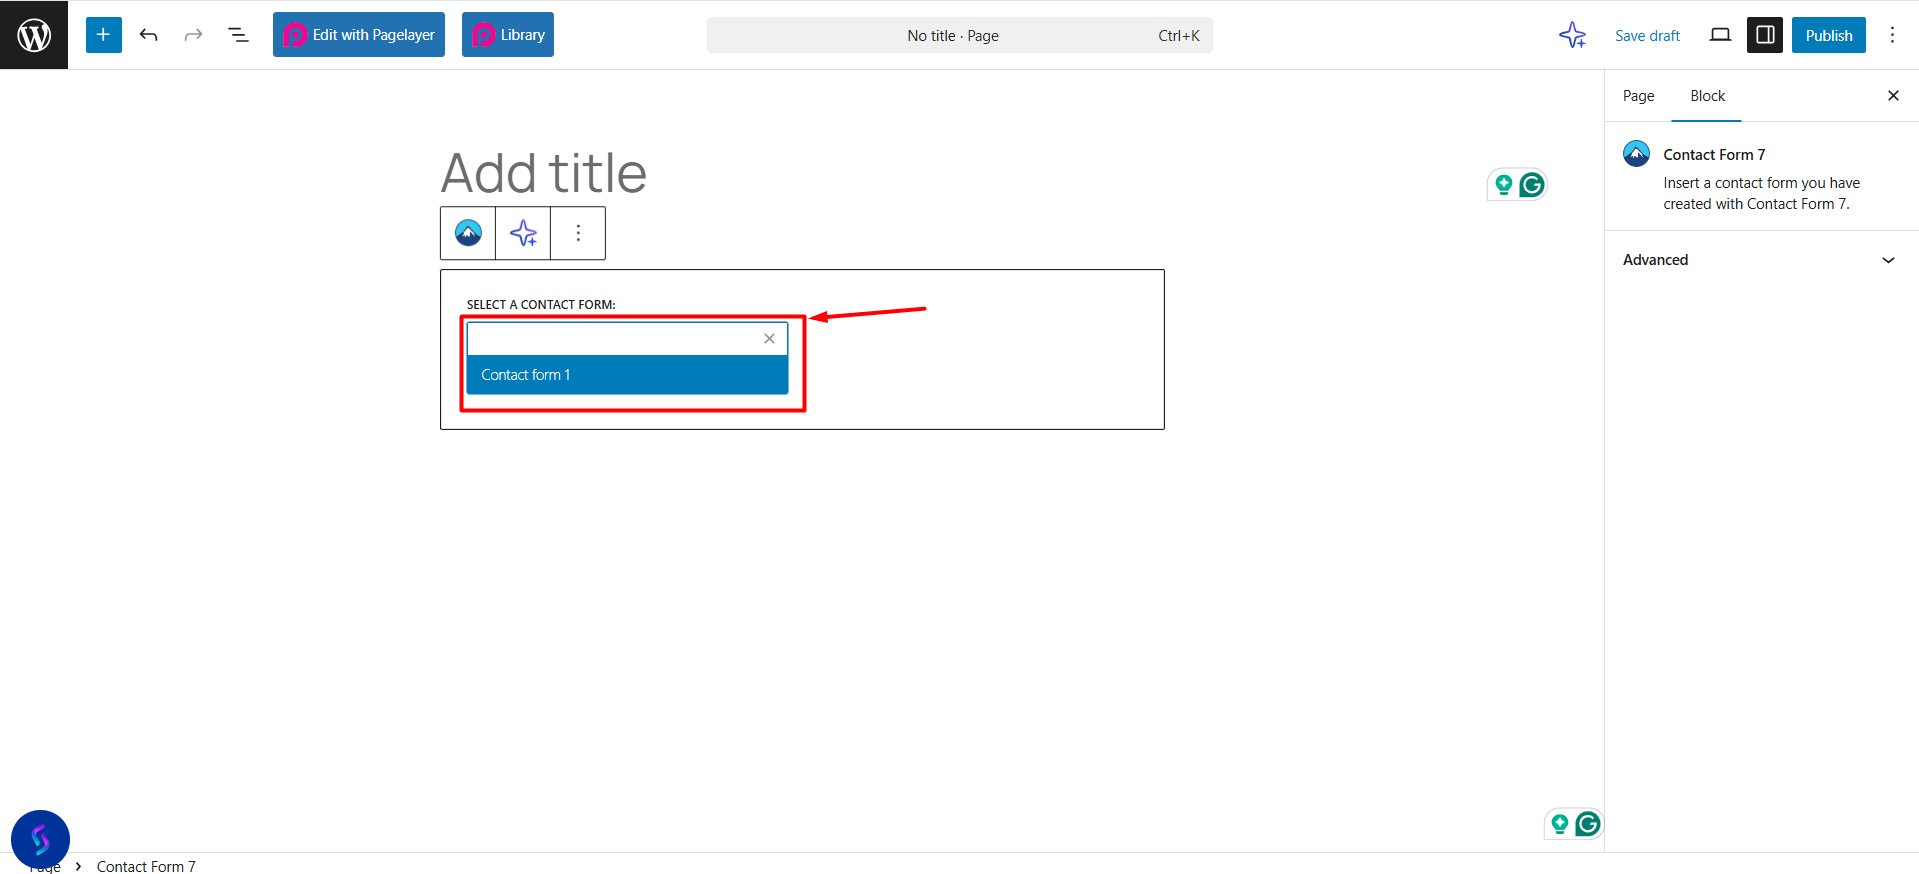
- The form will be added to your page. From the list that appears, select your own form.
- If the title field at the top of the page is empty, fill it in. For example, you can write “Contact”.
- After creating and adding the contact form to your page, you can activate the form by clicking the “Publish” button at the top right corner of the page. However, this step alone is not enough to ensure that emails sent from the form are delivered properly.
To prevent issues like emails going to the spam folder or not being delivered at all, you must configure the SMTP settings. Click here to learn how to set up SMTP.


 .CO.UK Domain
 Linux Hosting
 Windows Hosting
