The default SSH port can be changed by server administrators for various reasons. The main reasons for changing the port are as follows:
- Security Measure:
Default SSH ports are constantly scanned by bots on the internet. This causes systems using the standard port to be frequently targeted by password-guessing attacks. To enhance security, server administrators may change the SSH port to reduce the risk of such attacks. - Network Restrictions:
In some organizations or networks, the use of standard ports may be blocked for security reasons. In such cases, a different port must be selected to establish an SSH connection. - Preventing Port Conflicts:
If another service on the server uses the same port, the SSH port may be changed to prevent conflicts.
For the reasons mentioned above or similar ones you can follow the steps below to safely change your SSH port.
- Log in to the server. If you are not familiar with the steps to access the server, click here to read our guide. The following steps use PuTTY as an example.
- Back up the sshd_config file. Since you will be making changes to the port and security settings, any mistake could prevent you from accessing the server via SSH. Therefore, it is recommended to create a backup beforehand. To back it up, copy the command below, right-click to paste it into the server after connecting, and press Enter.
sudo cp /etc/ssh/sshd_config /etc/ssh/sshd_config.bak
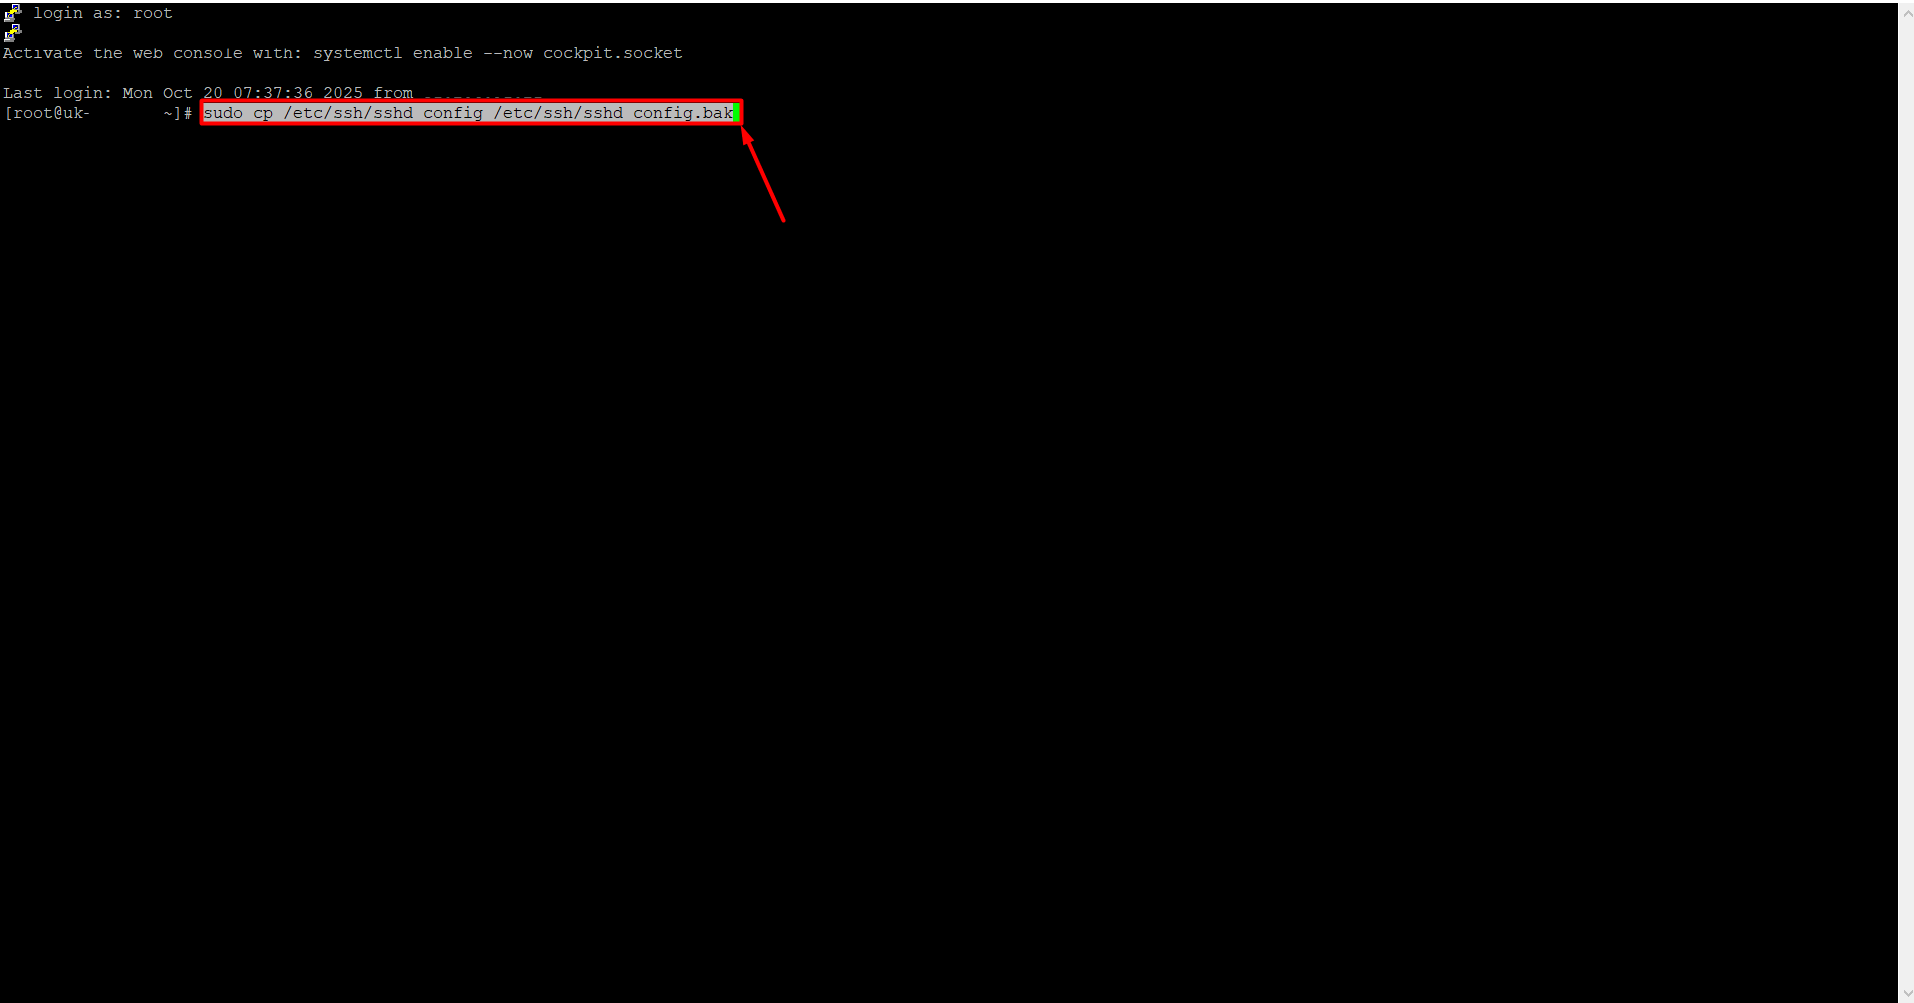
- To open the SSH configuration file, copy the command below, right-click to paste it into the server, and press Enter.
sudo nano /etc/ssh/sshd_config
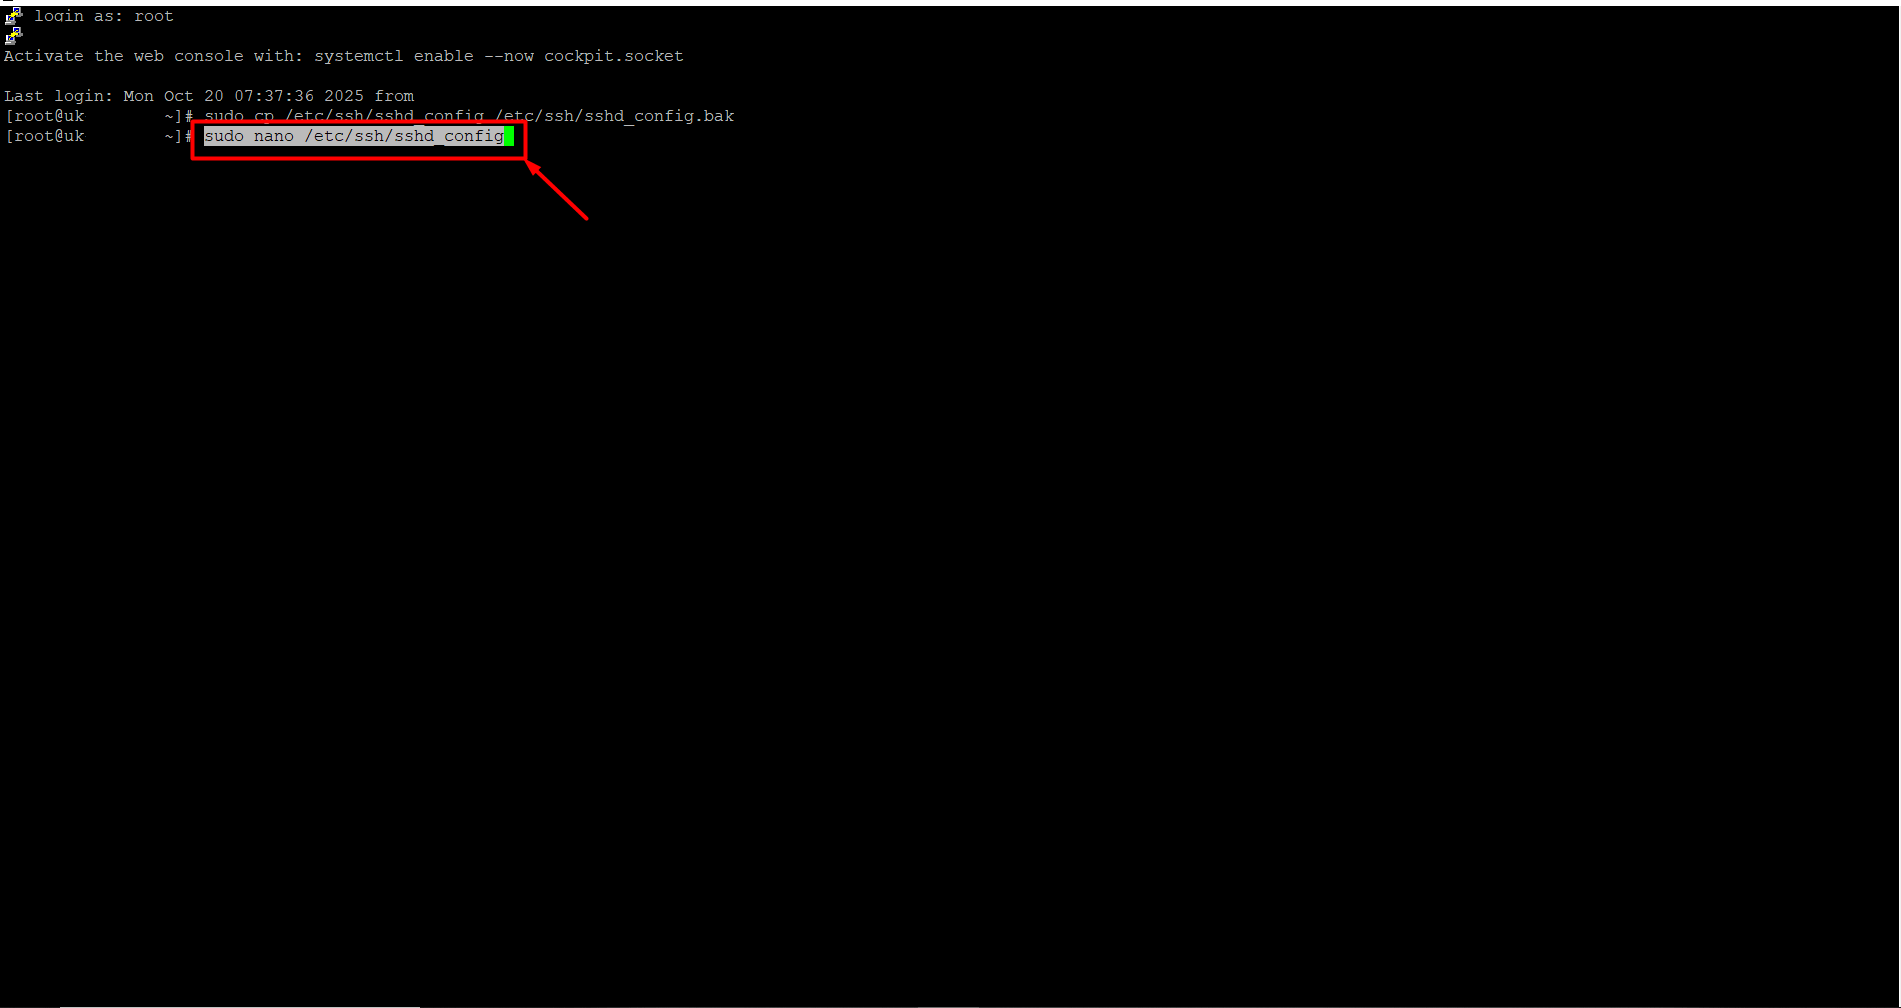
-
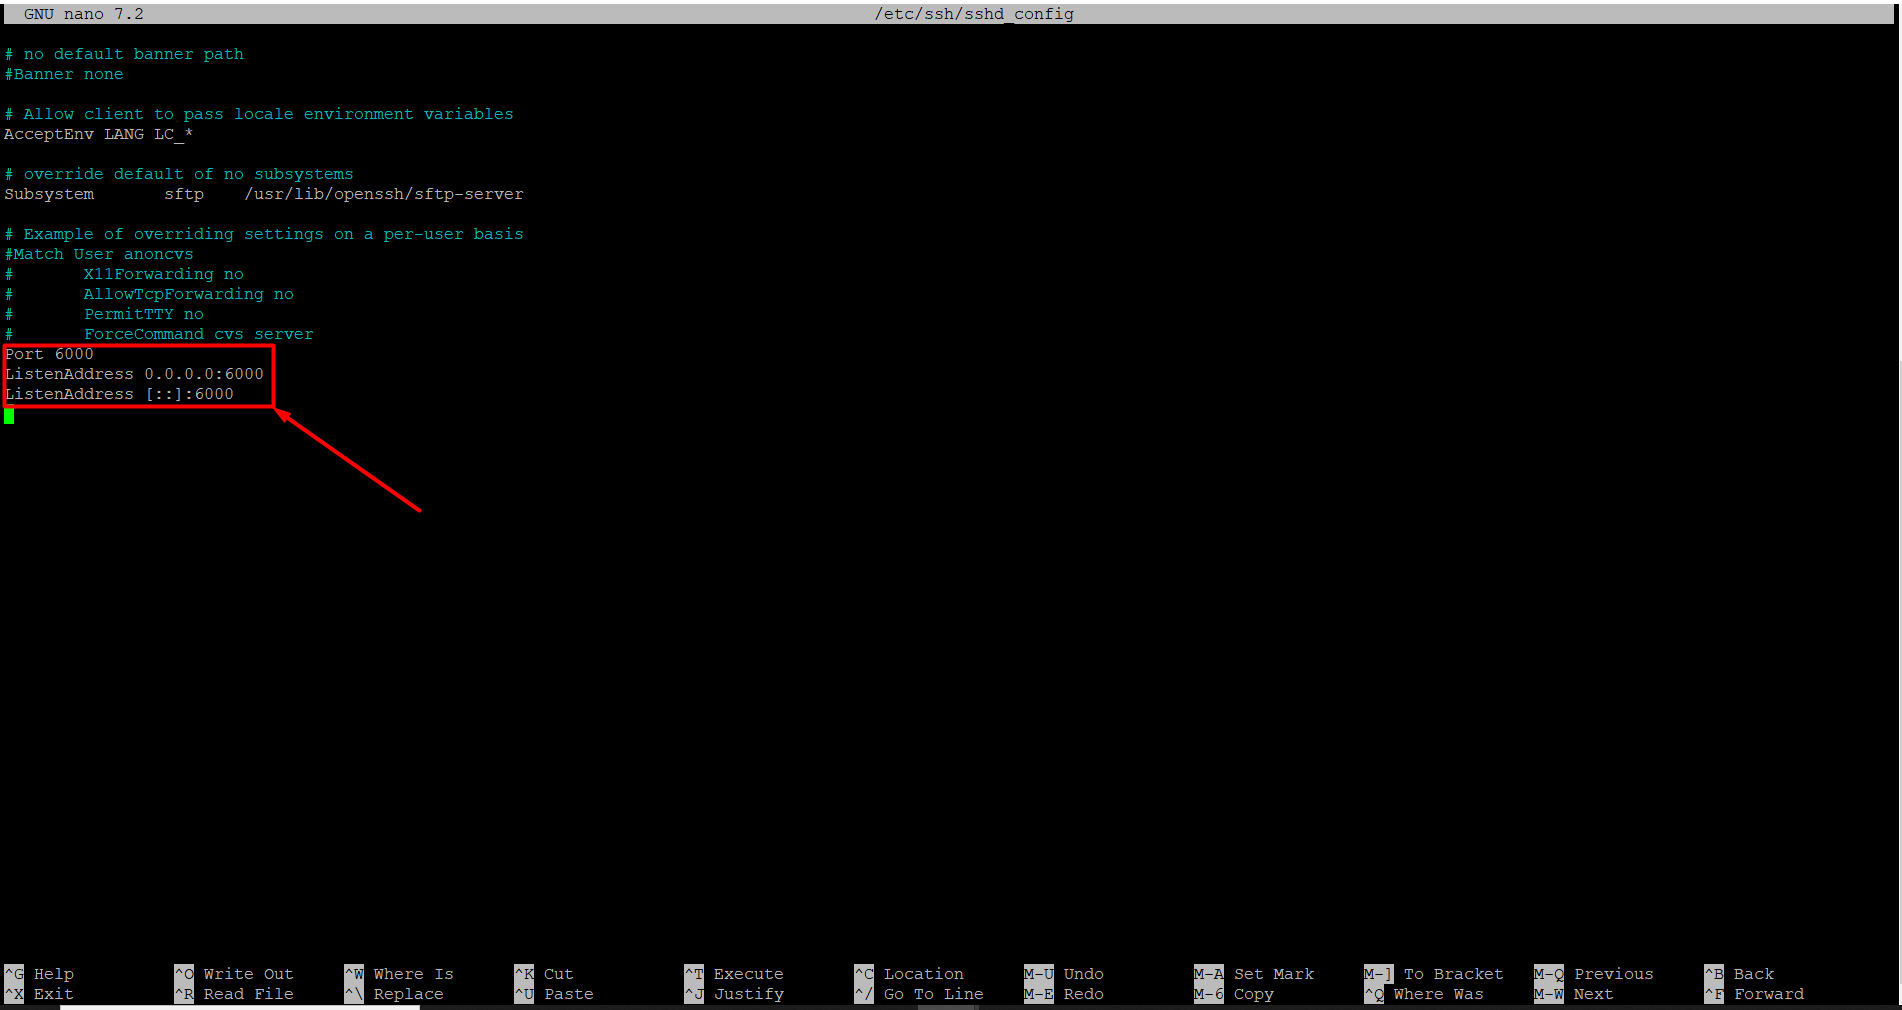
Locate the line that says Port 22667 in the file. (It may show a different port number instead of 22667.) Replace 22667 with your desired port number, for example, 6000. Similarly, update the Listen Address information with your desired port.
If there is a “#” at the beginning of the Port line, remove it, because # is treated as a comment and the new port may not take effect. To save, press Ctrl + O and then Enter. Immediately after, press Ctrl + X to exit.-
Valid range: 0 – 65535
-
0 – 1023: Reserved for the operating system and core services. Manual use is not recommended. Examples: 22 (SSH), 80 (HTTP), 443 (HTTPS)
-
1024 – 49151: Registered ports used by software; usually okay to use. Examples: 3306 (MySQL), 3389 (RDP)
-
49152 – 65535: Usually free ports. This range is the safest choice for your own services.
-
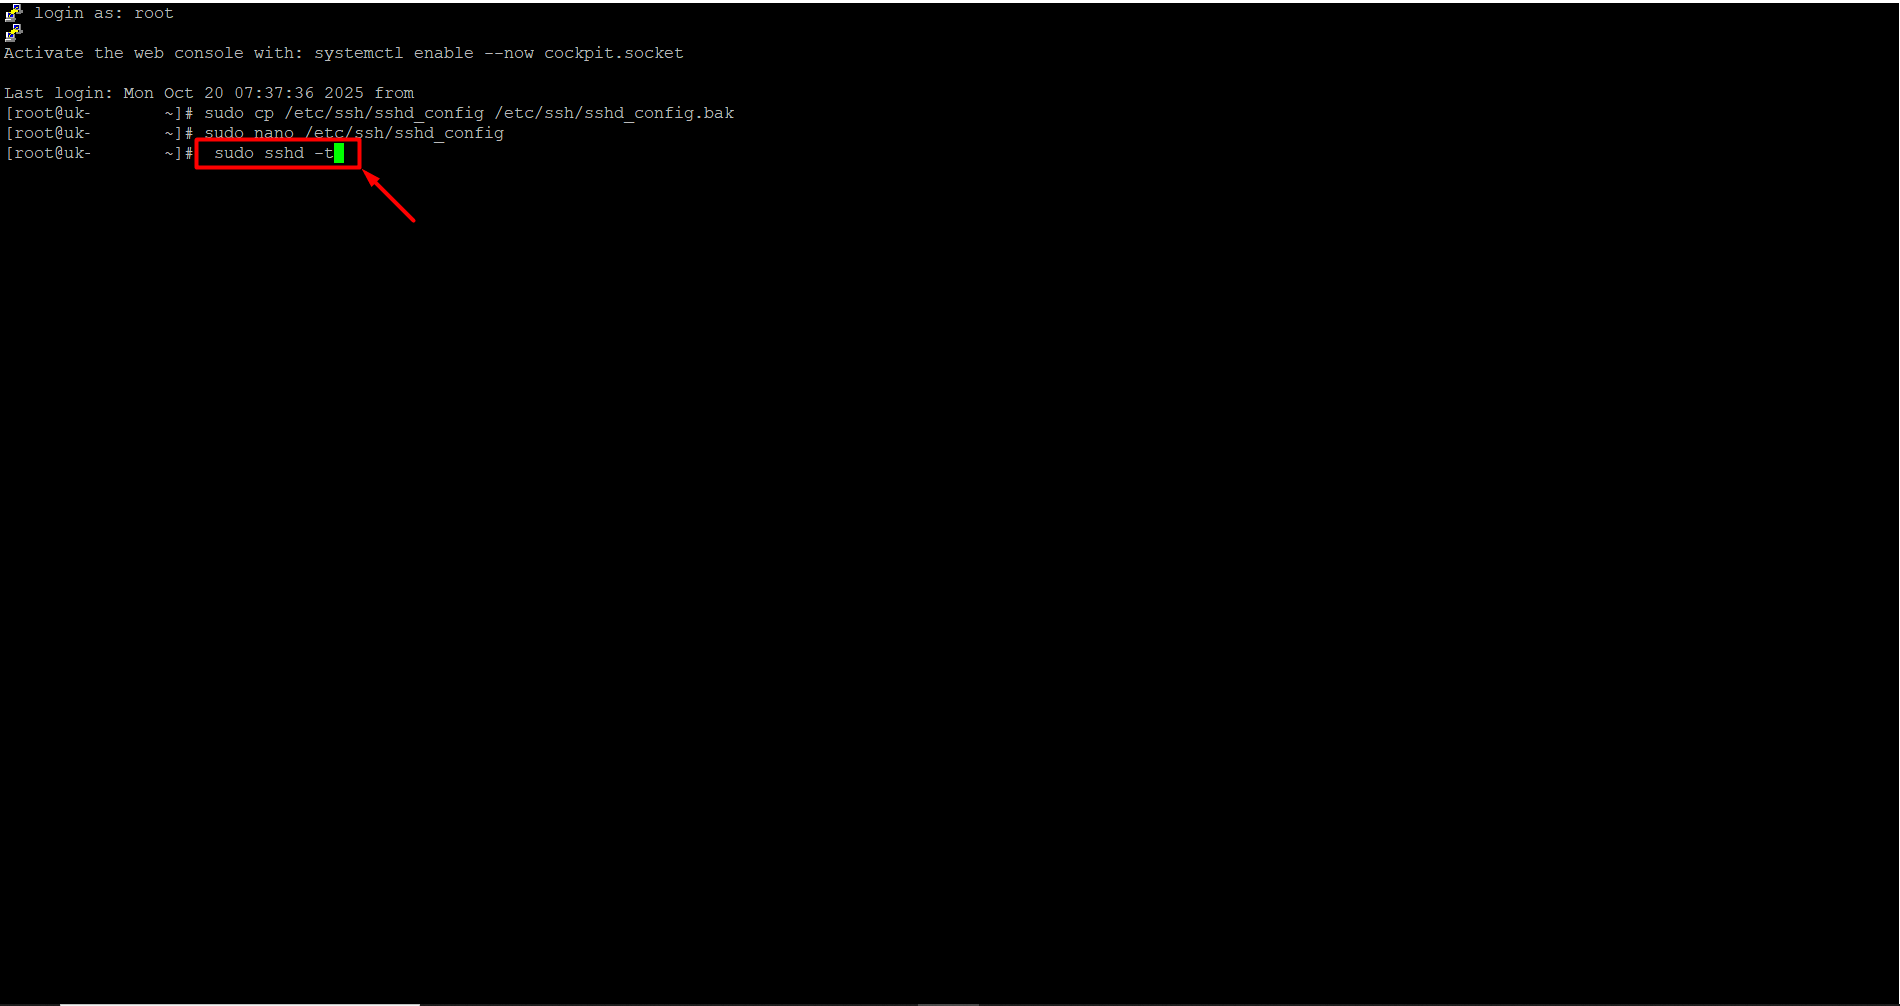
- To test the configuration, paste the command below. If no errors appear, you can proceed to the next steps.
sudo sshd -t > Enter
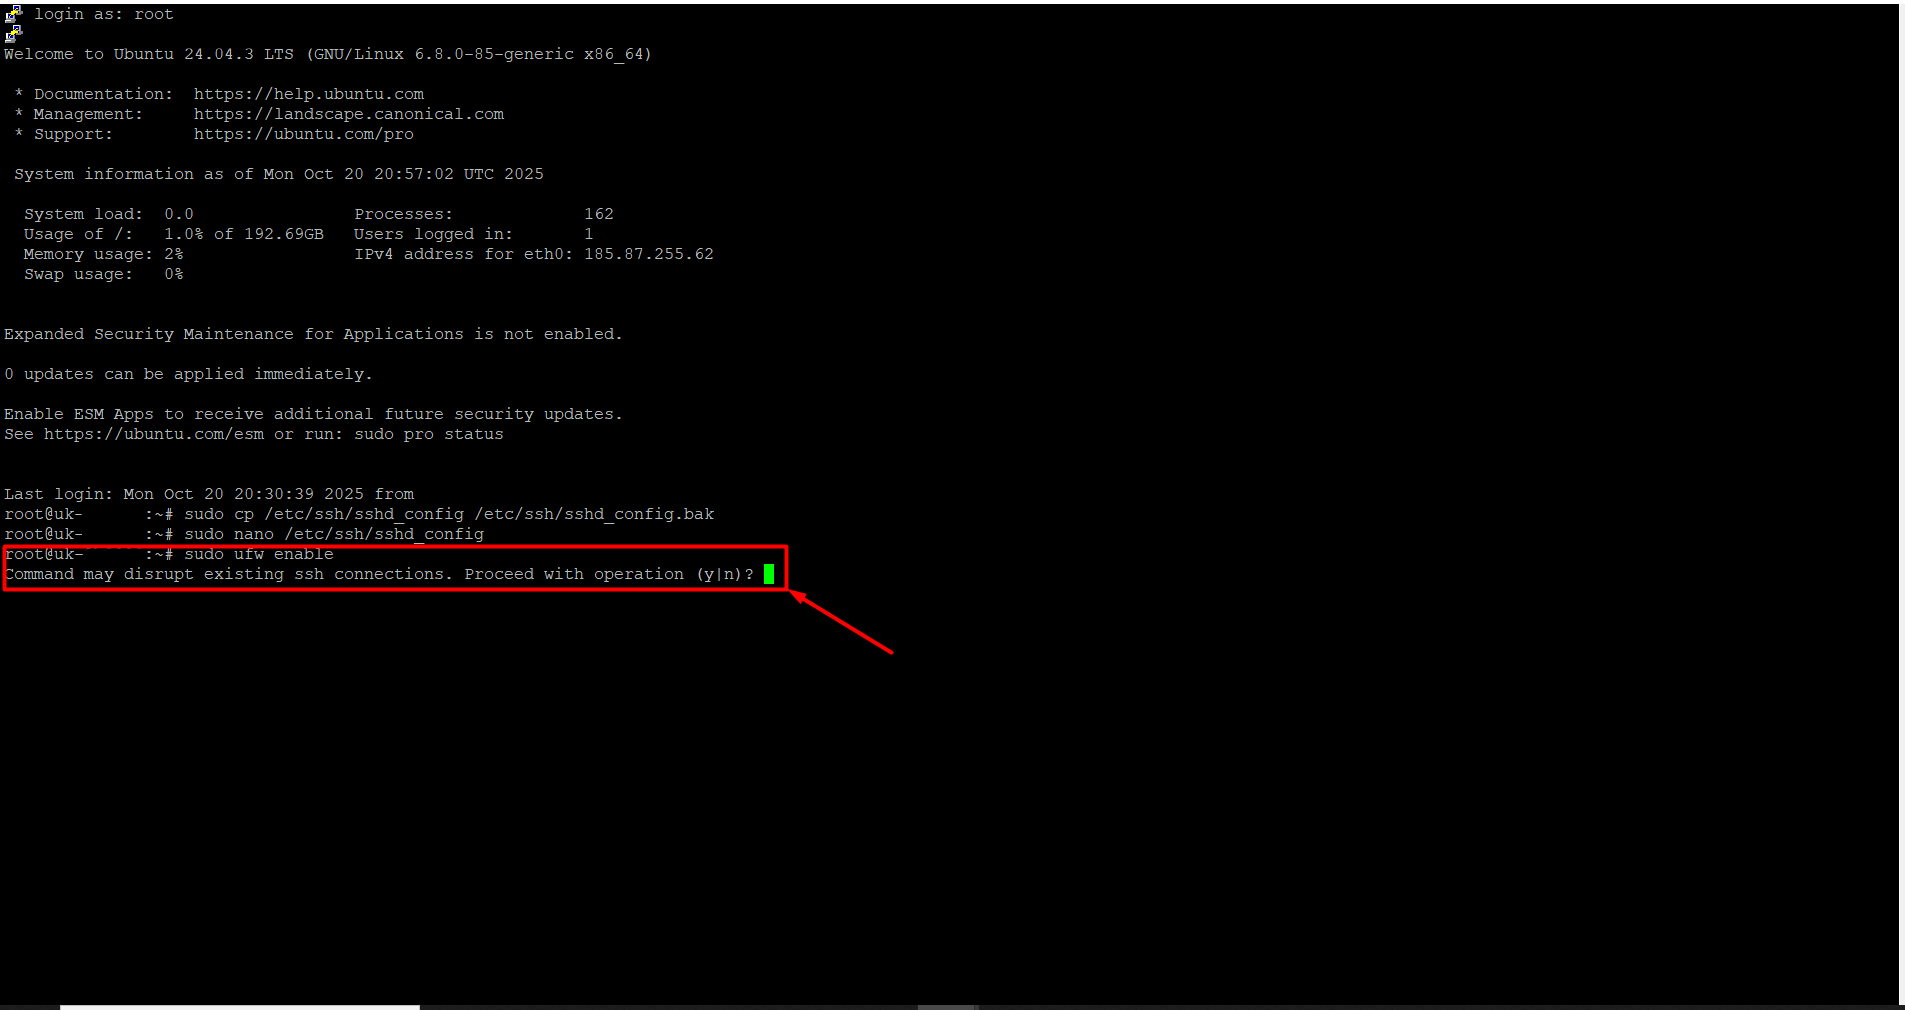
- If UFW is not active, you need to enable it first. Copy and paste the following command, then press Enter. A warning will appear on the screen. Press the Y key on your keyboard and then press Enter.
sudo ufw enable
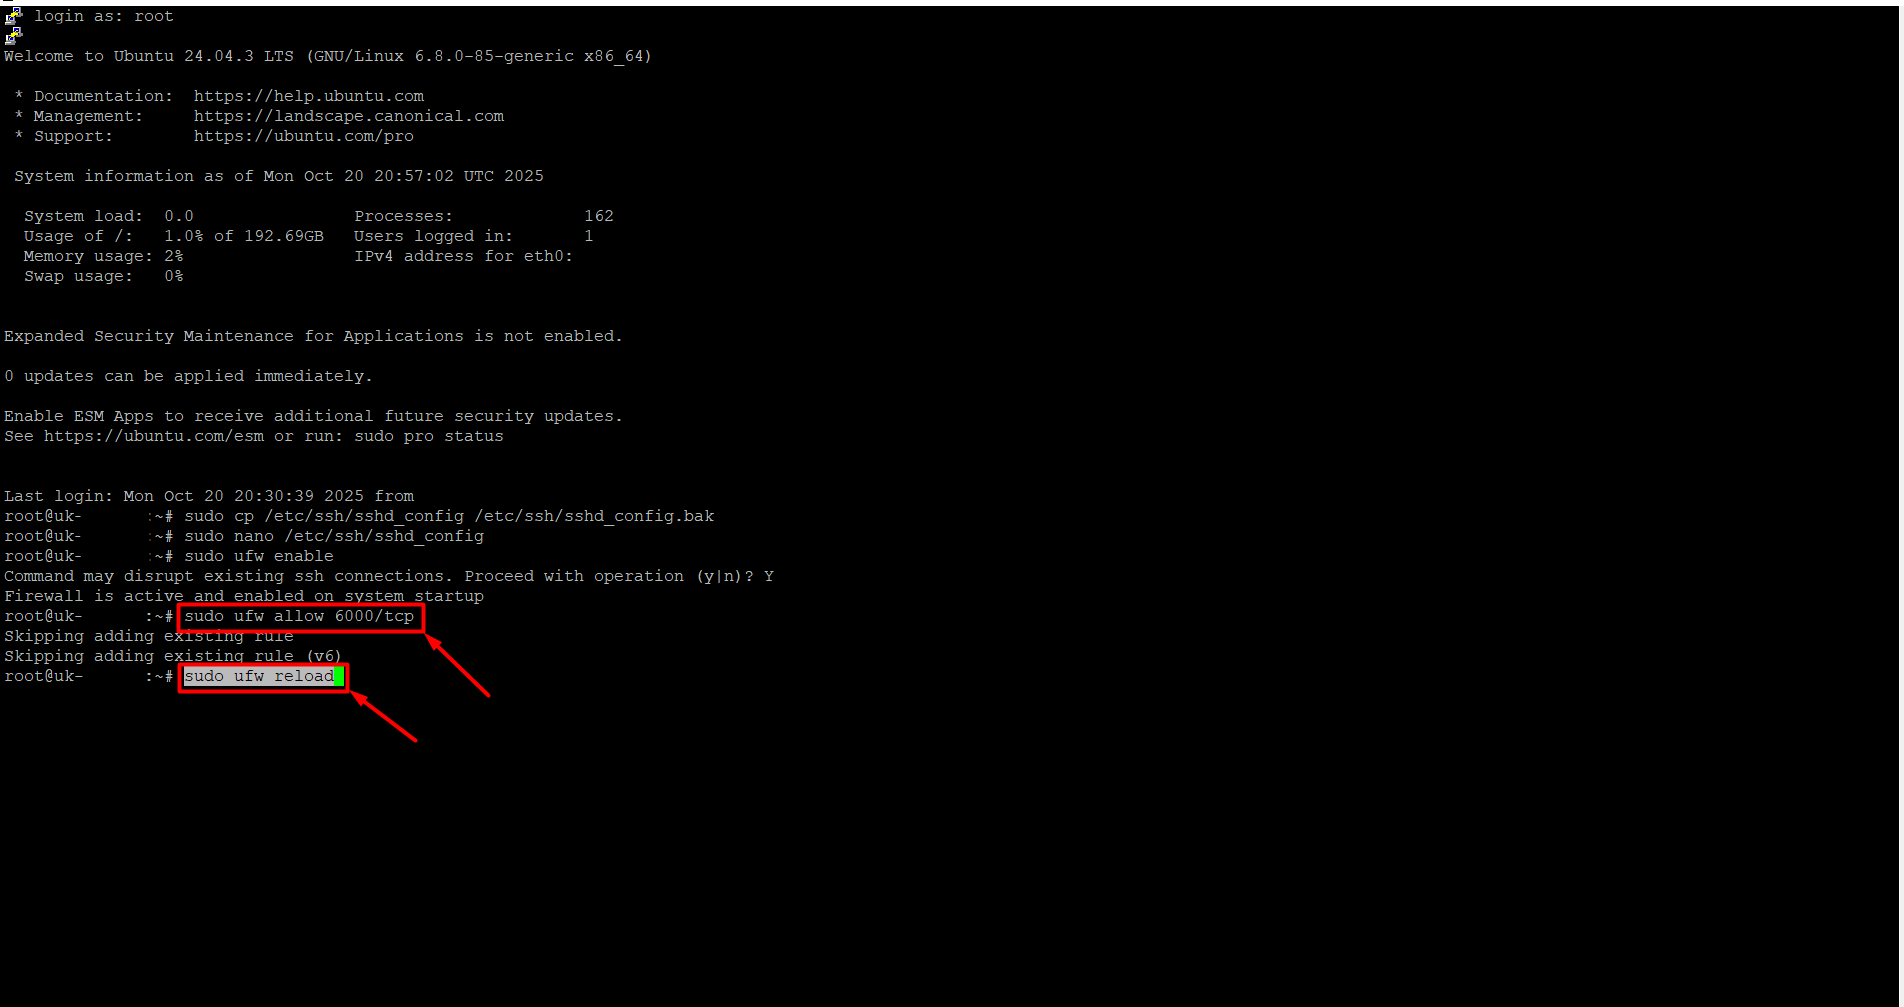
- Paste the following commands one by one to add the new port to the firewall.
sudo ufw allow 6000/tcp > Enter
sudo ufw reload > Enter
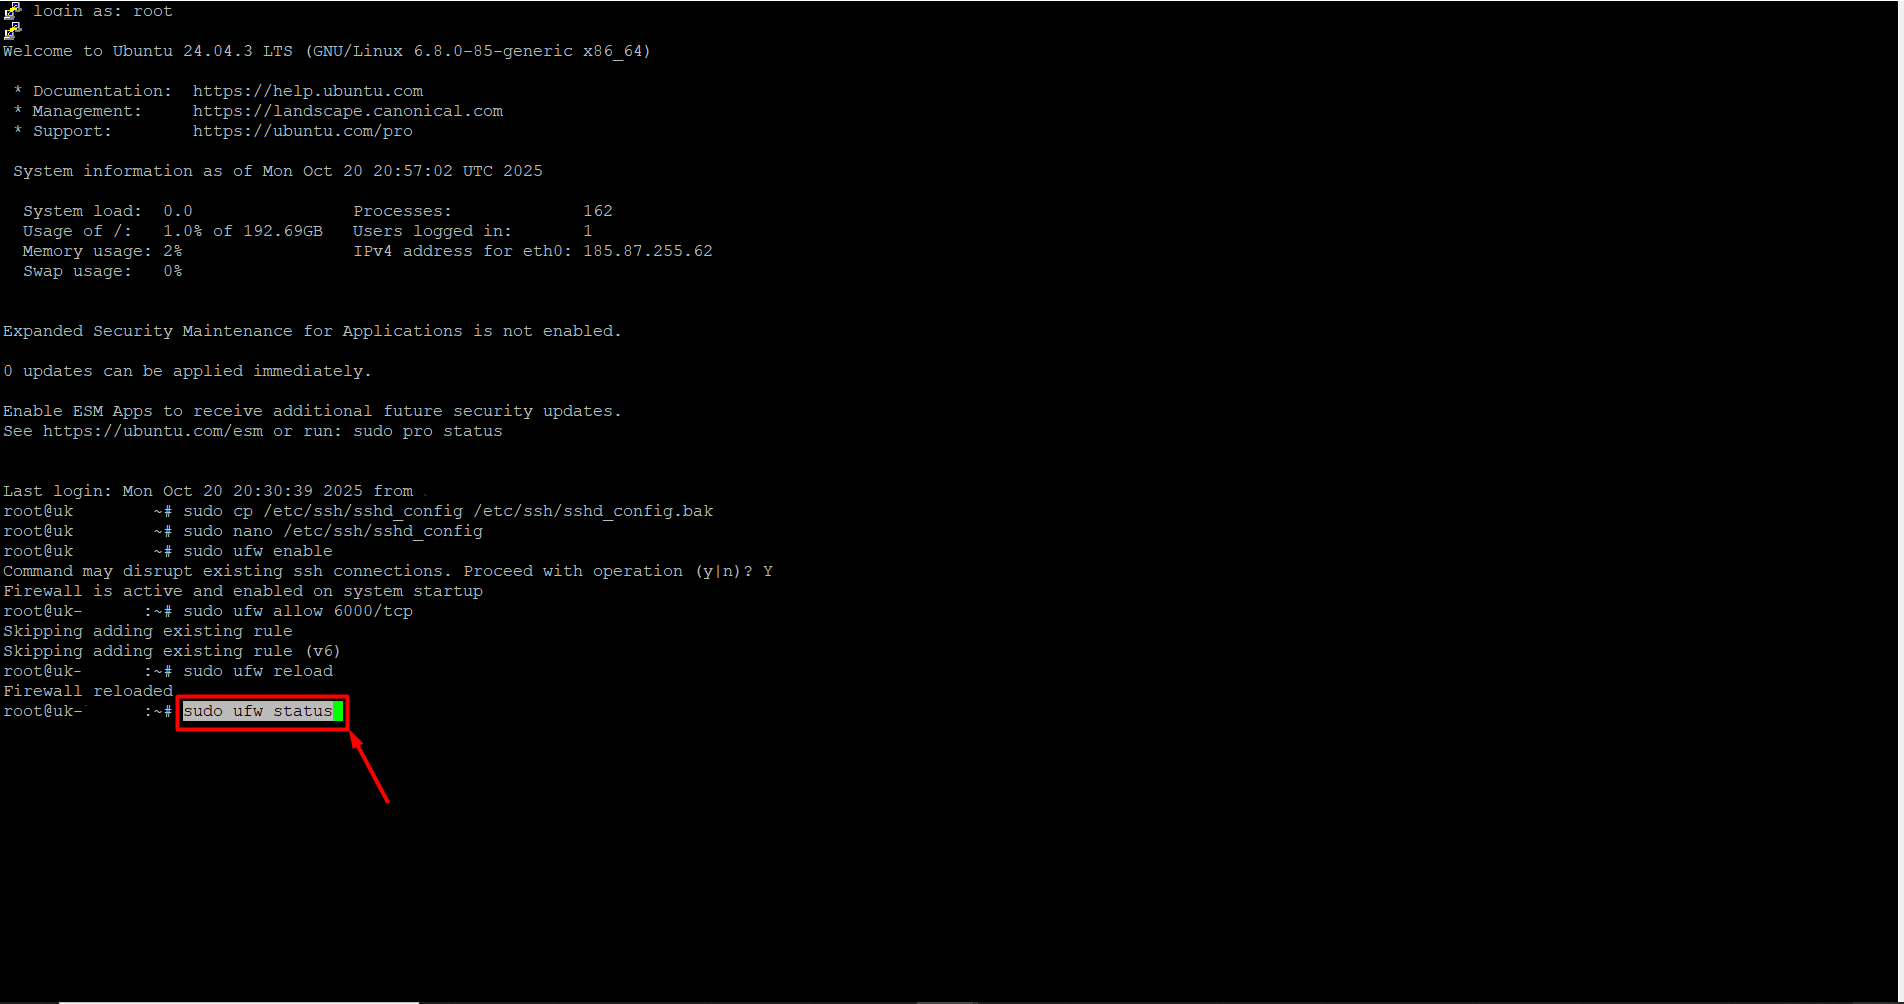
- To check, paste the following command and press Enter. Your new port should appear in the list (e.g., 6000).
sudo ufw status
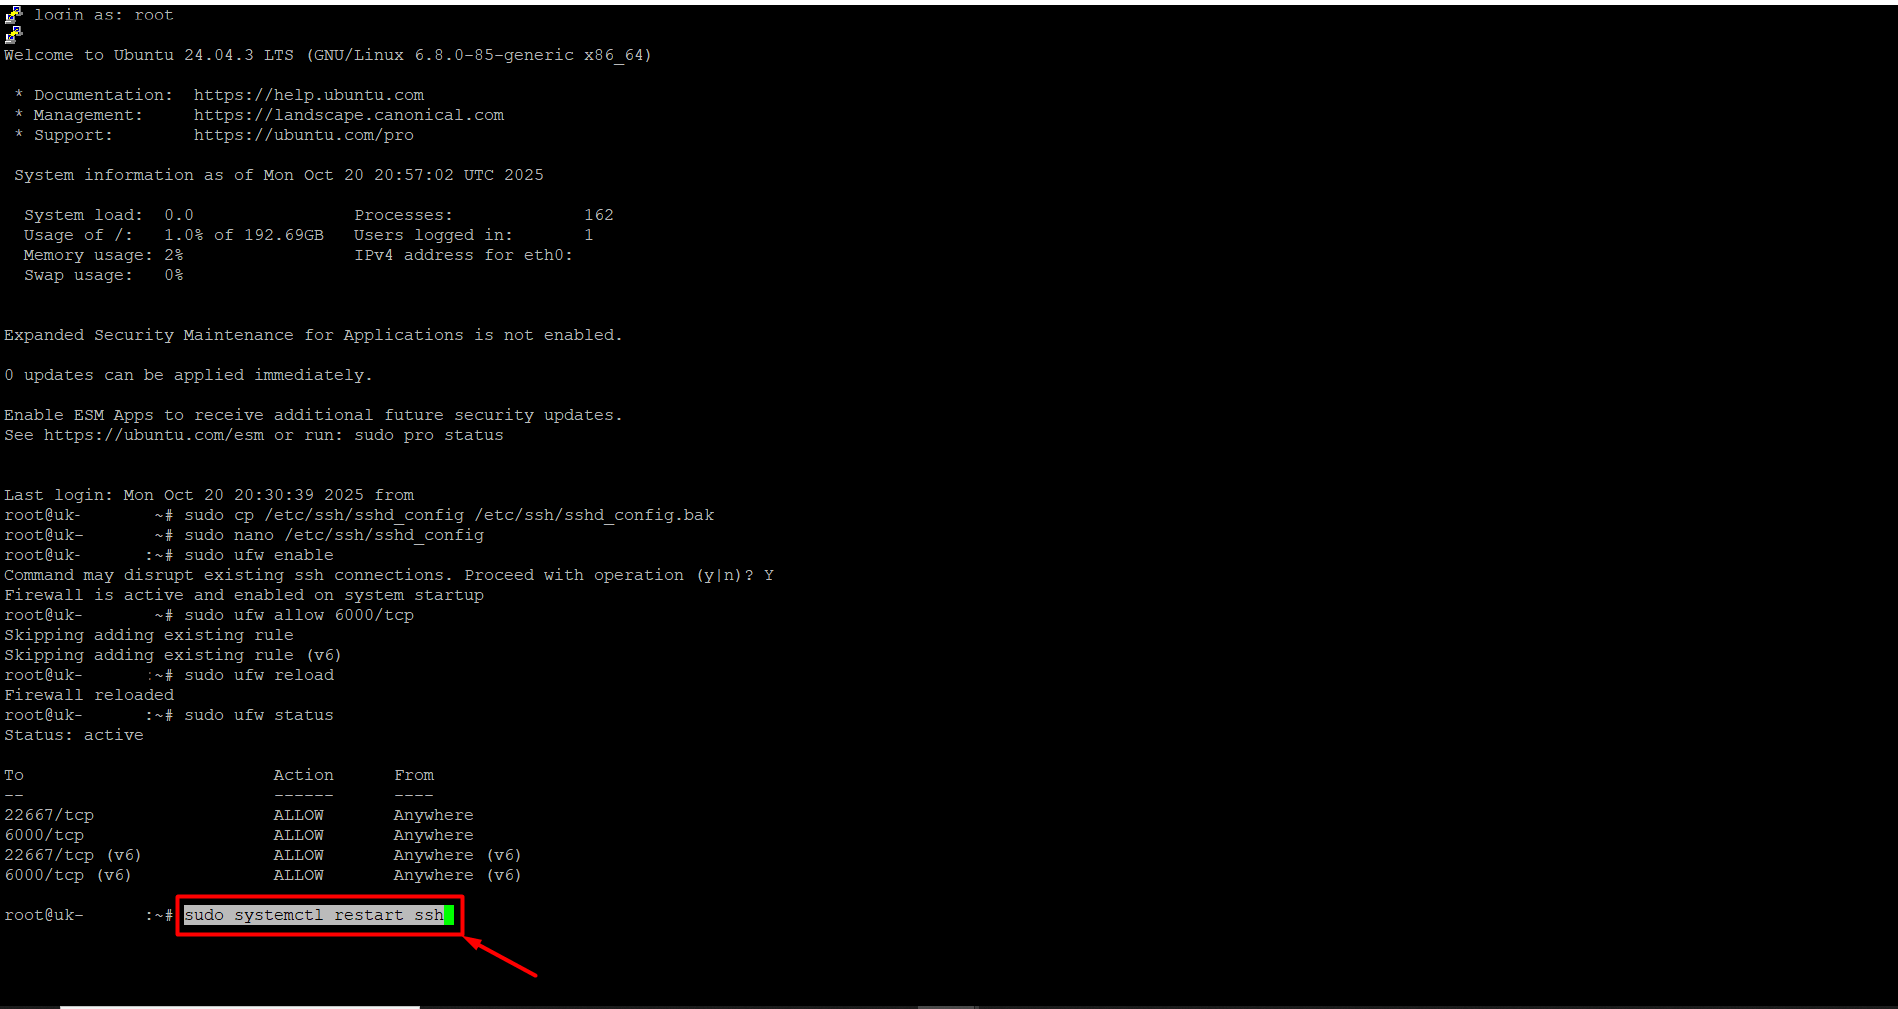
- To restart the SSH service, copy and paste the following command, then press Enter.
sudo systemctl restart ssh
- To test access, do not close your current PuTTY session. Open a new PuTTY window, enter your new port number (e.g., 6000) in the “Port” field, and try to connect. If the connection is successful, SSH is now running on the new port.

- If you wish, you can remove the old port from the firewall. To do this, simply paste the following command and press Enter.
sudo ufw delete allow 22667/tcp (You can replace 22667 with your own old port number.)


 .CO.UK Domain
 Linux Hosting
 Windows Hosting